How to Create an Effective Graphic Design Workflow in 7 Steps
Sorry, there were no results found for “”
Sorry, there were no results found for “”
Sorry, there were no results found for “”
Graphic design is both an art and a science. It requires creativity on the part of a graphic designer to produce a beautiful design. At the same time, the graphic designer should follow a systematic approach to the workflow to ensure that the output meets the client’s specifications and is delivered on time.
I’m sure you already have the necessary creative talent, all you need is an excellent graphic design flow to ensure your final output meets and exceeds your clients’ and stakeholders’ expectations—this guide will show you how.
Graphic design is the process of combining text and images to communicate a message. It is essential for businesses that need to stay visible to generate leads and convert these into paying customers. With attractive visuals, businesses can drive traffic to their brand. Businesses can also connect with their prospective customers and customers at a more personal level. That helps ensure sales.
Businesses already recognize the importance of using graphic design. In fact, according to Piktochart, a whopping 81% reported using graphic design in various formats. The most common visual formats used in businesses are social media graphics, presentations, videos, flyers and brochures, and posters.
So, does that mean for as long as businesses use visuals, they’ll be fine? Not really. The visual content should be created the right way first for it to yield the results they’re looking for. The only way to produce visual content correctly is to implement a systematic approach to the graphic design workflow.
Besides, with the right workflow, plus the proper tools, of course, you don’t just ensure the quality of your design. You improve efficiency and productivity, too.
Let’s be clear. Each company or designer will have its own design workflow. At Lform, for instance, where we specialize in web design workflows, we have a pretty straightforward one.
All projects begin with a “discovery” phase. This consists of an initial (and usually lengthy) kickoff meeting where we learn who the client is and their goals and discuss the best overall approach to the project. We then do our due diligence and begin creating supporting documents.
It could be making a sitemap outlining the structure of a website, review of their competitors, research into SEO, or a whole host of other things.
Once discovery is done, we begin putting concepts together for whatever the project deliverable might be. For example, maybe you’re completing a wireframe for a UI/UX project (in the case of the web) or creating an outline and sourcing content for something like print collateral.
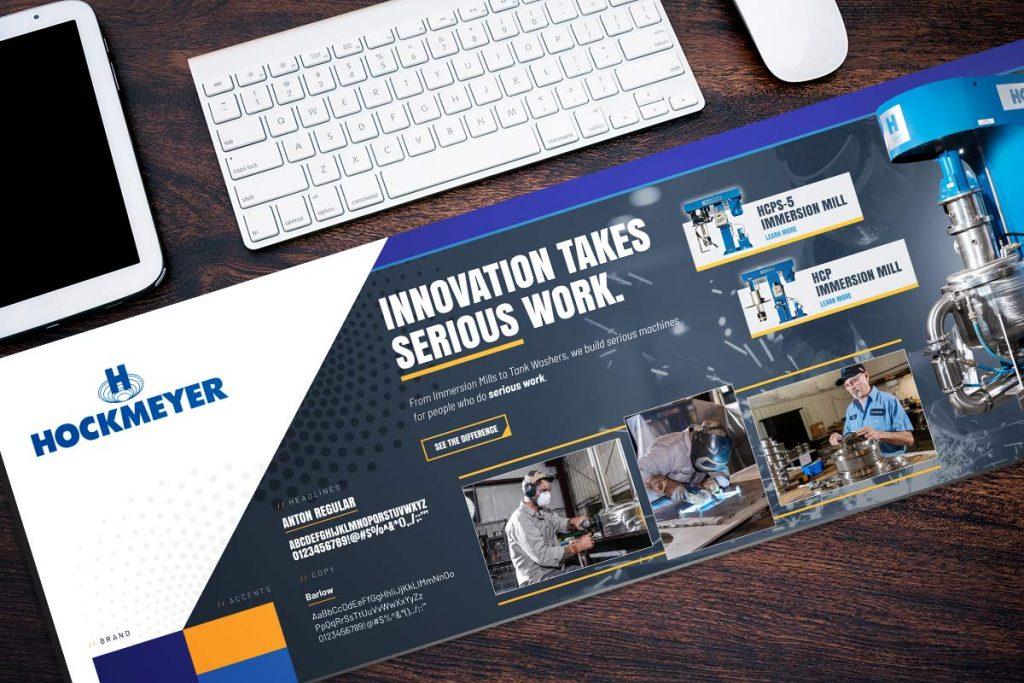
One key aspect differentiating Lform is that we produce “vision boards.” Vision boards aim to establish a design style, writing tone, and branding “feel.” For example, you can see a small mock-up for our client, Hockmeyer, below:
Finally, we go into production once the client has approved all deliverables in question. This may be as simple as providing design files and fonts to a printer (like a business card), producing multiple versions of a deliverable (if, say, we’re creating an ad or flyer), or can be as complicated as going into full development with a website redesign.
Whatever the workflow is, you might notice that the basic steps are the same.
If you don’t have a workflow just yet, whether you’re a graphic designer creating a visual for a client or an in-house graphics department, here are the steps to a good graphic design workflow you can follow in completing your projects:
To kick off your graphic design process, you should review the project’s creative brief.
The design brief is a set of instructions about your graphic design project, usually from your client or management—it shapes up your entire graphic design workflow. You need to understand your client’s instructions and ensure everyone involved is on the same page before diving into the design work itself.
And it’s your responsibility as the designer to ensure that the design brief provides all the important information needed for the project.
This is a crucial step to cover, especially when building rapport and showing your professionalism and experience as a designer. Avoid being the designer that calls to confirm timeframes, deadlines, or color palettes long after the project was assigned.
The best way to steer clear of this is to create a brief template that you can use to cross-check. You could borrow ideas on the details to add to your design brief from similar projects you have worked on.
But there are essential details that you should never miss like:
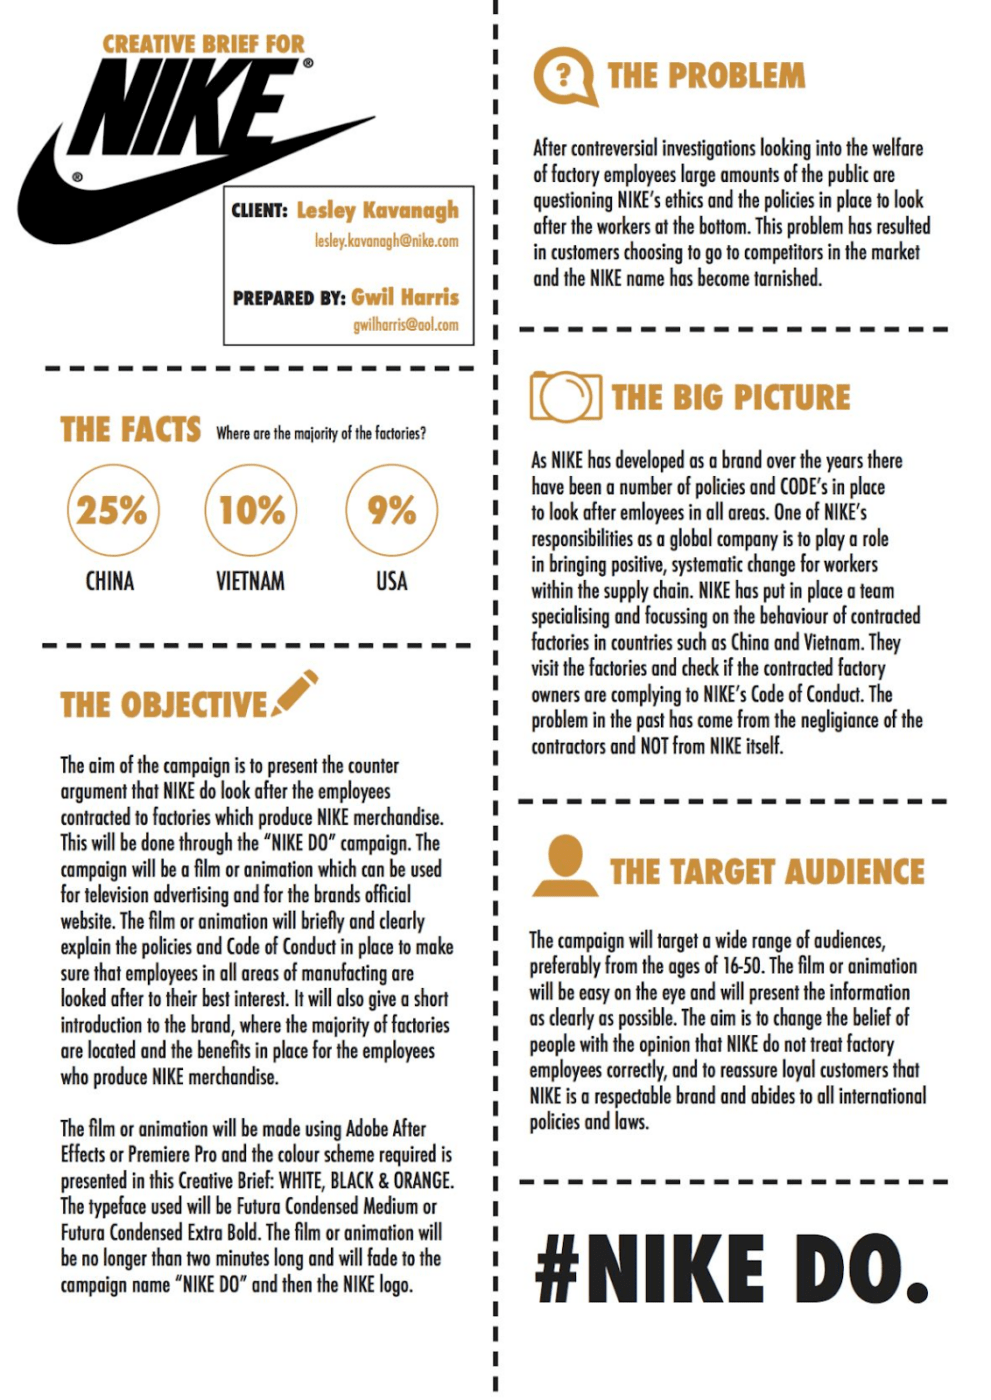
Here’s an excellent example of a simple workflow template for Nike that you could use to create your creative brief template.
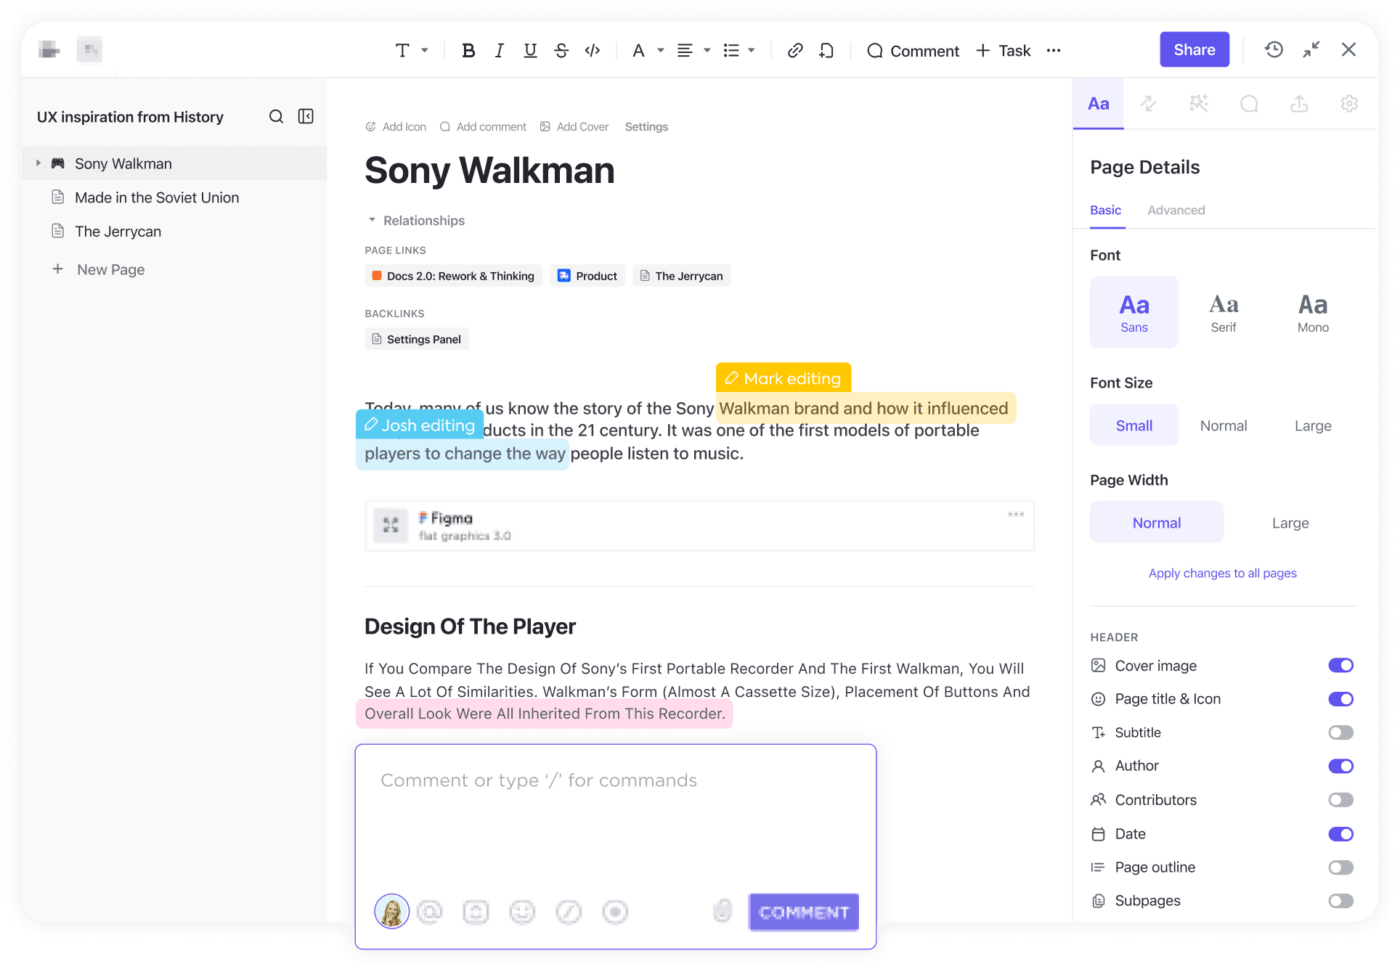
When creating your brief template, ClickUp’s Docs is one of the tools you should consider using. It allows you to create and save your design brief template in Docs.
The product allows you to add features like tables and embed bookmarks to format your document. It is a document collaboration tool that allows you and your team to edit the document in real time. You can share this Doc page with clients or other stakeholders via a public or private link.
Finally, you can integrate the document into the tasks in your project management workflows.
After receiving all the details from the project’s brief, ensure you understand each requirement and get any questions answered in this early stage.
Remember, your brief will be your point of reference throughout the graphic design process.
The project creative brief will give you many details about a particular project. It’s essential information, but that’s not all the information you need to deliver a fantastic concept or design. You still need to perform your research to get a better understanding of the company goals and know how to use your skill to help them achieve those goals.
Start by looking at the company’s previous projects in its graphic design library to get a sense of specific useful trends like the type of designs the company’s clients interact with the most on online platforms. You could also request access to social media data and landing page tools activity reports to confirm this.
Also, review the company’s style guides as part of your research. That’s important because you want to ensure your final output aligns with the company’s branding. Apart from the guides, you can check out the other marketing collateral and platforms the company has already produced.
For instance, if you’re creating a social media infographic, check out what the company has posted on their account in previous instances to get general ideas like the project’s fonts, preferred colors, among others, for that type of content.
But if you’re designing a graph for their website, then check out their website first so you can understand the company’s website design practices, font, colors, and other visual elements.
It’s beneficial to conduct general market research to understand the design trends in specific industries. You do not have to follow them, but it is information worth having.
For instance, you might find that there are design elements your target audience interact with more on online platforms, or find which fonts or colors work well in specific industries. Additionally, you must conduct competitor research.
From your findings, you can point to similar elements working for most brands. You also get informed on the existing competitor designs and concepts to avoid creating concepts similar to other brands.
While all this research can be laborious and time-consuming, tools like ClickUp’s Notepad make the note-taking part of it easier.
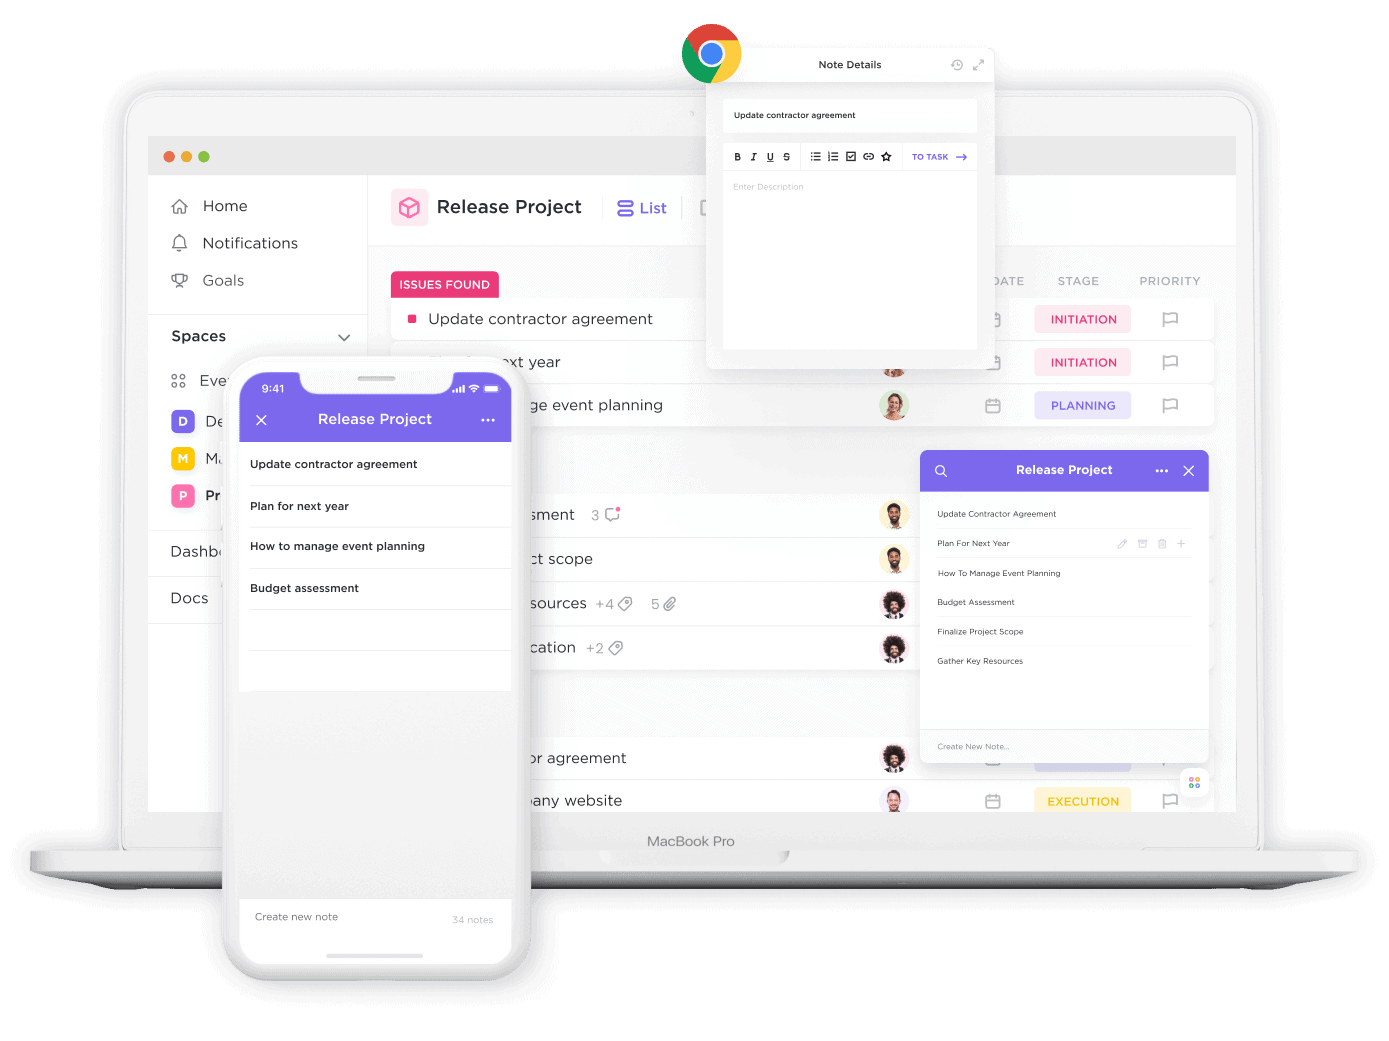
The note-taking app allows you to take trackable notes from anywhere. You can use its rich formatting features to organize your data with bullet points, highlight important findings with colors, and adjust headers to show text structure.
The best part about the feature is you can capture notes from anywhere, either on your phone app or through ClickUp’s Chrome Extension, and turn your notes into an actionable task in ClickUp.
By this point in the process, you should have a strong idea of what your clients or management is looking for and what’s currently working in the industry.
The next step of your graphic design process concept development—it’s time to find ideas that will reach and exceed your client’s expectations. It’s time to look for inspiration through brainstorming sessions; kick off your brainstorming session after you have received the brief and the research findings are still fresh.
The only thing better than creative ideas from a single designer is more ideas from more designers. So share the brief and research with your graphic design team to collaborate and bring all your bright ideas together. For effective brainstorming sessions, you’ll need a tool to help connect all your ideas and create roadmaps you can easily refer to.
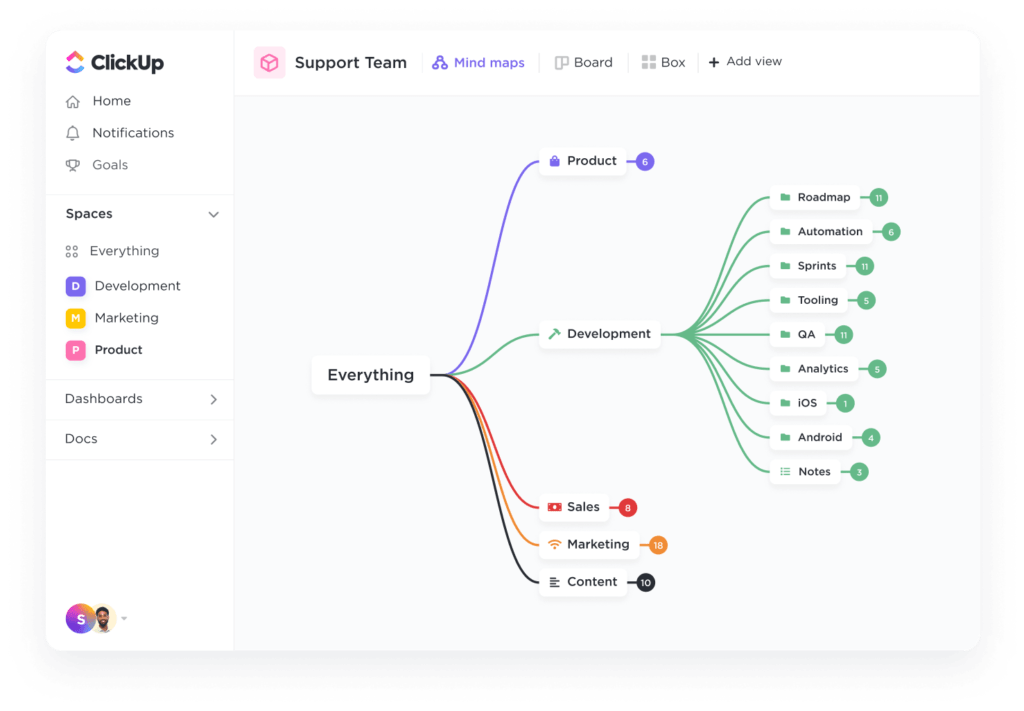
In this case, use ClickUp’s Mind Maps to plan and organize ideas to create a more visual outline. You can also share your Mind Maps with your team, clients, and others, making it easier for anyone to visualize the design process and ideas or give feedback.
Finally, ensure your design ideas are aligned with the project creative brief and research before moving to the next step of the graphic design process.
Once you have settled on the best design ideas, the next step in your creative process should be to put them on a mood board— a collection of visual content that creates a rough idea of what your final concept could look like.
Here’s an example of a typography mood board below because it helps you visualize the wide array of fonts you can use for a specific project and the corresponding image styles that can go with them.
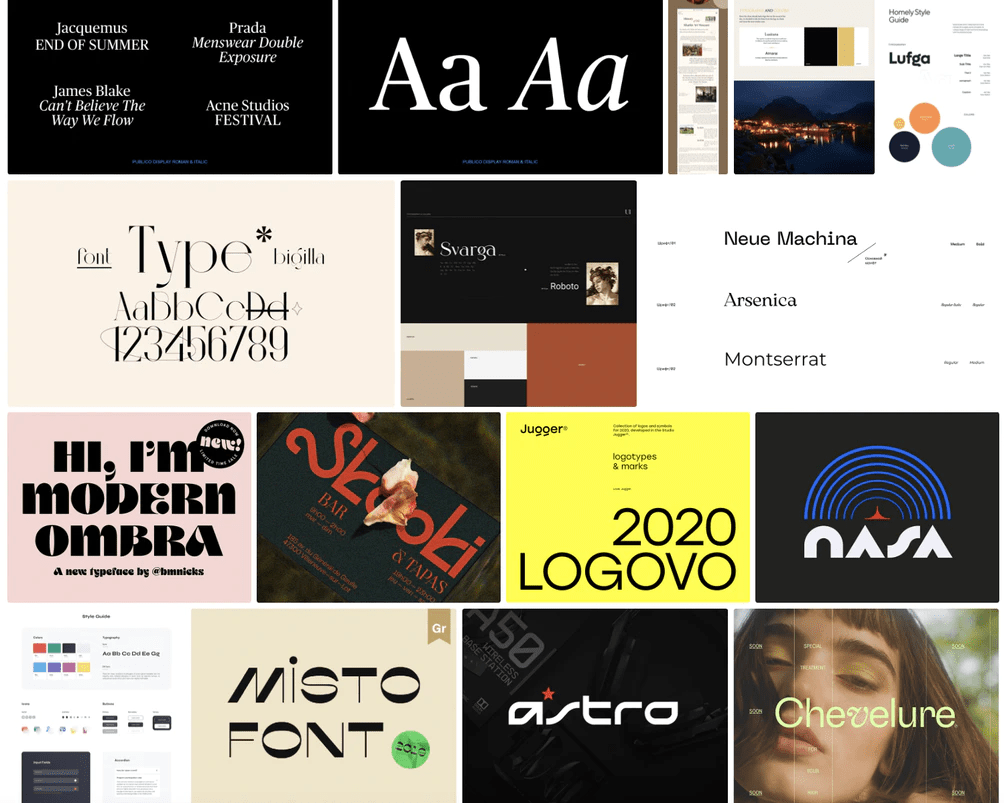
That’s not the only things you can include in your mood board. Since mood boards help you define where your project direction, try adding anything that helps you whether it’s illustrations, descriptive words, or color palettes.
A mood board is the closest you can get to seeing what your end product could look like, even before you work on it. As a result, it makes it easy to see the best ideas to go with and those you need to throw out. Also, it is possible to notice the designs you could combine to create even better designs.
Bonus: Check out 10 Free Mood Board Templates to Organize Your Ideas
Different graphic designers approach mood boarding differently. Some prefer physical mood boards, while others prefer digital mood boards. Either one of the two will work just fine. But, if you are working with a remote design team, the digital mood board is the way to go.
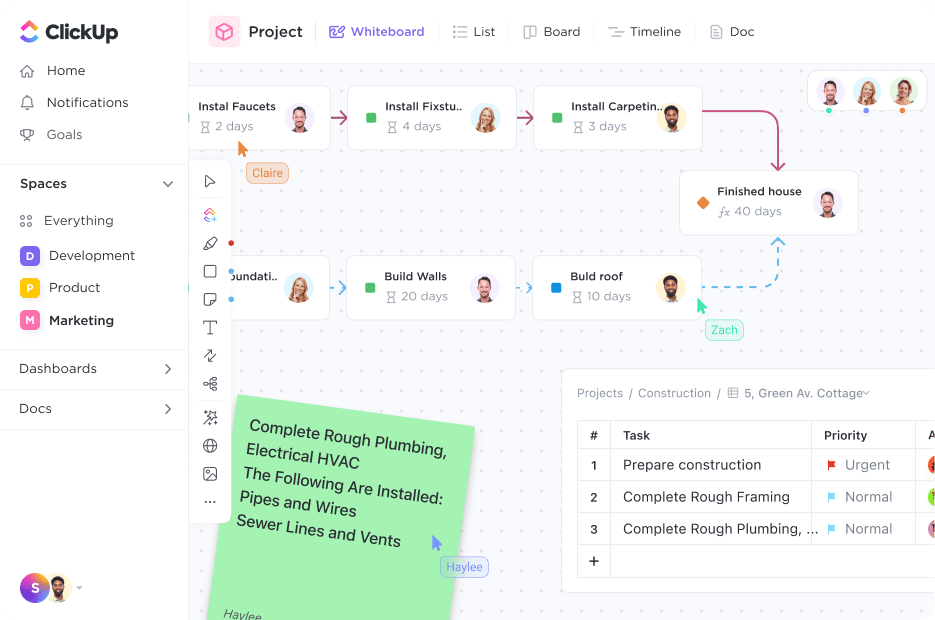
You can collaborate with other creatives from anywhere throughout the creative process as long as you provide the necessary access. One of the best resources you can use for digital mood boards is ClickUp’s virtual Whiteboards software.
The Whiteboards allow users to visualize concepts, link multiple objects by different people, and upload images, links, and ClickUp tasks.
Mood boards are easy to refer to if you or anyone on your team are stuck at any point in your design process. Just remember to stick to the brief requirements and whatever info you gained from your research.
Share the mood board ideas with your clients and other stakeholders to see if you are all on the same page. That’s important because if they have a different vision, you can adjust to it before going too far. Don’t lose time and effort repeating the process later.
At this stage of your graphic design process, the ideas are on the wall, literally. So it’s time to put them on paper or digital devices like iPads or computers, whatever works best for you.
Create as many rough sketches as possible because you are still exploring your options. At this point, you do not have to refine or capture every little detail. Just give enough details to get an idea of the overall concept you are going for.
An excellent example of such a sketch is the WWF logo. The sketch is not as detailed as the final design. Instead, it focuses mainly on the concept of having Pandas as the official logo.
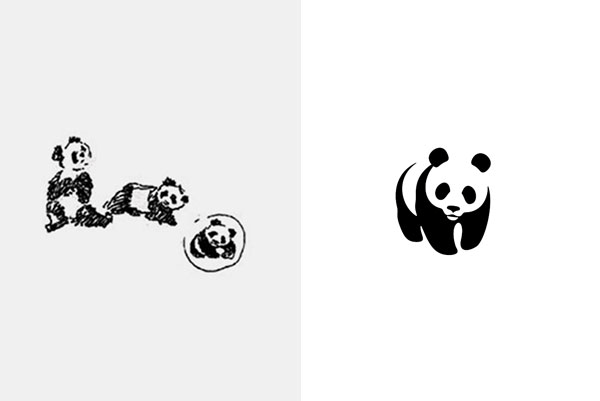
As you sketch, you may think of better ideas for details to add to your design or fonts to use. But remember to use the mood board to inspire and guide you through your sketching process.
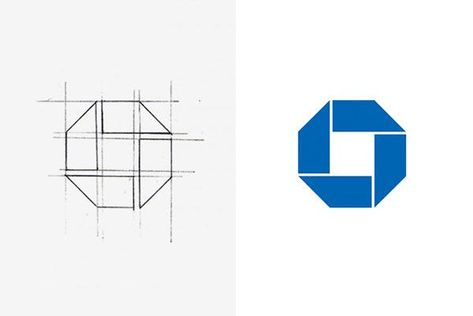
Once you are done sketching, look over your concepts and shortlist the best sketches to present to your clients or management. So, for instance, if you have 20 sketches, choose five best.
For these five, you should spend more time highlighting the details. For instance, create a digitalized mock-up with graphic design software to achieve that professional look. The Chase Bank original logo sketch shows the digitized version in a more presentable way.
Client feedback is one of the most nerve-wracking stages of a graphic design workflow, but it’s fine if you follow the creative brief and develop a quality product. At this stage, the client or management will choose a graphic design sketch and give instructions for any revisions.
You may weigh in and present your top choices and explain why, but remember to be mindful of their opinions and feedback as they are the client or management requesting these designs. The best route is to help them understand your point of view and creative direction. Try asking specific questions to understand their perspective and encourage them to point out what they loved about each design to formulate ideas for revisions.
Once you all have aligned on the desired modifications and creative direction, the next step is to get back on your graphic design software and work on the final designs with the client’s or management’s input in mind.
Design revisions are a workflow stage that even the best graphic designer must go through. In fact, you might have to do a couple of revision rounds before your client or management is satisfied with the final product.
But you could try to make multiple revisions per round to reduce the times you need to revise your final design. Also, an excellent graphic design workflow process allows for internal feedback from colleagues and graphic designers’ communities.
This feedback catches some of the issues with your design before the presentation, which shortens the feedback process.
Once your clients or management give their design feedback, provide a short time allowance if they change their minds. If there’s more feedback to add, which is very normal, give it a day or two to send a confirmation and proceed with the revisions. That will save you a lot of time redoing your design.
The most important thing while making revisions to the design is avoiding going against the clients’ or management’s requests. Whether you agree with it or not, it is too late to add ideas.
They have already settled on the actual design they want. If you feel adjustments should be made, make recommendations with your client’s goal and preferences in mind.
Most importantly, be mindful of deadlines. Assess the design feedback and request a timeframe extension if needed, so you have enough time to deliver a high-quality end product.
Presenting your final concept for client approval is the last step and deciding moment in your graphic design workflow. By this point of the process, you should have made all the revisions necessary and are ready to present your masterpiece design.
But before presenting it, follow these steps:
Once you’ve checked the items above on your list, it’s time to present your work.
If you’re working with a client, in particular, it is essential to follow up a short while after sending the finished product to see if your product was up to their standards. That goes a long way to helping build positive working relationships that will put you top of your mind for upcoming graphic design projects.
A solid graphic design process and the right tools are essential to creating the best visuals. Businesses rely on stellar designs to generate leads and communicate messages to their audience.
Whether you’re a graphic designer managing your business or an in-house graphics department, the right tools, such as a design project management app, help you with critical steps in the graphic design workflow, such as document ideation, store research, and understanding the importance of the client-feedback process.
Remember, doing it right and being prepared from the beginning will not only help you save time and shorten the design process. It will also help ensure you deliver visuals that are not only aesthetically pleasing but also deliver the best possible results.
Good luck!

Ian Loew is a web entrepreneur and inbound marketing expert and the Owner & Head of Business Development of Lform Design.
After four years of helping Fortune 500 companies with MGT Design, Ian embarked on his freelance career before establishing Lform Design in 2005. When not at the helm, Ian can be found mountain biking with friends or spending time with his family.

Manasi Nair
Max 10min read
Manasi Nair
Max 12min read

© 2026 ClickUp


