
Sorry, there were no results found for “”
Sorry, there were no results found for “”
Sorry, there were no results found for “”
Building a custom, organized calendar is key for time management and productivity, so let’s learn how to create a calendar template in Word instead of reinventing the wheel.
Ready when you are! 🏁
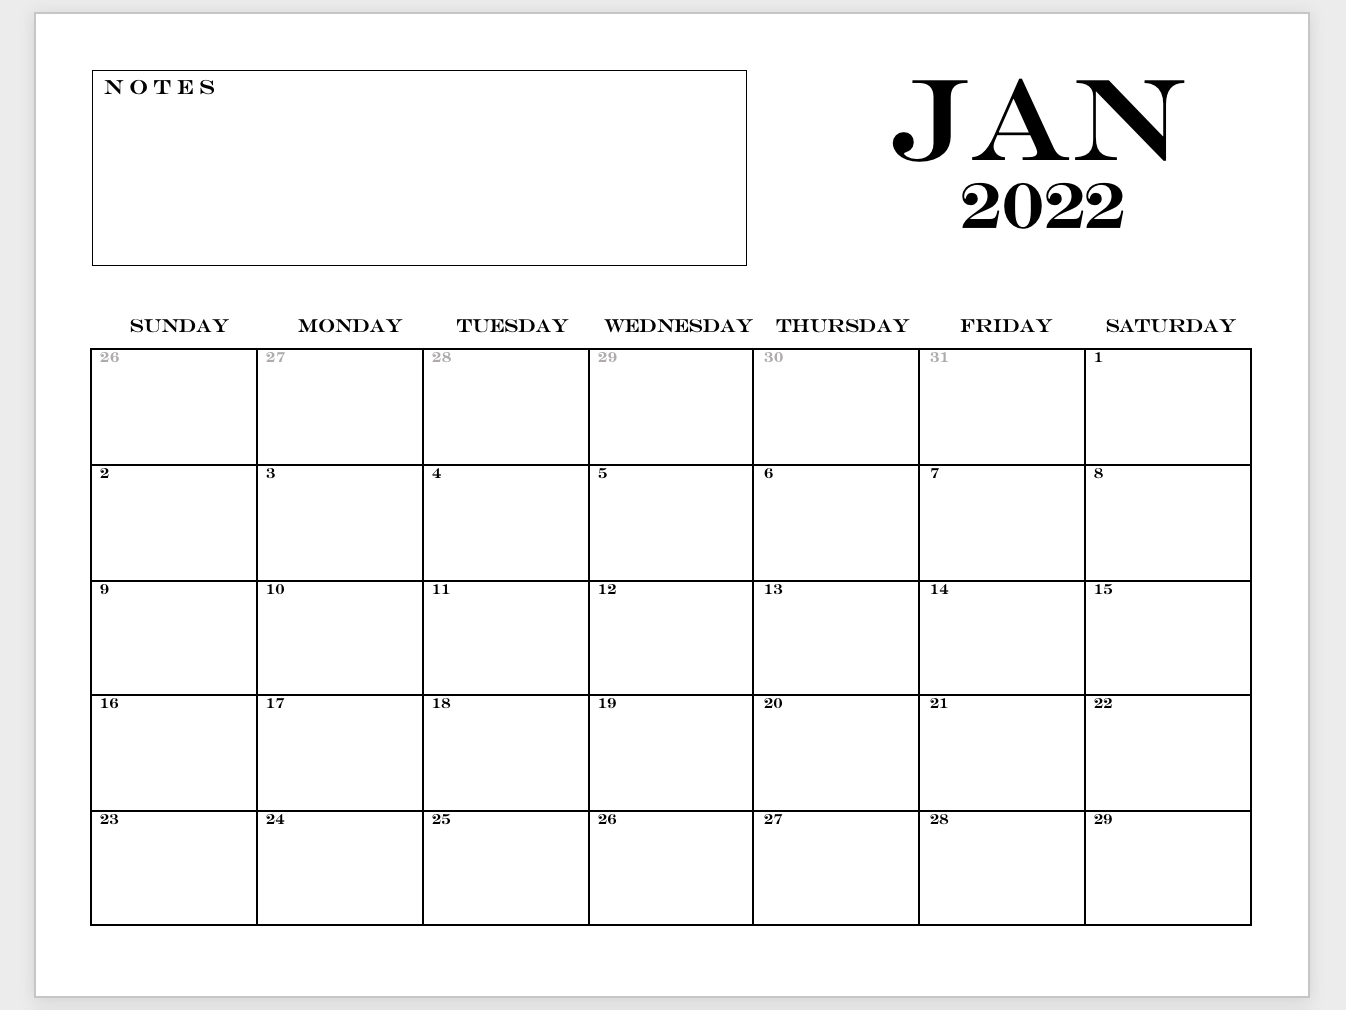
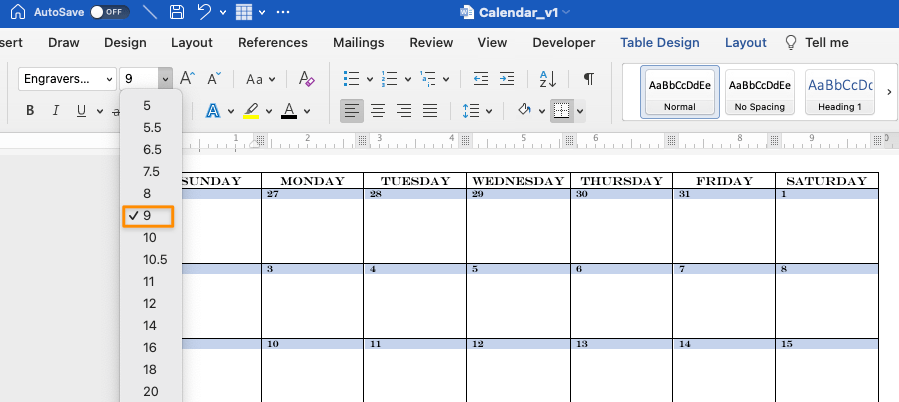
Open a blank Word document, switch to landscape, and enable rulers. Insert a 7×6 table after adding spacing, stretch the rows to the page bottom, and distribute them evenly. Center weekday labels (Sunday–Saturday), add dates, and apply ENGRAVERS MT (11 pt for days, 9 pt for dates). Format borders on the top row only, add a Notes box, and place aligned month/year text boxes with outlines removed. Save the file as a .dotx template before adding events. For a faster, no-formatting workflow, try ClickUp’s Calendar Planner Template.
Note: In this tutorial, we use Microsoft Word for Mac Version 16.54. The steps and features may look different if you’re on another platform or version.
1. Open Microsoft Word, select Blank Document > Create
2. Under the Layout tab, select Orientation > Landscape
3. Go to the View tab, check the Ruler box

1. Place your cursor at the top left corner of the page and press enter ten times to bring the cursor farther down
2. Under the Insert tab, select Table, hover over a 7×6 table, and click to populate seven columns and six rows

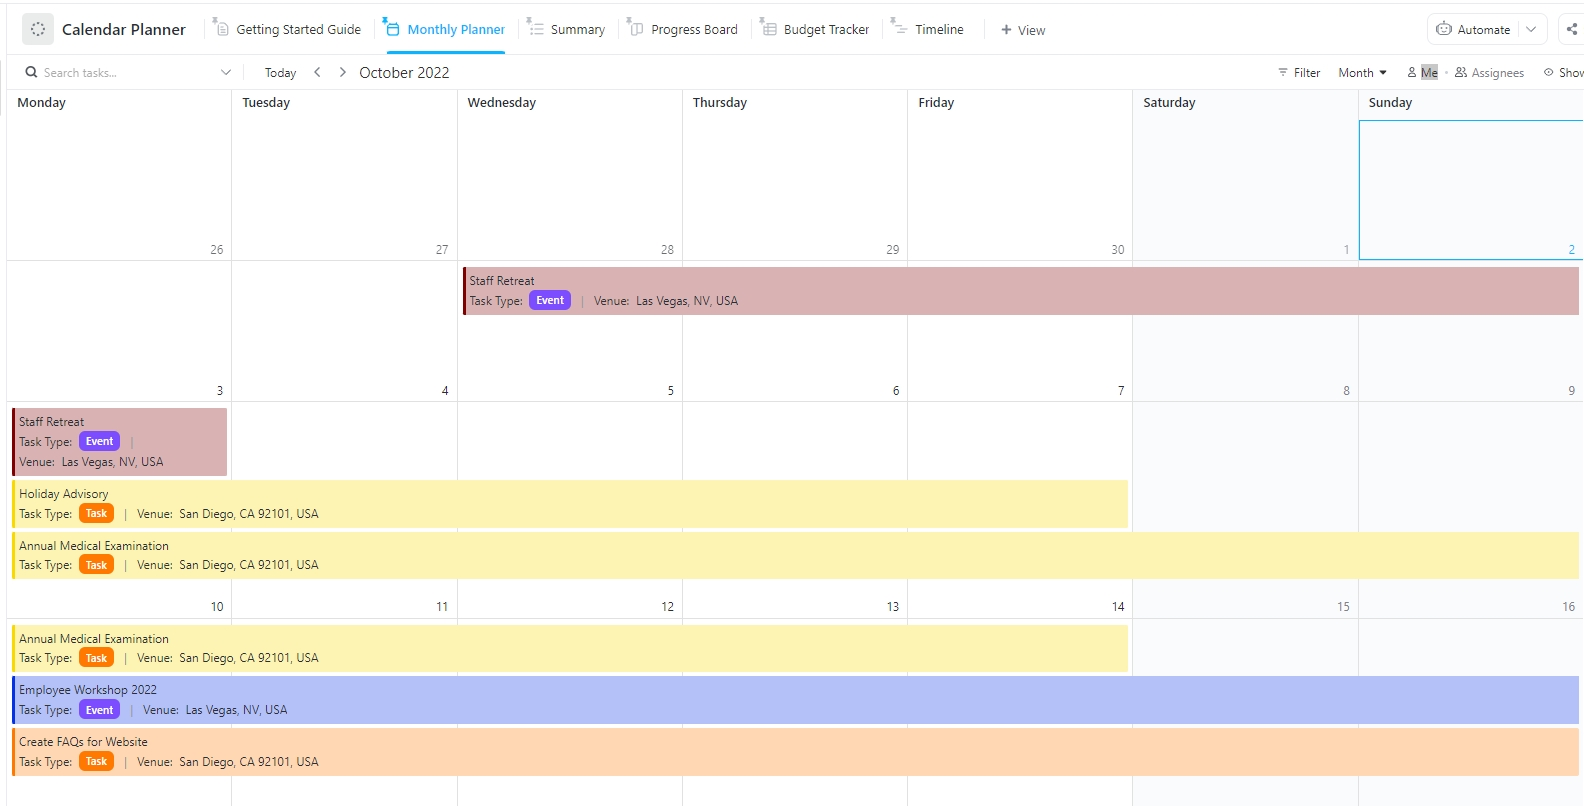
Creating a calendar in Word takes too much clicking and formatting. ClickUp’s Calendar Planner Template is ready to go—just plug in your plans and start scheduling in minutes.
1. Click and drag the bottom row to the bottom of the page
2. Click and drag to highlight all the table’s cells except the first row
3. Under the Layout tab, click Distribute Rows

⚡️ Tip: Press Command + P ( Ctrl + P for PC users) or select File > Print any time during your build to preview how it will print/save
1. In the first row, type Sunday through Saturday (you can start the week on Monday if you’d like!)
2. Highlight the days in the first row, and under the Layout tab, select Align Center
3. Add the calendar dates to the remainder of the cells starting with the second row
4. Customize the text
Optional: Highlight the previous or next month’s dates and change the font color to grey

1. Highlight the days in the top row, and under the Table Design tab, select Borders > No Border
2. While the text is still highlighted, select Borders > Bottom Border

1. Under the Insert tab, select Shapes > Text Box
2. Click and drag to create a rectangular box using the ruler for measurement guidance
3. Click inside the Text Box and type: N O T E S
4. Highlight the text and change the font type to match your calendar’s font

1. Under the Insert tab, select Shapes > Text Box
2. Click and drag to create a rectangular box using the ruler for measurement guidance
3. Type in the month, adjust the font to your liking and change the font size to 72
4. Copy and paste the Text Box, type the year, adjust the font to your liking, and change the font size to 40
5. Use the rulers to align both text boxes
6. Remove the text borders from the month and year text boxes by holding down the shift key and selecting both. Under the Shape Format tab, select Shape Outline > No Outline

Note: Save the document as a template to reuse again before you add any events.
1. Go to File > Save as Template… and a dialog box will appear
2. Enter your calendar template name under Save As
3. Add relevant tags under Tags (for Mac users)
4. Choose where you want to save your calendar template
5. Check the File Format is set to Microsoft Word template (.dotx)

Related 👉 Learn how to make a timeline in Microsoft Word!

Search “calendar” in Word templates, download options like Horizontal Calendar, enable macros cautiously for New Dates to auto-populate month/year, adjust themes, colors, fonts via Calendar tab, modify table designs, and add events; reset to original anytime. Macros automate date changes but require trusted sources. These tweaks create professional, personalized calendars quickly.
1. Launch Microsoft Word
2. At the top right corner, click More templates
3. Type calendar in the Search bar to populate calendar-specific Word templates
4. Or click on an image below to download free online templates from the Microsoft template store:

1. If you have macros enabled, go to the Calendar tab > Select New Dates
2. Choose your Month and Year from the dialog box and click OK
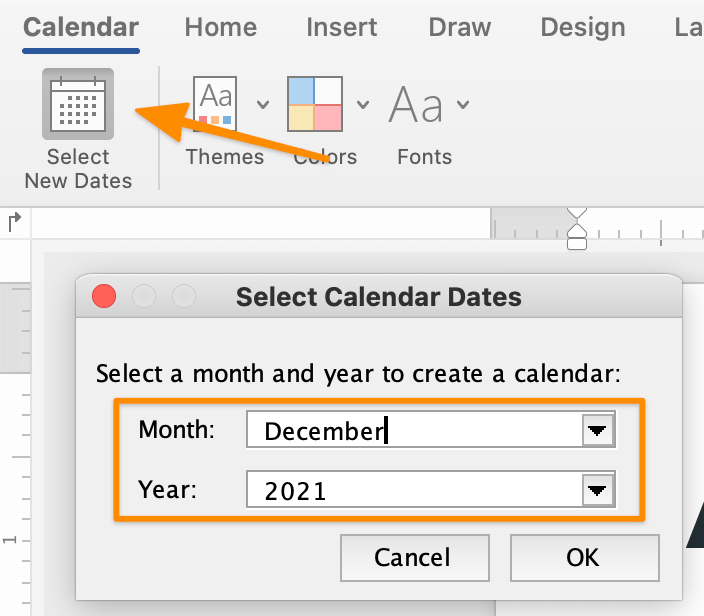
Pause. ⏸
Let’s talk about macros for a minute. Macros are a series of commands used to automate a repeated task. For example, the macros in the Word calendar templates allow you to choose any month and year, and the dates will automatically populate for you.
⚠️ Remember: don’t enable macros from an untrusted source. Check out Microsoft’s support page for more information about enabling or disabling macros.
3. Change the template theme under the Calendar tab > Themes > explore the drop down menu for more options

4. Change the colors of the template theme under the Calendar tab > Colors > explore the drop down menu for more options

5. Change the font of the template theme under the Calendar tab > Colors > explore the drop-down menu for more options

⚡️ Tip: If you want to reset to the original calendar theme at any time, go to Calendar tab > Themes > Reset to Theme from Calendar Template
6. Under the Table Design tab, click the down arrow to scroll and find dozens of options available to change the overall table design

7. Add events to your calendar, and you’re all set!
If you’re looking for other handy calendar guides, check out these resources:
Microsoft Word offers multiple print-friendly calendar sizes, from desk and wall formats to large poster layouts, but choosing the right one depends on your planning needs. You can insert and edit photos using Word’s formatting tools, though layout shifts are common—using text boxes helps keep images stable. Sharing calendars is simple via OneDrive links, and you can duplicate layouts to build month-over-month pages. For better organization, color coding and emojis make schedules clearer and easier to scan.
Command + P or select File > Print any time during your build to preview how it will print/save. This will help spot any issues before you’ve gone too farIf searching through Word functions feels as cluttered as your catch-all kitchen drawer, you’re not alone! Get the facts here. ⬇️
After you’ve created your calendar with the formatting and design complete and before you add any deliverables/events, copy and paste the calendar into a new page and adjust the date. Here’s how:
Command + A to select allCommand + C to copyCommand + V to pasteCtrl + A to select allCtrl + C to copyCtrl + V to pasteThe best way to organize your online calendar is whatever method that optimizes your time and planning needs. What works for others may not work for you, and that’s perfectly okay! Here are a few suggestions to organize your calendar:
On top of calendars, learn how to create a mind map in Word!
Trying to create documents in Word is often frustrating due to formatting issues like images breaking layout when moved, inconsistent toolbars across versions, high costs starting at $159.99, and alignment problems with text, tables, and images. Word’s complexity makes it time-consuming to learn and get desired results. Fortunately, alternatives exist to ease this burden.
Trying to master the sea of “basic” functions to create a document in MS Word can be summed up in one word: stressful. Let us know if this is an accurate representation of using MS Word:
1. You insert an image
2. You move it slightly to the right
3. Everything below the image breaks the formatting
4. You move the image back to its original place
5. Everything below the image laughs
Here’s what you should know before investing time, energy, and resources in Microsoft Word:
❌ Although Word is a versatile platform, it’s also time-consuming to get the desired result
❌ The functions on the toolbar/Ribbon are different from version to version
❌ Microsoft Office desktop applications (including Microsoft Powerpoint, Microsoft Excel, and more) are pricey. The Word app alone starts at $159.99
❌ Difficulties with aligning text, tables, lines, and images for the desired effect are common problems
❌ It’s a complex program to learn and use efficiently
Don’t worry—you have options!
Bonus: Check out some of these Microsoft Word alternatives.
ClickUp eliminates Word’s manual formatting issues with an AI-powered all-in-one workspace integrating tasks, ClickUp Calendar (auto-scheduling, AI Notetaker, prioritization), Home schedule view, Google/Outlook/Apple syncs, and mobile access. Teams leverage templates like Content Calendar, Promotional Calendar, and Event Planning templates for instant setup. This delivers real-time collaboration across Projects, Docs, Brain, Chat without work sprawl.
These realities about MS Word are why it’s essential to use an intuitive software tool to remove the manual work and update in real-time like ClickUp. ✨
ClickUp is the ultimate everything app for work. Our productivity platform integrates task management, calendars, chat, and documentation in one AI-powered solution. This allows teams to manage projects, collaborate smarter, and bring all work under one tool.
Whether you’re new to productivity apps or a seasoned project manager, ClickUp’s customization can stretch to any team size for consistent collaboration.
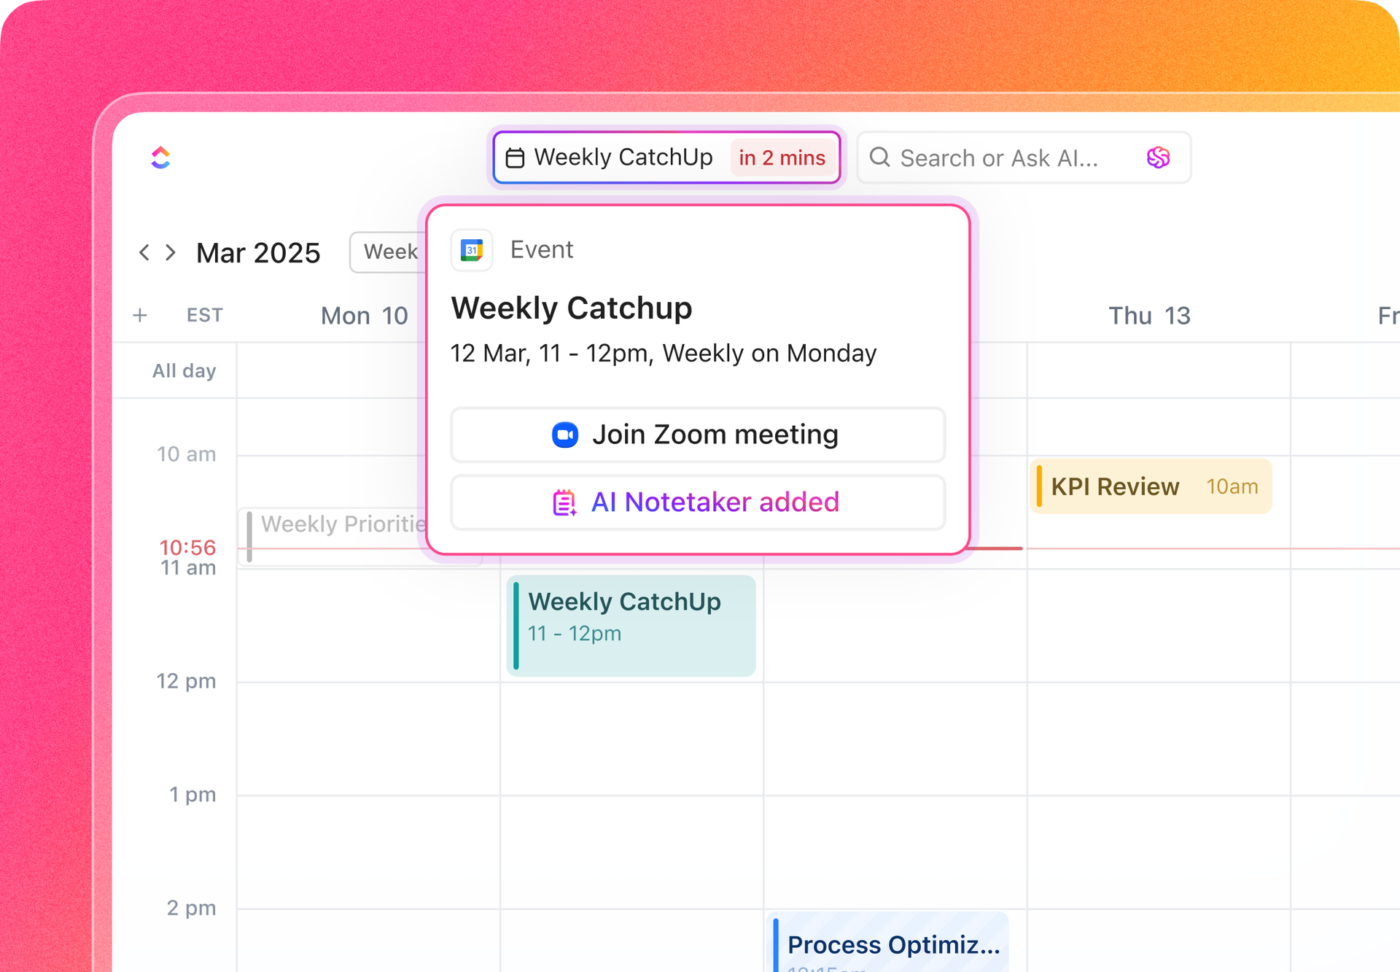
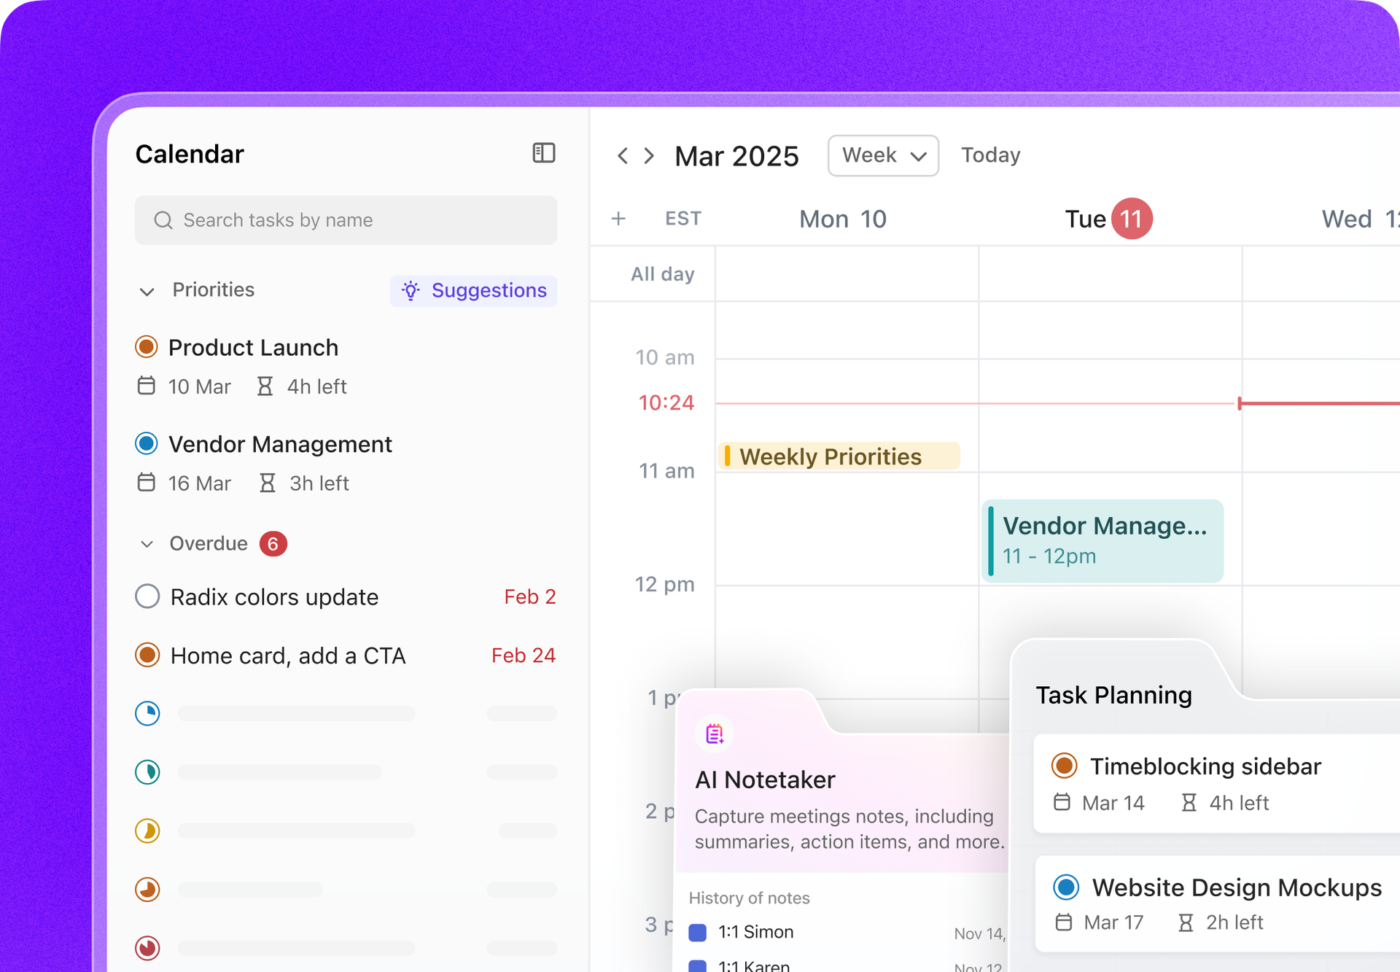
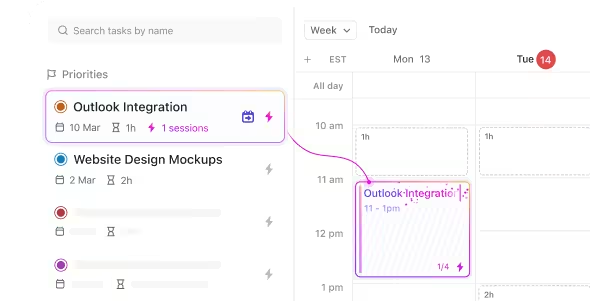
From auto-scheduling tasks to setting new appointments—ClickUp Calendar is prioritization perfected. The AI-powered Calendar smartly blocks time and schedules (and reschedules) tasks to keep you on track.
Schedule and join calls directly from the Calendar, and turn meeting notes and action items directly into tasks from here! You can also receive AI-generated suggestions of tasks to prioritize.
ClickUp offers calendar feeds that let you send scheduled tasks directly to your favorite calendar app: Apple Calendar, Outlook, or any calendar that allows you to subscribe with a URL feed. You can even connect as many calendars as you want to different ClickUp Spaces, Folders, and Lists.
Prefer a two-way sync? Connect ClickUp and Google Calendars! ✨

Home in ClickUp provides a panoramic view of your most important items so you always know where your focus should be. So your calendar will always be next to your work!
Your calendar in Home shows your scheduled tasks and reminders for the day. You can also add and display your Google Calendar events and national holidays alongside your ClickUp tasks and reminders.

The Calendar view in ClickUp is your source of truth for scheduling, planning, and resource management.
Or, get started with ClickUp calendar templates made for you:
Bonus: Content Calendar Templates!
If you prefer using a paper calendar for project management but still want a digital copy as a backup, ClickUp’s got you covered! The Calendar View is optimized for mobile, so you can create tasks or reminders within the mobile app while you’re on the go!

We spend about 90% of our time experiencing formatting pains using Microsoft Word and 10% using our calendars for the intended purpose. Try ClickUp’s calendar today, or kindly send this article to a friend who doesn’t know the difference between macaroons and macros.
Save hours of work each week with the help of the everything app for work. Try ClickUp for free today.

Manasi Nair
Max 19min read
Manasi Nair
Max 21min read
Manasi Nair
Max 24min read

© 2026 ClickUp