


Still downloading templates?
There’s an easier way. Try a free AI Agent in ClickUp that actually does the work for you—set up in minutes, save hours every week.
Sorry, there were no results found for “”
Sorry, there were no results found for “”
Sorry, there were no results found for “”


Need to organize your work life? ✅
Want to meet deadlines without worrying you’ve forgotten something important? ✅
Wish for peace of mind as you navigate your many commitments? ✅
A checklist is a job aid that provides a clear and visual representation (in the form of a numbered or bulleted list) of all the things you need—whether that’s information or actions you need to take—to complete a task.
Checklists help you accomplish large tasks by breaking them into manageable steps and ensuring no detail gets overlooked.
Do you want to reduce your cognitive overload? A checklist is the way to go.
Checking things off a checklist can also provide an immediate dose of productivity-related positive reinforcement. It means you’re on your way to your goal.
In the modern workplace, managing checklists across various platforms has become essential for data organization and task management.
How does Google Sheets help with this process?
For starters, Google Sheets is a versatile and collaborative platform that is easily accessible from anywhere, so it’s ideal for shared checklists. Secondly, with its intuitive interface, you can quickly create, customize, and modify checklists as the task demands.
Google Sheets’ integration with other Google Workspace tools, such as Google Docs and Google Forms, enables seamless data import and export, which boosts workflow efficiency for you and your team.
Let’s discover how to create a checklist on Google Sheets so you can become more organized, time-efficient, and productive.
Tired of messy checklists in Google Sheets? Try free ClickUp’s Project Checklist Template to keep tasks clear, simple, and stress-free.
Using Google Sheets to create a checklist requires the use of several key features and functionalities, such as checkboxes, cell formatting, formulas and functions, comments and notes, and sorting and filtering. Google Sheets comes equipped with all of these, which makes it a versatile tool for personal or professional use.
Let us guide you through basic and advanced checklist setups to maximize the tool’s full potential.
1. Open Google Sheets and create a new spreadsheet.
2. In the first column (A), list the tasks you need to accomplish or items you need to check for. Each task should be in a separate row.

3. Add checkboxes by selecting the cells next to your tasks in column (B) and clicking ‘Insert’ in the menu bar. In the menu, select ‘Checkbox.’

4. Adjust the column widths to ensure the checkboxes and task descriptions fit well. You can also use bold text or different colors for headings and important tasks. Although this step is optional, it helps format the Google sheet in an aesthetically-pleasing way.
5. Click the checkbox next to a task to mark it as complete. The box will be checked, visually indicating the task’s completion.

1. First, create a basic checklist by following the steps described above.
2. Add due dates against each task in column (C).
3. In column (D), assign priority levels (e.g., High, Medium, Low). Use ‘Data’ > ‘Data validation’ to create a dropdown list.
4. Add conditional formatting. Highlight the range containing your tasks (for example, A2:A10). Go to ‘Format’ > ‘Conditional formatting.’ Set the format rules.
For instance, select “Custom formula is” and enter ‘=B2=TRUE.’ Choose a formatting style (e.g., strikethrough, different text color, and bold text box for emphasis) to be applied when the checkbox is checked.
5. Link to resources. In column (E), add hyperlinks to relevant resources or documents for each task.
6. Create subtasks, if needed. In the new column (F), indicate whether a task is a main task or a subtask. Alternatively, indent subtasks within the same column (A) for visual clarity.
7. Set up a progress tracker
In an empty cell (e.g., F1), calculate the completion percentage:
“`plaintext
=COUNTA(B2:B10) – COUNTIF(B2:B10, FALSE)
“`
In another cell (e.g., F2), display the total number of tasks:
“`plaintext
=COUNTA(A2:A10)
“`
Combine these to show the percentage of tasks completed:
“`plaintext
=CONCAT(F1, ” of “, F2, ” tasks completed”)
“`
8. To apply data filters, select the entire header row and click ‘Data > Create a filter’ to enable filtering. Sort and organize tasks by due date, priority, or completion status.
9. Share your Google Sheet with team members and add a column (G) for assignees to assign tasks to individuals.
10. Use Google Apps Script to automate repetitive tasks. Go to ‘Extensions > Apps Script’ to open the script editor and write custom scripts to automate functions like sending reminders or updating task statuses.

Read more: 10 Best AI Excel Tools to Optimize Your Spreadsheet Workflow
As we’ve seen above, creating a checklist on Google Sheets is relatively simple and efficient. However, there are some cons to consider:
Considering the drawbacks, it’s important to evaluate whether Google Sheets is the right tool for your project management checklist requirements. If it isn’t, it might be worth exploring other options in the market.
ClickUp’s Task Management Platform is a robust tool that fills all the gaps listed above.
If creating a checklist in Excel or Google Sheets isn’t meeting your requirements, ClickUp Task Checklists might be what you’re looking for. Besides listing and organizing groups of to-do items, you can add dependencies and visualize progress, ensuring you meet deadlines and expectations every time. You can also use ClickUp Task Checklists for quality control processes.
With ClickUp Tasks, you can automate notifications based on specific triggers. So without the need for manual intervention, you can rest assured that relevant stakeholders will be notified when something changes in your checklist.
Struggling to figure out what to tackle first? You can also set a priority list on ClickUp to help you focus on items in the checklist that matter most.
With ClickUp, you can also play with how you want to view your checklist. Choose from views such as List, Board, Calendar, and Gantt, to cater to your preferences and workflows.
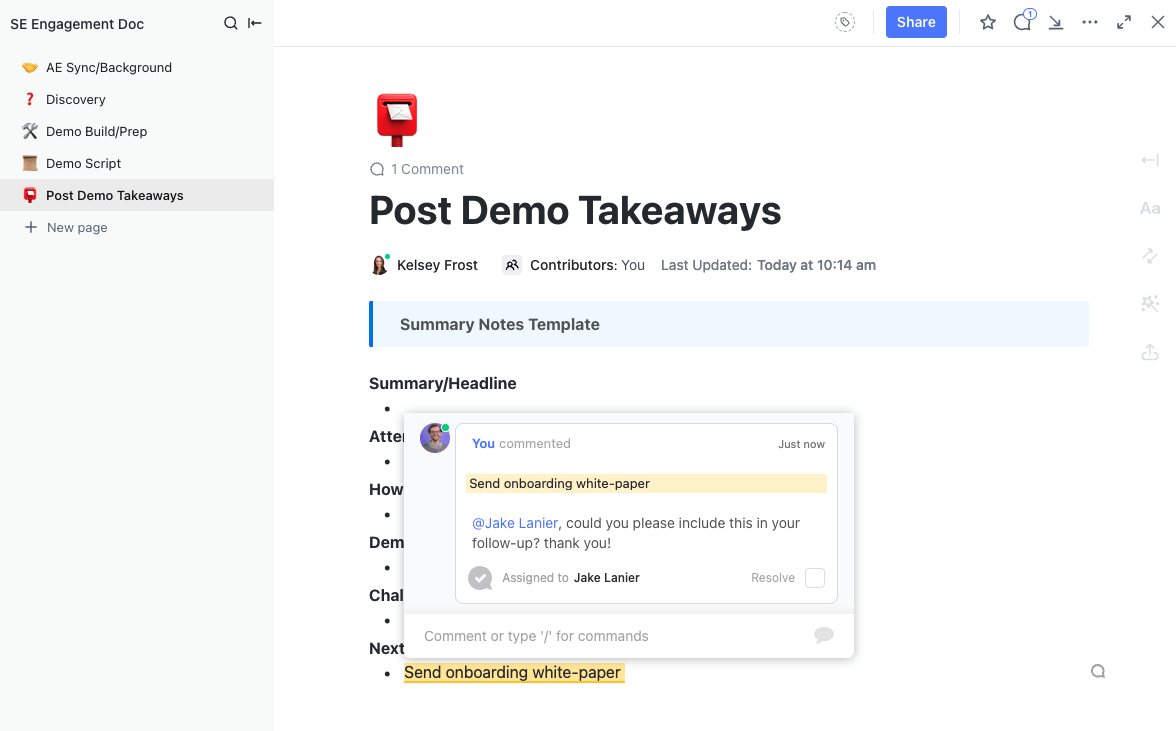
Plus, with additional characteristics like ClickUp Assign Comments and real-time editing, you can transform your simple checklists into a highly contextual assets that help your team stay on the same page.
Finally, ClickUp also integrates with many third-party tools, such as Time Doctor, Slack, and One Drive, to extend its functionality. Using ClickUp means you can centralize work without ever needing to leave the platform.
With its built-in time tracking feature, you can even monitor your time on tasks. If a task on your checklist is taking longer than usual, break it down into chunks and delegate these sub-tasks to different team members. This will reduce completion time and improve productivity in the long run.
Now that you’ve seen the benefits of creating and executing checklists in ClickUp, what do you do about the checklists you already have on Google Sheets?
Easy. Migrate your checklists from Google Sheets to ClickUp by following these simple steps:
1. Ensure your Google Sheets checklist is well-organized with clear task names, due dates, priorities, and other relevant information. Format it properly if that’s not the case.
2. Go to ‘File > Download > Comma-separated values (.csv, current sheet)’ to export your checklist as a CSV file with our ClickUp Excel & CSV import feature.
3. Open ClickUp and navigate to the Workspace where you want to import your checklist.
4. Click the ‘+’ button to create a new List or Folder where your tasks will be imported.
5. Import the CSV File. Click on ‘Import’ in the sidebar, select ‘CSV Import,’ and upload the CSV file exported from Google Sheets.

6. ClickUp will prompt you to map the columns from your CSV file to the appropriate fields, like Task Name, Due Date, Priority, etc. Ensure each column is correctly mapped. Otherwise, tasks will be put into one List titled ‘CSV Import’ by default.
7. Review the data mapping and click ‘Import’ to complete the process. Your tasks should now appear in ClickUp with all relevant details.

Once the import is complete, rearrange your tasks into different Folders and Lists using the Bulk Action Toolbar. Also, remember to delete the import within ten days. After this period, items must be deleted individually or using the toolbar.
Here’s what to know before migrating Google Sheets checklists to ClickUp:
If you’ve decided to start a brand new checklist in ClickUp, we’ve got you covered. Here’s a step-by-step guide to creating and managing checklists on the platform.
1. Sign in to your ClickUp account and navigate to the desired Workspace and List.
2. Scroll down and select the ‘Action items’ tab.
3. Click the ‘+ New Task’ button to create a new task where your checklist will reside.
4. Inside the task, click the ‘Checklist’ button in the task options menu. To keep your checklist organized, give it an appropriate name.
5. Add items to your checklist by typing them in and pressing ‘Enter.’ You can also paste a list to add multiple items at once.
6. You can nest checklist items by dragging them under other items and creating sub-tasks within your checklist.
7. Assign specific checklist items to team members by clicking the assignee icon next to the item. Each checklist item can only have one assignee.
8. In ClickUp List View, you can easily see tasks with checklists and their completion status. Look for the checkbox icon next to task names. The number beside it shows the progress of the checklist items.
9. In your settings, enable ‘Checklist items created’ or ‘Checklist items resolved’ notifications to stay informed about changes. Switch on ‘Checklist items assigned to me’ notifications to get alerts when items are assigned to you.
Wait! There are a few more incredible ways to make checklist management a breeze on ClickUp:
Use ClickUp Checklist Templates to create standardized checklists for different projects and tasks quickly. Access templates via the ‘Templates’ button in the checklist options.
For instance, the ClickUp Project Checklist Template is ideal for staying organized throughout a project’s life cycle. Using ClickUp Notepad, you can brainstorm ideas, assign tasks and dependencies, allocate multiple assignees, set deadlines, and track progress.
There’s no need to reinvent the wheel—this template comprises subtasks that serve as the basic requirement for nearly all projects. You can simply add it to your Workspace and get started, and of course, customize it to your needs.
ClickUp also offers other task management templates that help keep everything under one roof. For example, if you want to plan a perfect trip, we also provide handy itinerary templates designed for stress-free travel.
At the end of the day, all you need is a checklist that accommodates different needs, from simple to-do lists to multi-step workflows.
ClickUp empowers you to accomplish more while stimulating your creativity. You can discover the best way to create, assign, or view checklists for maximum producitivty and adherence. It also integrates smoothly with your existing workflow, providing robust features such as drag-and-drop, tagging, and due dates in a central space.
And if you’re looking for something ready to use immediately, ClickUp’s surplus of checklist templates and handy to-do list templates will help you make the jump from getting organized to marking it done. ✓
With ClickUp, checklists become dynamic, actionable, and fun!
Sign up on ClickUp for free today and try it out for yourself.

© 2026 ClickUp

There’s an easier way. Try a free AI Agent in ClickUp that actually does the work for you—set up in minutes, save hours every week.