


Still downloading templates?
There’s an easier way. Try a free AI Agent in ClickUp that actually does the work for you—set up in minutes, save hours every week.
Sorry, there were no results found for “”
Sorry, there were no results found for “”
Sorry, there were no results found for “”

Microsoft Word is a word processing program used for writing memos and building reports, but it can also be used to make mind maps! A mind map is a flexible project management tool used to organize information and ideas.
In this guide, we’ll walk through how to create three versions of a mind map in Word, quick tips for mind mapping productivity, and a Word alternative to make your mind maps come to life!
1. How do you create a mind map in Microsoft Word?
You can build a mind map in Word using SmartArt Hierarchy graphics, drawing basic shapes, or formatting a text-based outline to visualize ideas.
2. What are the limitations of making a mind map in Word?
Word isn’t designed for mind mapping—it’s time-consuming to format, hard to expand, and offers limited collaboration and no automation.
3. When should you use a mind map for work or personal projects?
Mind maps are ideal for brainstorming, project planning, strategy visualization, creative development, and organizing complex information into clear structures.
4. What’s a better alternative to creating mind maps in Word?
ClickUp Mind Maps offer a drag-and-drop interface, task linking, real-time collaboration, and flexible editing—making it easier to build and manage visual ideas.
5. How does ClickUp enhance mind mapping workflows?
ClickUp lets you create freeform or task-based mind maps, rearrange branches instantly, share them with teammates, and integrate them directly with your projects.
A mind map is a non-linear flowchart that breaks down a central concept into digestible, related concepts. Mind maps help us learn better and faster than a traditional outline because they echo how our minds create—in images!
Not able to automate your tasks in the created mind map in word? use ClickUp’s Simple Mind Map Template that enables automation and easier use and workflow.
Not to say that you have to be a designer to create a mind map. This versatile tool is for all types of ideas and projects! Mind maps can help from planning marketing campaigns to collecting information about a key subject.
🌐 Strategy Mind Maps
🎨 Creative Mind Maps
🧠 Personal Mind Maps
👉 Check out more mind map examples!
You can build mind maps in Word using SmartArt for quick structured layouts, basic shapes for custom diagrams, or text-based outlines with color-coded categories and connector lines. Each method starts by setting up a landscape document for more space. SmartArt is fastest, shapes offer flexibility, and text-based mapping suits simple outlines. For quicker visual creation, ClickUp Brain can generate mind-map-style visuals automatically.
Note: In this tutorial, we use Microsoft Word for Mac Version 16.54. The steps and features may look different if you’re on another platform or version.

1. Open Microsoft Word
2. Select Blank Document > Create to open a new Word document
3. Under the Layout tab, select Orientation > Landscape
4. Under the Layout tab, select Margins > Narrow
Optional: To change the page color, go to the Design tab > Page Color > pick a color to apply
5. Add your document title at the top of the page, align to the center, change the font type (if desired) and increase the font size
6. Go to the Insert tab > SmartArt > Hierarchy > Horizontal Hierarchy
7. From the Text Pane dialog box, add your Central Idea, Topics, and Subtopics
Return key to add more text fields for key information and Shift key to create a bullet point for details underneath the key information
1. Open Microsoft Word
2. Select Blank Document > Create to open a new Word document
3. Under the Layout tab, select Orientation > Landscape
4. Under the Layout tab, select Margins > Narrow
Optional: To change the page color, go to the Design tab > Page Color > pick a color to apply
5. Add your document title at the top of the page, align to the center, change the font type (if desired) and increase the font size
6. Start with the Central Idea shape: Under the Insert tab > select Shapes > click any desired shape > draw the shape in the center
7. Next, choose a different shape for the Topics: Under the Insert tab > select Shapes > click any desired shape > draw the shape surrounding the Central Idea
8. Then, choose another shape for the Subtopics: Under the Insert tab > select Shapes > click any desired shape > draw the shape surrounding the Central Idea
9. Finally, insert straight lines to represent relationships between the Central Idea, Topics, and Subtopics: Under the Insert tab > select Shapes > Line > draw the line to connect two shapes
1. Launch Microsoft Word
2. Select Blank Document > Create to open a new Word document
3. Under the Layout tab, select Orientation > Landscape
4. Under the Layout tab, select Margins > Narrow
Optional: To change the page color, go to the Design tab > Page Color > pick a color to apply
5. Add your document title at the top of the page, align to the center, change the font type (if desired) and increase the font size
6. Double click anywhere on your Word document to add text (or insert text boxes)

7 . To categorize your Central Idea, Topics, and Subtopics, highlight the text go to Home tab > Font Color > click a color to apply
8. Under the Insert tab > select Shapes > Line > draw the line to connect two shapes

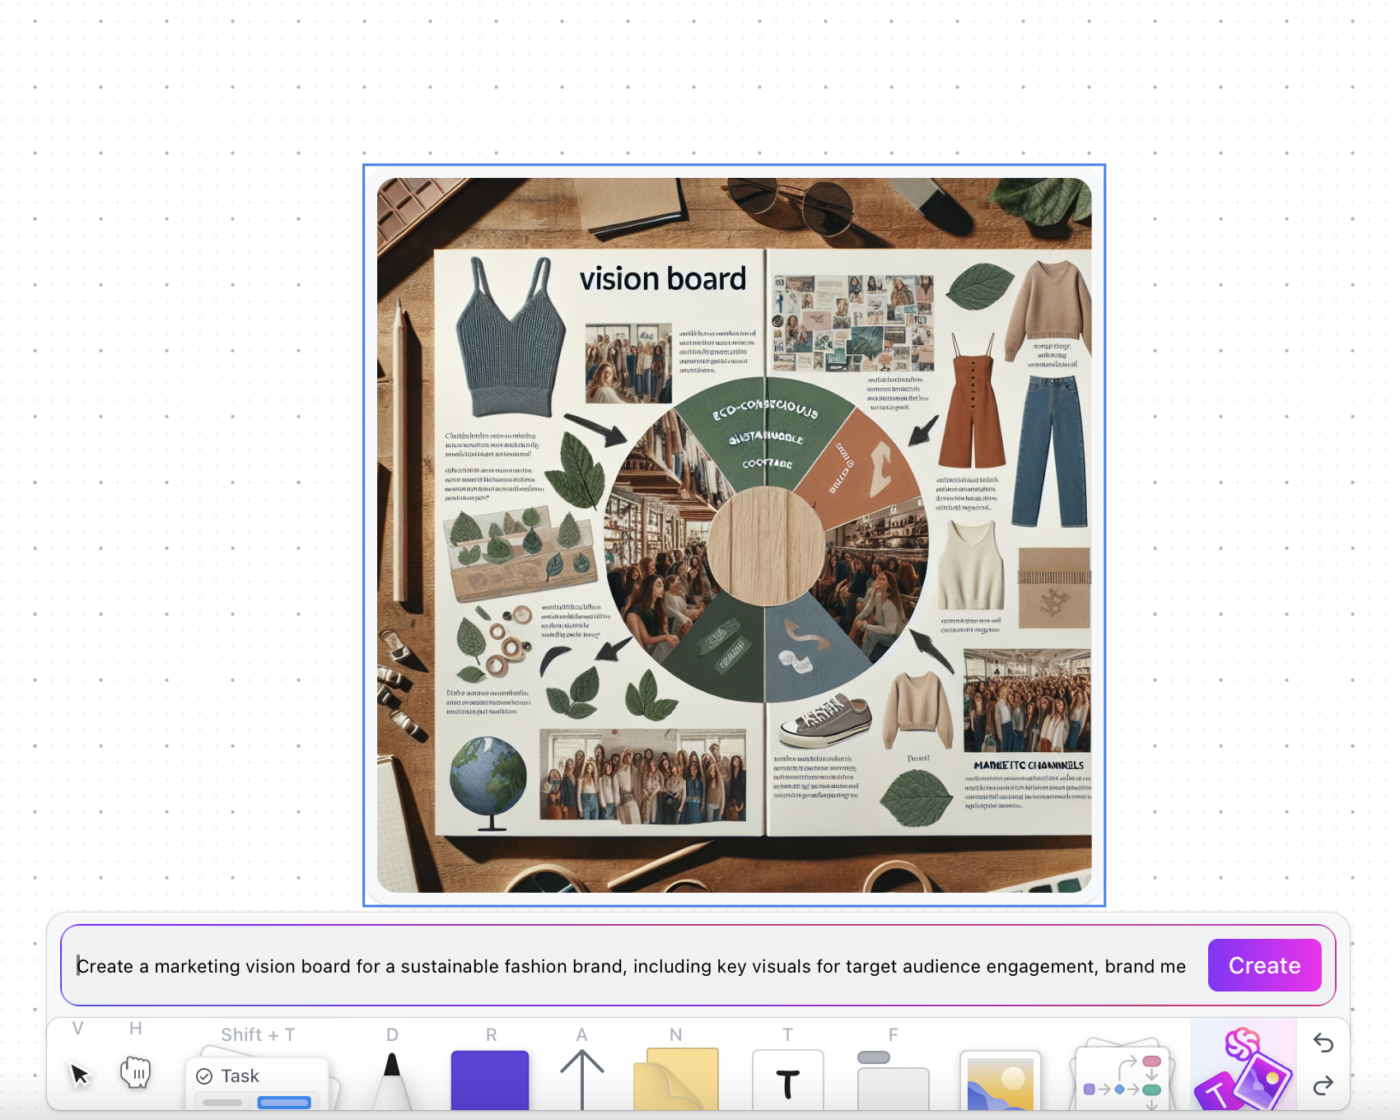
💡 Pro Tip: Leverage AI tools to visualize your ideas faster. ClickUp Brain, ClickUp’s built-in AI assistant, can help you generate illustrations and visuals via whiteboards. See how! 👇🏼
Microsoft Word offers several productivity shortcuts that make building mind maps faster and more efficient. By customizing default fonts, saving your favorite commands in the Quick Access Toolbar, and turning images into shapes, you minimize repetitive formatting. You can also generate placeholder text, build reusable color palettes, set default line styles, and save custom templates to streamline future projects. Together, these tips help you work cleaner, quicker, and with more visual consistency.
If you find yourself constantly changing the font before you do anything else on your Word document, change the system’s default font:
1. Under Format, select Font
2. Change the Font, Font Style, or Size
3. At the bottom left corner of the dialog box, click Default
4. Choose whether you want to set the default font for the current document or all documents based on the standard template
5. Click OK

Most of us use about 25% percent of Microsoft Word’s Ribbon toolbar, yet we still have to flip through multiple functions to get there. Fill your Quick Access Toolbar with your most-used commands (creating a text box, inserting shapes, and more) for fewer clicks!
1. Click on the ellipses (three dots icon) in the toolbar and select More Commands
2. Select any command from the left column and click on the right arrow to move the command to the right column
3. Remove a command from the left column by selecting the back arrow
4. Click Save

Add a personal touch or visual aids to support your presentation by inserting images and formatting them into shapes to make them contemporary. Here’s how:
1. Drag and drop a photo directly into the Word application or go to the Insert tab > Pictures and import a file
2. Select your file
3. Under the Picture Format tab > click the arrow next to Crop to modify the photo into any shape or ratio
4. Hold the Shift key and click and drag one of the corners to adjust the size ⬇️

In a pinch and need some filler content? Use the Lorem command to quickly insert placeholder text so you can keep the wheels turning on your mind map. Here’s how:
1. Place the cursor where you want the placeholder text to start
2. Type =lorem(number of paragraphs, number of sentences)

You’ll create a professional document in half the time by using color themes, and your colleagues will appreciate the consistency. So often, we get stuck on figuring out what colors work together. That stops today!
The mind map versions we covered above used this same color palette. ⬇️

Save your perfect mind map line by making it the default line in Word. This will drastically reduce the amount of time spent copying, pasting, and formatting a new line every time. Then, save it to your Quick Access Toolbar (mentioned in tip #2)! To set a new default line:
1. Right-click the line
2. Select Set as Default Line
3. Change the default line when you find a new favorite or want to go back to Word’s original line!

Save your custom mind map template for the next time you sit down to create a mind map. You’ll have the setup already done this way, and you can get right to work! Save a template with these steps:
1. Go to File > Save as Template, and a dialog box will appear
2. Enter your calendar template name under Save As
3. Add relevant tags under Tags (for Mac users)
4. Choose where you want to save your calendar template
5. Check the File Format is set to Microsoft Word template (.dotx)
6. Click Save

Speaking of templates, here are free timeline templates you can download right away or use as inspiration for your next mind map or concept map.

The Microsoft Word Mind Map Graphic Organizer Template by Template.net is a professionally designed tool ideal for organizing your thoughts, ideas, or concepts in a visual form. This user-friendly template incorporates a clear, minimalistic design, enabling everyone, from students to professionals, to create visually appealing mind maps effortlessly.
Importantly, the template is fully customizable and compatible with all versions of Microsoft Word, providing convenience and flexibility to meet your specific needs. Perfect for project management, decision making, strategic planning, or brainstorming sessions, it’s an excellent resource to streamline any process that benefits from visual representation.
📮ClickUp Insight: 37% of workers send follow-up notes or meeting minutes to track action items, but 36% still rely on other, fragmented methods.
Without a unified system for capturing decisions, key insights you need may get buried in chats, emails, docs or spreadsheets. With ClickUp, you can instantly turn conversations into actionable tasks across all your tasks, chats, and docs—ensuring nothing falls through the cracks.

The Microsoft Word Business Productivity Mind Map Template by Template.net is an exceptional tool designed specifically for business professionals. This template is an effective means of graphically illustrating and connecting complex business concepts, objectives, or strategies. It encompasses a professional-grade layout which allows for easy customization, ensuring that your mind map meets your business’s exact needs.
Compatible with all versions of Microsoft Word, this template is highly adaptable and ideal for enhancing productivity, streamlining project management, fostering team collaboration, or facilitating effective decision-making. If you’re looking for a way to boost your business’s productivity through better visualization, this mind map template is your go-to resource.
Though Microsoft Word is one of the most popular software available, it is limited to the demands and changes of a modern workforce and you may need to check out MS Word alternatives. Even performing the most basic actions to create a simple table took many clicks and careful navigation to complete our timeline build.
Here’s what you should know before investing time, energy, and resources in Microsoft Word:
You’ll want that.
Why? Powerful mind mapping tools help prioritize tasks faster, smarter, and efficiently. Project managers have to regularly update and share mind maps, so they’ll need project software to familiarize themselves, the team, stakeholders, and clients.
If you want to save time while improving the quality of your work and collaboration, try creating mind maps in ClickUp! ✨
Related Resources:
ClickUp is the ultimate productivity platform for teams to manage projects, collaborate smarter, and bring all work under one tool. Whether you’re new to productivity apps or a seasoned project manager, ClickUp’s customization can stretch to any team size for organized and connected work.
ClickUp Mind Maps not only create the space to expand and stretch your ideas, but you can also use them to build off the tasks and projects you’ve already created in ClickUp.
While it’s a handy skill to build mind maps in Word, it’s not the most convenient application for time management and building meaningful relationships. Try ClickUp today and solve problems in half the time it would take to draw individual lines in Word! 🚀

© 2026 ClickUp

There’s an easier way. Try a free AI Agent in ClickUp that actually does the work for you—set up in minutes, save hours every week.