How to Create a Form in Asana

Sorry, there were no results found for “”
Sorry, there were no results found for “”
Sorry, there were no results found for “”
Have you ever struggled with gathering feedback, managing requests, or running surveys? It’s challenging to collect the right information and keep it organized.
That’s why Asana forms are so helpful. With this feature, you can streamline the process of gathering insights from your team, customers, or prospects. It’s a straightforward way to keep all your feedback and incoming requests organized together with the rest of your project data.
Let’s explore step-by-step how to create an Asana form.
Asana forms can help you start collecting feedback/intake requests quickly. The good news? You can create, edit, set up, and publish your Asana forms in six simple steps.
Follow these steps to create a form in Asana:
The forms are part of your Asana projects. When a respondent fills out a form and submits it, the form appears as a new task within the project. By default, the form takes up the same name as the project it’s a part of, but you can edit the name and description.

Add headings to arrange the questions into sections. This makes the form easier on the eyes and better guides the respondents.
Here’s how you can go about it:
Alternatively, hover over your form and click + Add a Heading.

The Forms widget on your Asana Home page helps you access your recent and favorite forms in one place.
You can create a new form directly from the widget by clicking the + Add New button.
If you want to add more widgets to the Home page, go to the top right corner and click Customize.

From the Settings tab (located beside the Form Content tab), you can take the following actions:

Some questions might require respondents to submit an attachment, such as images, PDFs, and other documents.
When someone submits a form with attachments, the attachments are automatically linked to the task created in your Asana project.
To add an attachment to a form, click the Attachment icon under your questions list.


While building your form, you can preview it by clicking View Form and seeing how it appears to respondents.

Once your form is created, click Share form. Choose access permissions for the form: Anyone with the link (public sharing) or Organization only (private sharing). Click Done.
You can also embed Asana forms on websites. To do this, again, click Share form. Click Copy code to copy the embed code snippet. Paste the embed code snippet into the destination website where you want to display the form.
You can also simply click Copy link and paste the form link into an email or chat message for quicker sharing.
Asana forms offer a structured way to collect information from team members or stakeholders, but they have some drawbacks:
When data collection through forms is a core part of your workflow, you need a powerful tool that’s highly adaptable, helps you be more action-oriented with the responses you capture, allows you to create intuitive forms governed by logic, and is suitable for all industries.
ClickUp is one such tool that ticks all the boxes. You might know ClickUp for its task management and team collaboration features, but it also has an advanced form builder to iron out the crinkles in your data-capturing process.
Let’s see how you can create and customize a form in ClickUp.
The first step is to create a form within your ClickUp Workspace using ClickUp’s Form view.
Here’s how you can go about it:
1. Click the ellipsis … or the Create New + icon beside the Space you want to add the Form view to
2. Select Create New, and then Form

You’ve created your new form, and you can locate it from the sidebar. Add a name and description to the form for easy identification.
You’ll find the Task fields on the left-hand side, including Priority, Start Date, Due Date, Attachment, Time Estimate, and Assignee, to mention a few. Drag the desired fields from the left panel and drop them onto your Form.
ClickUp also supports extensive customization, thanks to Custom Fields. They help you tailor your form for different purposes. ClickUp’s Custom Fields include Text, Long Text, Website, Dropdown, Email, Phone, Date, Checkbox, Number, Money, and Labels, among others.
Customization doesn’t end there. Go to the cog icon in the upper right corner to change your Form Options (available on the Business Plus Plan and above). Here’s a quick glimpse of what you can configure with Form options:
The best thing about the ClickUp Form view is its flexibility. It supports conditional logic and dynamically updates the questions based on responses. Supporting up to 25 rules per Decision Field, this feature allows you to capture more precise data (available on the Business Plus and Enterprise Plans).
For example, you can create a rule that automatically displays a Due Date field when the respondent selects Urgent as the priority.

Another virtue of this tool is its versatility. Whether you’re an educator collecting information or managing feature requests and bug fixes as part of a software team, you can adapt the ClickUp Form view to fit your industry.
ClickUp forms streamline your organization’s intake process for various routine tasks, including collecting product feedback, handling project requests and creative requests, managing IT submissions, routing sales leads, and conducting employee satisfaction surveys. But this is just the beginning.
Once you capture responses in the form fields, you can convert them into trackable ClickUp Tasks embedded within your workflow and assign team members to take appropriate actions. For example, if a product feedback reports a bug in the system, you can turn the response into a task and assign it to your dev team.

While ClickUp makes form creation and customization quick, sometimes you might want to look for premade forms that you can start using right away (or after making minor changes).
Guess what? ClickUp has multiple ready-to-use form templates in store for different use cases. Be it feedback form templates or generalized registration form templates, there are many options to choose from. All you have to do is download the template, edit the fields and statuses to suit your requirements, and you’re ready to go!
Let’s give you a glimpse into some popular templates from the ClickUp library:
If your organization collects feedback from customers/users and partners across multiple departments, the ClickUp Feedback Form Template would be a good fit.
For instance, if yours is a SaaS company, you might want to know how users feel about your product’s onboarding experience, user experience, and their interaction with customer support through different forms. This customizable template allows you to create tailor-made forms for each purpose and centralizes the collected data for easy access.
Here’s how you can make the most of this template:
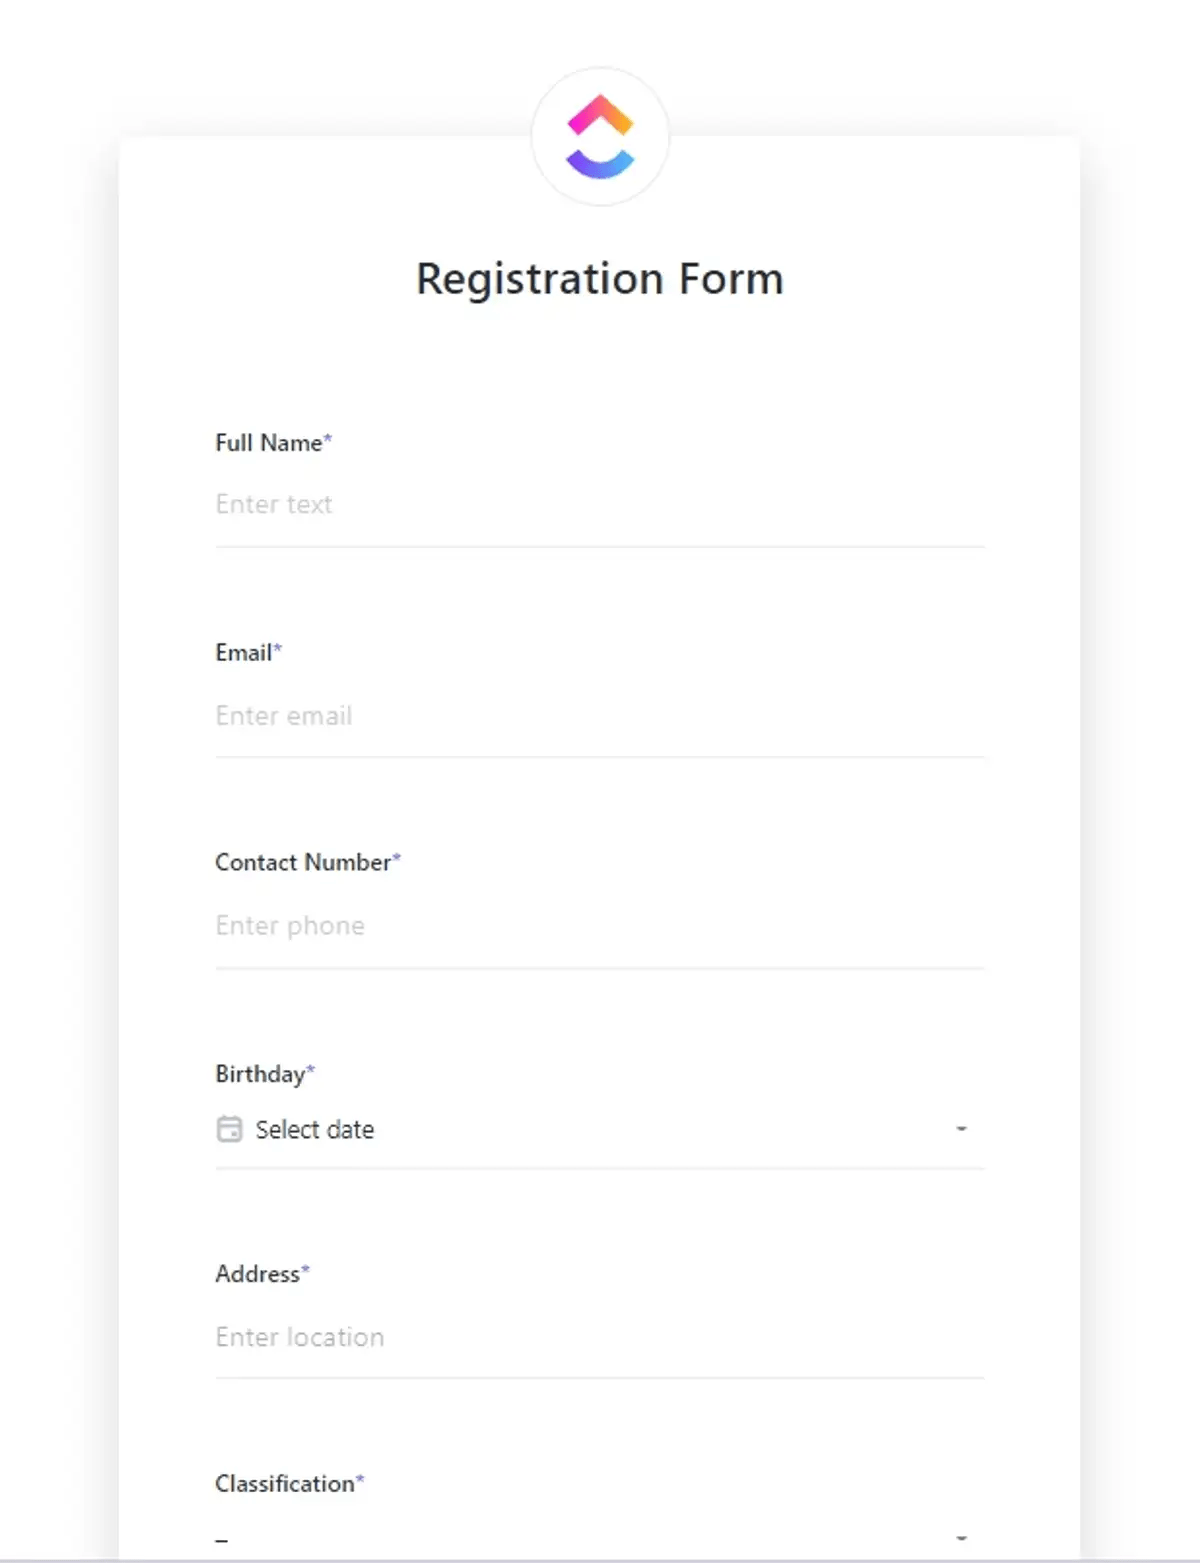
ClickUp’s Form Template is a generalized registration form template that works well for collecting information from the attendees of an event. Whether it’s a training program, seminar, workshop, or course, you can easily tweak this template to gather the right data set.
The template empowers you to:
Thanks to the built-in Board, List, Doc, and Form views, you can review the collected data in any way you like.
Your form is publicly shareable by default. To disable public sharing and close the form, change the Active toggle located in the upper-right corner.

Sharing the form is super simple—copy the direct link to the form and start sharing it with your internal teams, external stakeholders, customers, and more. You can also add an HTML form to your landing page via the Embed code section.
Customers love the ClickUp Form view feature for its simplicity and ease of use. Here’s a testimonial:
“Communication between clients, executives, and managers is streamlined using forms and assigning tasks and lists. ClickUp is perfect to work with large teams and managing them all with the teams feature.”
If you’re looking for a straightforward tool that easily handles basic form requirements, Asana is a convenient choice.
But if you’re dealing with more complex workflows and want a versatile online form builder, you might want to look into Asana alternatives, including Google forms and ClickUp Forms.
ClickUp emerges as a viable option here because it’s designed to handle those intricate details and give you more control over how your forms work. Plus, it doesn’t stop at collecting responses; it allows you to follow through on them by creating actionable tasks directly and tracking their progress.
So, why wait? Get started with ClickUp—create custom forms with advanced features to capture and use data effectively.
© 2025 ClickUp