


Still downloading templates?
There’s an easier way. Try a free AI Agent in ClickUp that actually does the work for you—set up in minutes, save hours every week.
Sorry, there were no results found for “”
Sorry, there were no results found for “”
Sorry, there were no results found for “”
Creating a Gantt chart in Microsoft Project can feel a bit overwhelming at first.
Maybe you’ve already given it a shot, clicked through various options, and still found yourself unsure of where to begin.
Or perhaps you’ve tried using other tools like Excel or Google Sheets to create Gantt charts—only to realize how time-consuming and challenging they can be.
The good news is that with a little guidance, you can create professional, detailed Gantt charts in Microsoft Projects, even for your most complex projects.
Let’s walk through the steps together and simplify the process so you can get up and running in no time.
Follow these steps to create a Gantt chart in MS Project:

Open Microsoft Project and select ‘Blank Project’ in the ‘New’ tab. You can either start with a blank project or choose from amongst freely available Gantt chart templates, depending on the nature of your project.

Once you’ve created a new project, start by entering key project details. In the ribbon at the top, click ‘Project,’ then ‘Properties Group,’ and select ‘Project Information.’ Fill in the ‘Start Date’ and, if necessary, you can set other project constraints.

To build a Gantt chart, you’ll need to add tasks that represent different activities or milestones in your project. You can manually add tasks by typing them into the ‘Task Name’ column in the Gantt chart view.
For example, when managing a website redesign project, your tasks might include the ‘Design Phase,’ ‘Development Phase,’ ‘Content Creation,’ and ‘Testing.’

Next, specify the duration for each task. Under the ‘Duration’ column next to each task, enter the number of days (or weeks) each task will take. If you have an activity that needs to be done in half a day, you can type ‘0.5d.’
Remember that your task duration excludes weekends or holidays unless you specifically adjust the working calendar.

Most projects have tasks that depend on completing others first. In Microsoft Project, you can set dependencies to show which tasks must happen before others can begin.
To do this, click on the Predecessors column for each task and choose which tasks must be completed before the selected task can start. For instance, Development’ can only start after the ‘Design Phase’ is complete.
You can do this by clicking the ‘Task’ tab, then ‘Schedule group,’ and selecting ‘Link the Selected Tasks.’

By default, Microsoft Project will display your tasks in a Gantt chart. However, you can customize the view to fit your project better. Right-click on the Gantt Chart and choose options to:
You can also zoom in or out to see more detailed views of your project timeline.
Once your Gantt chart is ready, don’t forget to save your work. You can share your Gantt chart with your team by exporting it as a PDF, printing it, or collaborating directly within Microsoft Project if you’re using Microsoft Project Online or integrated tools like Microsoft Teams.
While Microsoft Project is a great tool, it’s not without challenges. You may experience some limitations when using it to create Gantt charts, such as:
While Microsoft Projects is a popular tool for visualizing a project task list, it has several limitations. For a project management tool you can use to create appealing Gantt charts, you need to look for better alternatives to MS Project.
ClickUp is an all-in-one project management platform that offers a more intuitive, collaborative approach to data visualization and is ideal for businesses of any size.
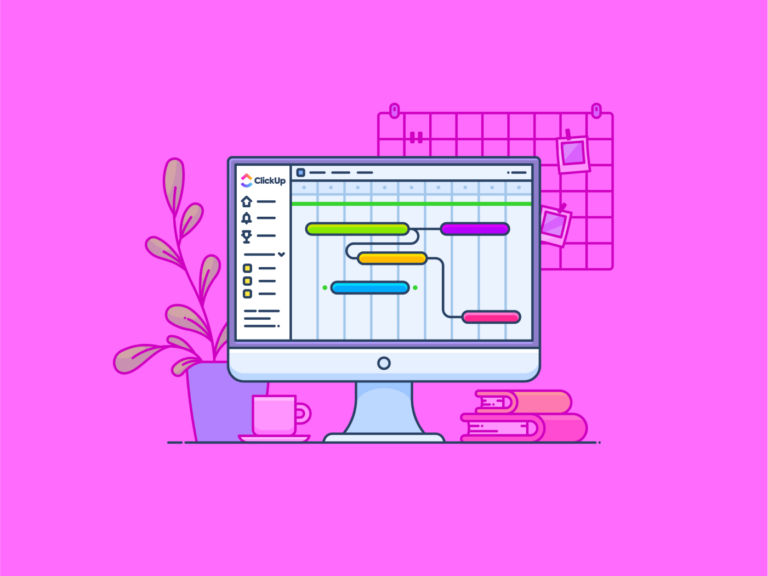
ClickUp Gantt Chart View is incredibly easy to set up and fully integrated into the platform’s collaboration features.

In your ClickUp Workspace, you’ll find Gantt Chart as one of the project views. To add a Gantt Chart, click ‘+View’ in the toolbar at the top of the screen. Then click on ‘Gantt’ and select ‘Add Gantt.’

You will see something like this once you have added the Gantt View:

Now, click the small arrow to the left of ‘List.’ ClickUp will automatically generate a visual representation of your project timeline.

You can now customize your Gantt Chart. Just click ‘Customize’ on the top right side of the screen. This is your control center for the Gantt chart. Customize its name, settings, and sharing options to fit your project’s needs.

💡Quick Tips
⭐ Don’t Miss This: Watch the ClickUp Gantt Chart View tutorial for an in-depth understanding of how to leverage the power of ClickUp Gantt Charts for project management.
The simplest way to get started on creating your first Gantt chart is to use a Gantt chart template. Many tools offer templates that can be used to create Gantt charts in a jiffy.
ClickUp, for instance, provides the ClickUp Simple Gantt Template to quickly set up and manage your project timelines. This template includes pre-built sections for tasks, dependencies, and milestones so you can start working on your project immediately.
This template can save time and eliminate the need for constant tweaking, unlike the more complicated setup required in Microsoft Project.
It’s designed to simplify and automate much of the Gantt chart creation process by providing a ready-made framework for creating a Gantt chart. You don’t have to build everything from scratch—which is great news!
Here’s how you can use this template:
Here’s what makes ClickUp’s Gantt charts a great alternative:
Also Read: 5 Steps to Efficient Project Time Management
Creating a Gantt chart is one of the most effective ways to manage and visualize your project timeline. While Microsoft Project offers a comprehensive solution, it has limitations, especially in complexity, cost, and collaboration.
If you’re looking for a more collaborative tool, ClickUp is an excellent alternative. Its user-friendly Gantt Chart View and customizable templates make it easy to use.
Ultimately, the right tool depends on your project needs, but whether you’re a seasoned project manager or just starting, ClickUp offers a powerful way to stay organized and keep your projects on track.
Try ClickUp today!

© 2026 ClickUp

There’s an easier way. Try a free AI Agent in ClickUp that actually does the work for you—set up in minutes, save hours every week.