


Still downloading templates?
There’s an easier way. Try a free AI Agent in ClickUp that actually does the work for you—set up in minutes, save hours every week.
Sorry, there were no results found for “”
Sorry, there were no results found for “”
Sorry, there were no results found for “”
Employees spend a surprising amount of time repeating the same tasks. This redundancy costs the U.S. economy a jaw-dropping $1.8 trillion annually. Yes, trillion with a “T.”
This is exactly why screen recordings are a blessing. For the person recording, it saves them from repeating the same demo a dozen times. For the viewer, it means hitting replay a million times without sending another, “Can you explain that step again?”
Sharing screen recordings is the only way to ensure they serve their purpose and land in the right hands without getting lost in the digital void. If your first thought is, “I’ll just email them,” let’s pause. Large video files don’t play nice with email attachments.
Thankfully, there are plenty of ways to efficiently share screen recordings, from browser-based tools to cloud storage platforms.
In this article, we will look at the best tools for the job and some best practices you can follow for the best screen recordings.
❓ Why screen recordings matter: Save time and reduce repetitive demos with clear visual solutions
💯 Best practices: Use MP4 for compatibility, optimize quality, blur sensitive details, and keep recordings concise
✅ Top sharing tools: Dropbox, YouTube, Google Drive, Slack, and ClickUp offer unique sharing options
🟢 Dropbox: Great for simple sharing but lacks task management
🟢 YouTube: Perfect for public sharing but limited for collaboration
🟢 Google Drive: Flexible with permissions but can feel scattered for projects
🟢 Slack: Ideal for quick internal sharing but limited to 5-minute clips
🟢 ClickUp advantage: Record, transcribe, and embed videos into tasks with seamless project integration
Most modern devices come equipped with a pre-installed screen recording tool (though these can often be quite basic). But if your device doesn’t have those—or you’re looking for something more efficient—let’s cover the basics.
What should a good screen recording tool do?
If you’re shopping around, popular options like Loom (free for up to 25 videos under 5 minutes), Camtasia (known for stellar editing), and OBS Studio (perfect for live streaming) have you covered. Want transcripts with your recordings? Check out Descript, which throws in automatic transcription.
But what if you want all of this plus task management? That’s when ClickUp comes in.
📌 Example: Let’s say you’re leading a project with team members across time zones. Everyone needs clarity on processes, but scheduling live calls isn’t practical. That’s where ClickUp Clips steps in—a screen recorder built right into ClickUp’s project management platform.
With ClickUp Clips, you can:
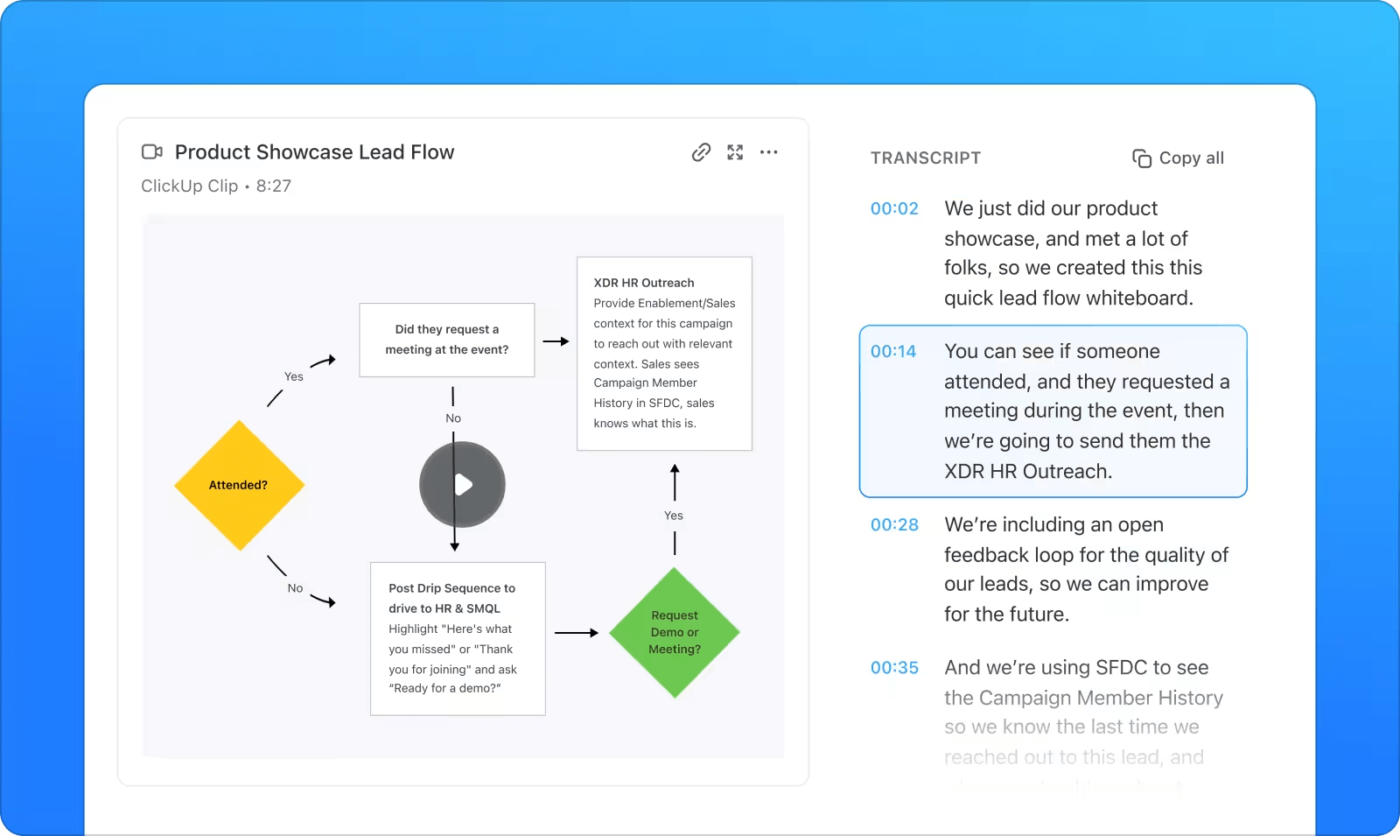
But wait—there’s more. Enter ClickUp Brain, an AI-powered transcription tool.
In minutes, your recordings are transcribed, timestamped, and searchable. Need to annotate or highlight key points? No problem—you can easily do it with ClickUp Brain’s AI features.
💡 Pro Tip: Looking for AI-powered screen recorders? Check out our list of the 10 Best AI Screen Recorders.
As we’ve already agreed, email is not ideal for sharing large video files.
So, how do you share screen recording videos? Thankfully, plenty of options won’t make you test your patience. Here are a few popular and efficient choices:
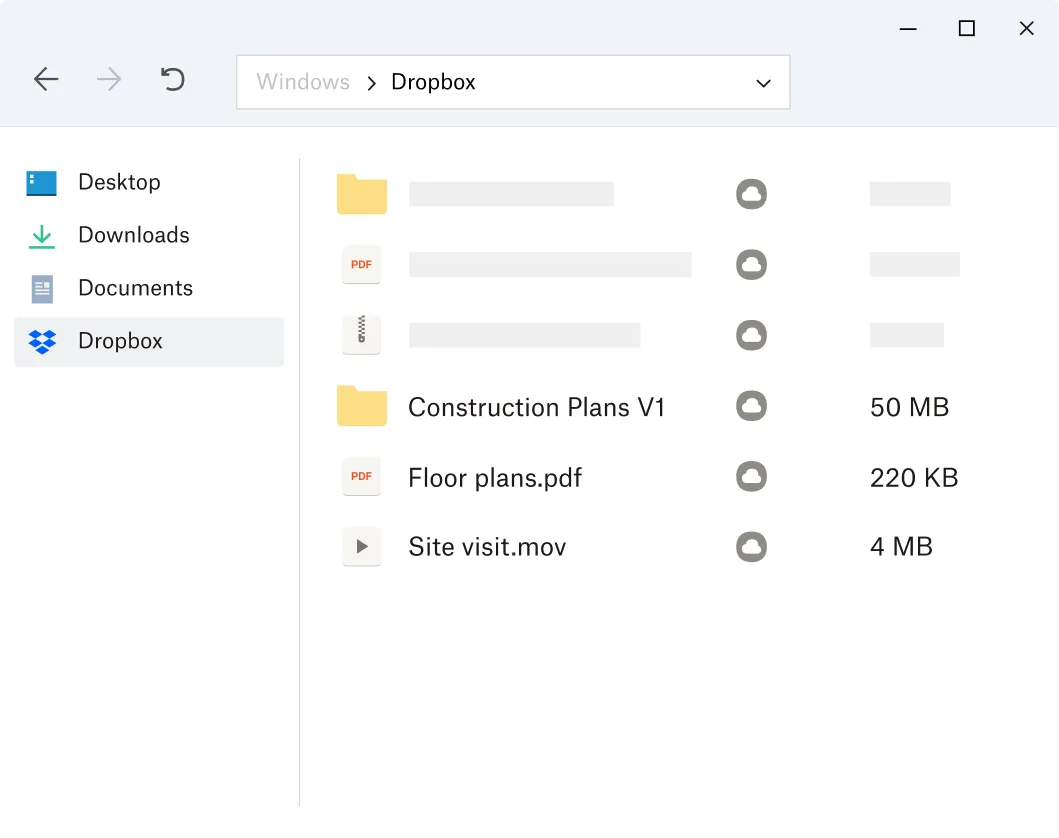
Dropbox makes sharing screen recordings and files simple, even for those who aren’t tech-savvy. With its built-in Dropbox Capture, you can record your screen, webcam, or just audio and share it easily.
📌 How to Share:
✅ Pros of Dropbox
⚠️ Cons of Dropbox
✨ Ideal for: Teams needing an easy way to share screen recordings, project demos, or tutorials without dealing with large file restrictions or endless email threads.
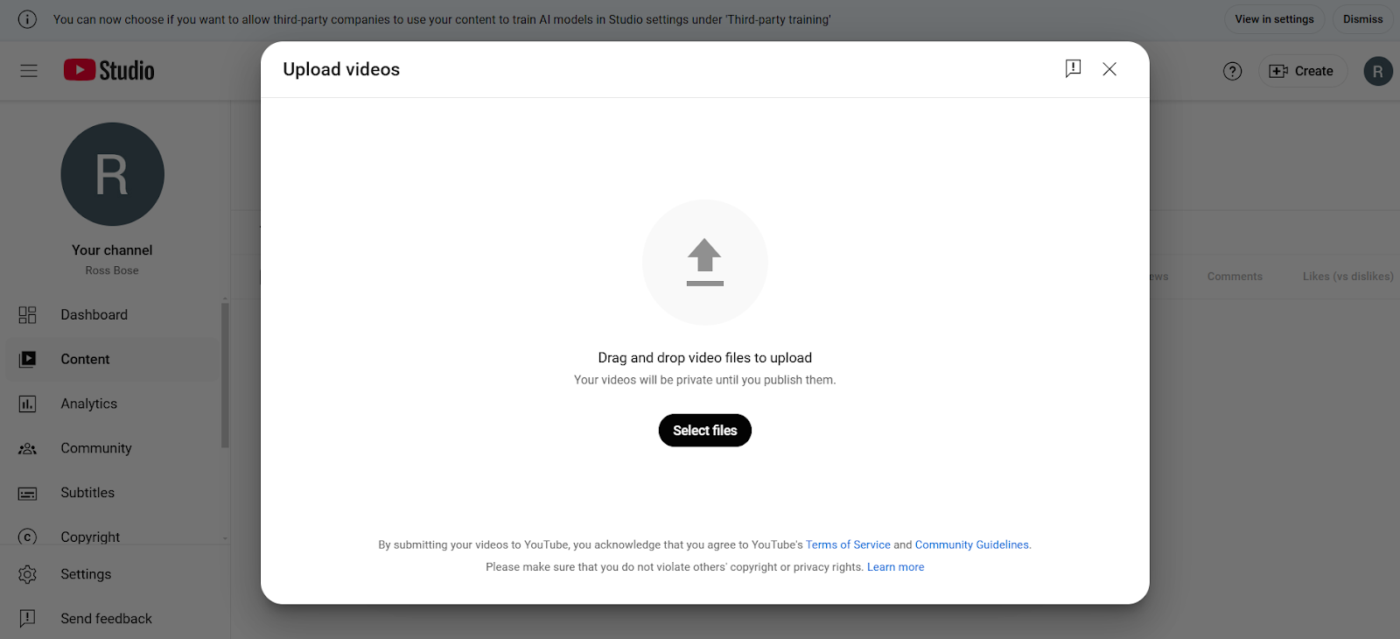
YouTube might feel a little old school, but it’s a solid option for sharing screen recordings, especially when you need control over permissions and a straightforward way to share with a wide audience.
🧠 Did You Know: The first screenshots date back to the 1960s on interactive computers, while screencasting gained momentum in the 1990s with tools like ScreenCam. By the 2000s, platforms like YouTube had boosted screen recording popularity, with Camtasia taking the spotlight in 2004.
📌 How to Share:
✅ Pros of YouTube
⚠️ Cons of YouTube
✨ Ideal for: Teams or individuals needing a free platform for storing and sharing large video files with flexible viewing permissions.
💡 Pro Tip: Don’t want to download another application to record your screen? We get it. Here’s our guide to the 10 best screen recorder Chrome extensions.
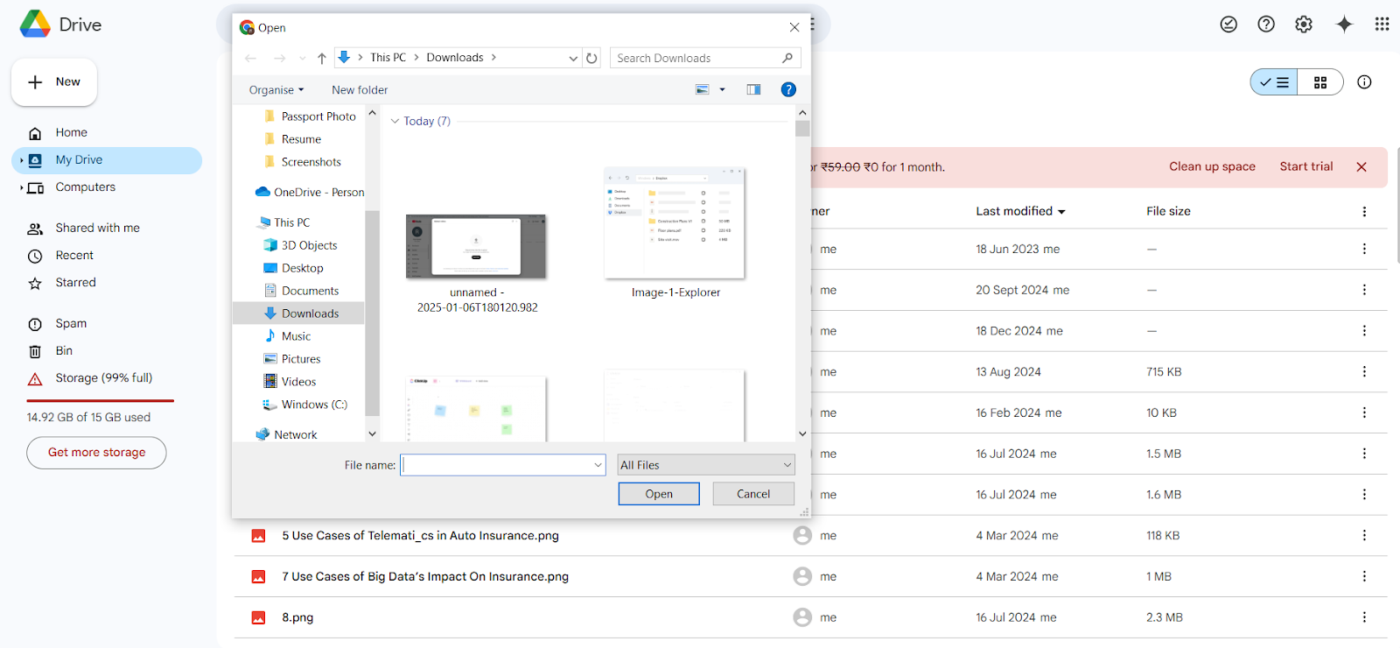
Another neat platform for sharing files—especially those massive video recordings that refuse to squeeze into an email—is Google Drive.
📌 How to Share:
✅ Pros of Google Drive
⚠️ Cons of Google Drive
✨ Ideal for: Teams or individuals looking for a straightforward way to share and collaborate on files without the hassle of size limits.
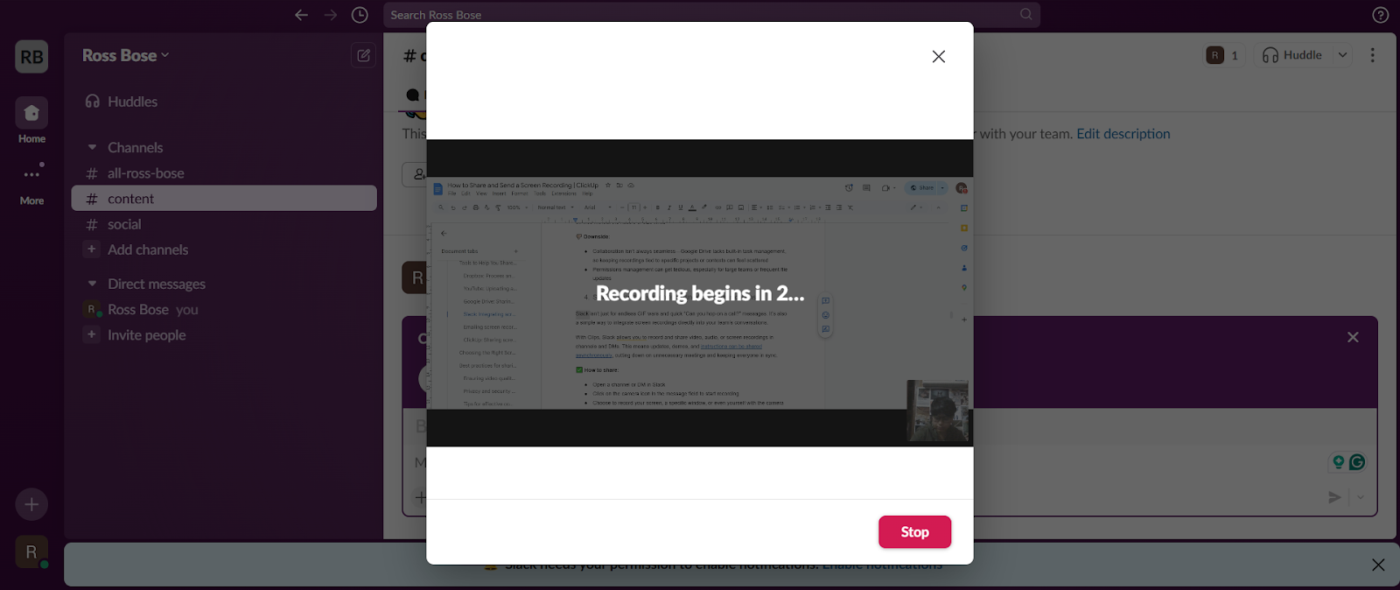
Slack isn’t just for endless GIF wars and quick “Can you hop on a call?” messages. It’s also a simple way to integrate screen recordings directly into your team’s conversations.
With Slack Clips, you can record and share video, audio, or screen recordings in channels and DMs. This means updates, demos, and videos can be communicated asynchronously, cutting down on unnecessary meetings and keeping everyone in sync.
📌 How to Share:
✅ Pros of Slack
⚠️ Cons of Slack
✨ Ideal for: Teams juggling different time zones and schedules who need asynchronous communication with rich context.

Yes, we’ve given email some trouble, but for smaller clips, it remains an easy and straightforward option for sharing files.
Plus, emails let you keep a handy trail of messages for future context and make it simple to forward files to multiple people without explaining the context.
📌 How to Share:
✅ Pros of emailing screen recordings:
⚠️ Cons of emailing screen recordings:
✨ Ideal for: Individuals or teams sharing smaller screen recordings (under 25MB) who need a quick, straightforward method to communicate files while maintaining a clear email trail for future reference.
Think of ClickUp as task management and screen recording having the ultimate power combination. We’ve already discussed ClickUp Clips, so you know that it is the ultimate tool for sharing videos. Forget typing exhaustive step-by-step guides; simply record, share, and let your team catch up at their own pace.
🧠 Did You Know: According to a survey of over 2,000 companies, 74% of trainers incorporate video learning into their training delivery, showcasing the growing reliance on visual content for effective education.
However, the real gold lies in ClickUp’s ability to share screen recordings directly within ClickUp Tasks. This allows teams to have the maximum information and allows effortless collaboration.
In short, by embedding recordings into tasks, teams can access all the context they need without switching between tools or chasing down links.

💡 Pro Tip: Need to provide feedback? Comments on videos are tied to timelines, ensuring everyone is on the same page. With the Clips Hub, you can organize, search, and sort all your videos in one place, eliminating the need for endless email chains.
The cherry on top is ClickUp Chat. It adds another layer of flexibility when sharing screen recordings:
✅ Pros of ClickUp:
⚠️ Cons of ClickUp:
✨ Ideal for: Teams looking for an all-in-one solution to simplify screen recording, task management, and collaboration without needing multiple tools.
Also Read: How to Take Notes from a Video Like a Pro
We discussed a number of tools, but to select the perfect screen sharing tool, let’s turn to the fundamental factors—ease of use, accessibility, privacy, collaboration features, and integration with project management tools. Here’s a breakdown of each:
| Tool | Ease of Use | Accessibility | Privacy | Collaboration | Integration | Pros ✅ | Cons ❌ |
| Dropbox | Simple to use but limited for collaboration | Public links for large files | Adjustable permissions | Comments are basic | Basic integration with other apps | Simple to use, creates shareable links easily, solid privacy settings | Limited collaboration features, lacks task/project management integration |
| YouTube | Easy to upload but less intuitive for privacy | Public and private options | Good for public or private access | No team chat, feedback through comments | No project management integration | Great for large file storage, ideal for public or private sharing | No team collaboration tools, managing links can be tedious, no project workflows |
| Google Drive | User-friendly for basic sharing | Easily share with links | Fine-grained controls | Basic collaboration features | Limited project integrations | Flexible permissions, user-friendly, supports collaboration on shared files | Disorganized without task links, permissions setup can be tedious |
| Slack | Straightforward but best for internal use | Requires team presence in Slack | Limited external privacy options | Strong for internal discussions | Lacks integration with task systems | Perfect for internal communication, asynchronous updates with Clips | Clips are limited to 5 minutes and lack external sharing options |
| ClickUp | Intuitive, combines recording and task management | Shareable links + direct embedding in tasks | Fully integrated privacy and permissions | Seamless feedback loops with tasks, comments, and timestamped annotations | Centralized task and project workflows | Combines screen recording, sharing, and task management seamlessly | Requires time to learn full capabilities but delivers unmatched collaboration |
🏆 It’s clear: ClickUp stands out. Its magic lies in sharing screen recordings directly within tasks, keeping everything organized and accessible for your team.
With features like embedding videos, adding timestamped comments, and transcribing with ClickUp Brain, collaboration becomes effortless, and workflows stay smooth without you even realizing it.
📌 Example: Imagine you’re onboarding a new team member working remotely in a different time zone. Instead of scheduling multiple calls, you record a detailed product walkthrough using ClickUp Clips.
ClickUp Brain automatically transcribes the recording, and key points are timestamped for easy reference. You embed the video in the onboarding task, where the new hire can ask questions directly in the comments.
The feedback loop is centralized—there are no scattered emails, Slack DMs, or confusion. The new team members catch up at their own pace while the rest focus on their tasks without interruption.
Sharing screen recordings effectively requires a little planning, especially if you want your videos to look good, stay secure, and communicate your message without confusion.
Here are some tips to make the process smoother:
Also Read: Project Management for Video Production
You don’t want your team squinting at blurry text or struggling to open a file that doesn’t work on their device. To keep your screen recordings crisp and accessible:
💡 Pro Tip: Always test the file on different devices and platforms before sharing—nothing kills productivity like “It’s not opening for me.”
A great screen recording can turn sour fast if it exposes sensitive data. Here’s how to protect yourself and your team:
Part of good screen recordings is about telling the right story. Here’s how to make yours impactful:
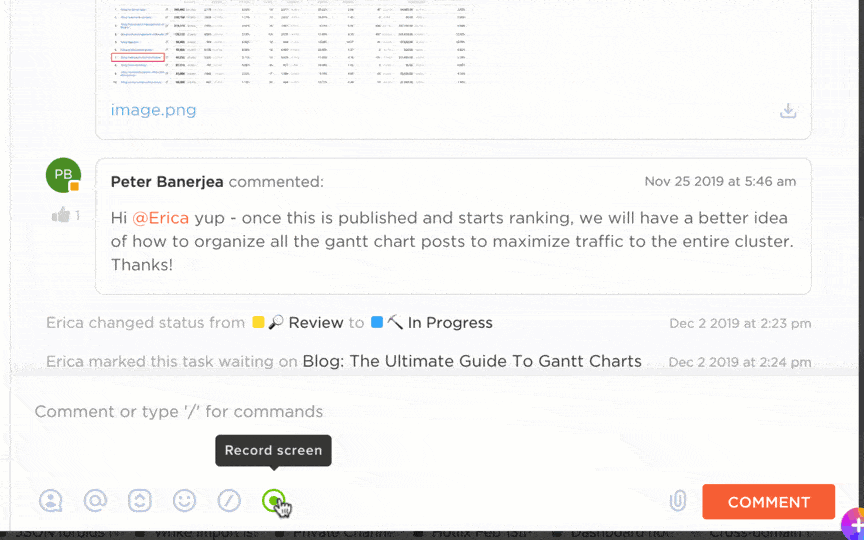
When it comes to communication, ClickUp takes it to another level by embedding screen recordings directly into tasks. You can tag team members to ensure they’re notified of updates or assign comments as actionable tasks.
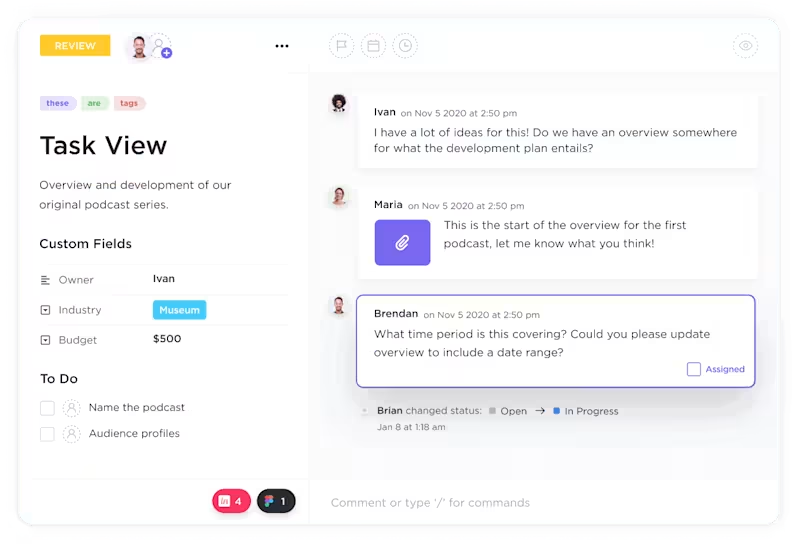
For example, let’s say you’ve recorded a product demo for your sales team. You upload it into a task, timestamp key points for clarity, and use ClickUp’s comment section to gather feedback. With everything in one place, collaboration improves in the workplace.
Also Read: 10 Best Screen Recorder Software for Mac
As Carl Sandburg once said, “Everybody is smarter than anybody.”
Knowledge transfer is every organization’s secret weapon—it’s just a matter of who wields it better. Recording, documenting, and sharing solutions, workflows, or operational know-how empowers your team to skip redundant tasks and focus on reaching their goals faster.
Here’s the truth: hard work is impossible without smart work, and screen recordings are the epitome of working smarter. They provide visual proof of solutions, simplify knowledge sharing, and boost productivity. But only if you have the right tool.
That’s why you should choose ClickUp. With features like ClickUp Clips, you can seamlessly record, share, and embed videos directly into tasks, while ClickUp Brain transcribes your recordings, adds timestamps, and makes them searchable.
Everything is centralized, so your team can collaborate effectively without switching tools or losing context.
As a result, information becomes omnipresent and easily accessible regardless of who joins and who leaves.
Create a free account on ClickUp and see why sharing with it is smarter, faster, and less stressful.

© 2026 ClickUp

There’s an easier way. Try a free AI Agent in ClickUp that actually does the work for you—set up in minutes, save hours every week.