How to Organize Pages in Microsoft Word Featured Image

How to Organize Pages in Microsoft Word | ClickUp

Start using ClickUp today

  • Manage all your work in one place
  • Collaborate with your team
  • Use ClickUp for FREE—forever

Over 70% of Fortune 500 companies have adopted Microsoft 365 globally. Microsoft tools are easy to use, and most people, from students to seasoned professionals, are familiar with them. 

However, many users are unaware of lesser-known tricks and features that can significantly enhance their productivity when using Microsoft tools. 

For example, mastering page organization in Microsoft Word can transform your documents, transforming clutter into clarity. Understanding how to format page numbers, rearrange an entire page, and apply section breaks helps create a professional, readable layout. 

This also comes in handy when formatting documents and organizing files and folders. In this blog, we will explore practical techniques for organizing pages in Word for a clean and professional-looking document. 

Summarize this article with AI ClickUp Brain not only saves you precious time by instantly summarizing articles, it also leverages AI to connect your tasks, docs, people, and more, streamlining your workflow like never before.
ClickUp Brain
Avatar of person using AI Summarize this article for me please

How to Organize Pages in Microsoft Word

Before discussing page organization, it’s essential to understand a page break. It’s an invisible marker that indicates where a new page begins. There are two types of page breaks:

  • Hard page breaks: Manually inserted using Ctrl+Enter (Windows) or Cmd+Enter (Mac). These are useful when you want to force a new page at a specific point
  • Soft page breaks: Automatically inserted by Word when a line of text or an object extends beyond the current page.

There are two methods to organize pages in Microsoft Word:

Method 1: Navigation pane

In the Word document: 

  1. Click on the ‘View’ tab in the Ribbon at the top, then select ‘Navigation Pane’ under the ‘Show’ group with other options like ‘Ruler’ and ‘Gridlines’ 
  2. This pane will appear on the left side of your document, showing a thumbnail view of all your pages
  3. Click on the page thumbnail you want to move. A blue border will appear around the selected page
  4. Drag the selected page up or down to your desired location. A horizontal line will indicate where the page will be placed once you release the mouse button

💡Quick tips:

  • To move multiple pages, press and hold the ‘Ctrl’ key while selecting the pages (or one page) you want, then drag them to the desired location
  • If your document is lengthy, use the ‘Find’ feature in the Navigation Pane to locate a specific page quickly
  • Always save your document after you rearrange pages to prevent any loss of changes
  • If you make a mistake, the ‘Undo’ feature (Ctrl+Z) will help you revert to the previous arrangement
  • For a smoother drag-and-drop experience, zoom out to view more pages in the Navigation Pane at once

Method 2: Manual cut-and-paste 

If your MS Word document doesn’t have headers, manually selecting content and pasting it at a new location (or on the next page) makes more sense, as you don’t need to change the page layout. 

  • Select the content, right-click, and choose ‘Cut.’ Then, place your cursor where you want to paste the content and right-click to select ‘Keep Source Formatting’
  • Press Ctrl+X (or Command+X in Mac) to cut the selected content and Ctrl+V (or Command+V in Mac) to paste it into a new location

And that’s all. That’s how you can organize pages in Microsoft Word. But this also has its limitations. Let’s look at those.

Summarize this article with AI ClickUp Brain not only saves you precious time by instantly summarizing articles, it also leverages AI to connect your tasks, docs, people, and more, streamlining your workflow like never before.
ClickUp Brain
Avatar of person using AI Summarize this article for me please

Limitations of Using Microsoft Word

While Microsoft Word remains a popular choice for document creation and editing, it has limitations. This is particularly true when it comes to organization, collaboration, and leveraging advanced features like AI. 

Here are some key areas where Word might fall short:

  • Organization and navigation: While Word offers outlines and headings, its hierarchical structure can be restrictive. Navigating through long documents can be challenging, especially when searching for specific information
  • Immersive document creation: It might not be ideal for creating highly immersive or visually appealing documents. Incorporating multimedia elements like videos or audio can be cumbersome
  • Collaboration and sharing: Word often relies on additional tools like document collaboration software for seamless file sharing. Managing multiple versions of a document can be complex, given the lack of an in-built chat system
  • Intuitive design and user experience: The learning curve can be steep for beginners or those unfamiliar with Word’s interface, especially when using advanced features
  • Lack of AI integration: Word’s AI capabilities are relatively limited, offering basic features like spell check and grammar correction. AI could be used to enhance features like content generation, summarization, or even design suggestions
Summarize this article with AI ClickUp Brain not only saves you precious time by instantly summarizing articles, it also leverages AI to connect your tasks, docs, people, and more, streamlining your workflow like never before.
ClickUp Brain
Avatar of person using AI Summarize this article for me please

Create and Organize Your Documents with ClickUp

Organizing pages in Microsoft Word is crucial for enhancing readability, efficiency, and overall document structure. But juggling multiple document creation and project management tools can be challenging.

That’s where comprehensive software like ClickUp comes in. It’s a flexible and customizable platform that eliminates switching between different apps. It allows you to create documents, collaborate with your team, and manage your projects from one place.

Let’s explore ClickUp’s rich feature set together. 

1. Create and share immersive documents seamlessly

ClickUp Docs: How to Organize Pages in Microsoft Word
Use rich editing features, AI tools, color-coded buttons, @mentions for direct task assignment, and more with ClickUp Docs

As far as Microsoft Word alternatives go, ClickUp Docs offers a refreshing take. It combines the power of cloud-based document editing with the flexibility of a project management platform. 

Here’s how you can make the most of ClickUp Docs:

  • Nested sub-pages: Create hierarchical structures for complex documents
  • Rich formatting options: Use headings, banners, columns, and more to format your content
  • Multimedia support: Add images, videos, and emojis to make your documents more engaging
  • Customizable page details: Set font settings, page width, cover images, and more
  • Sticky table of contents: Easily navigate long documents with a collapsible table of contents
  • Banners for emphasis: Highlight important text with color-coded banners
  • Tables for data organization: Create and format tables to visualize data effectively
  • Buttons for action: Include clear, actionable buttons for your readers
  • Widgets for dynamic content: Add reporting and views widgets to make your documents more interactive

2. Set up an organized documentation system

ClickUp’s Project Hierarchy is the core organizational structure that helps you sort your work into easily managed tasks, making your team’s workflow smoother than ever. As your organization grows, so can your Hierarchy. 

You get to control access to sensitive information by making items and locations private or shared. 

ClickUp’s Project Hierarchy
Create an organized system of working and collaborating with your team members with ClickUp’s Project Hierarchy

Here is a division of the hierarchy levels:

  • Workspace: This is the top-level container for your entire organization. Think of it as your digital headquarters
  • Spaces: Organize your work into different categories like departments, teams, or projects
  • Folders: Use Folders to group related lists within a Space
  • Lists: Group tasks of a similar type or with a similar goal
  • Tasks: Break down your projects into actionable steps
  • Subtasks: Divide tasks into smaller, more manageable subtasks

Namely, the Subtask feature and the ability to define project dependencies have been a game-changer for us, as we frequently work on projects with multiple components, often touched by different members of our teams (or our clients’). Additionally, the Home tab, which offers a comprehensive project outlook has been super helpful in avoiding unnecessary delays in communication or production.

Matt Brunt, Graphic Designer at Creative Element

3. Attach docs to tasks

You can attach docs with your tasks by using the ClickUp List View to filter and search specific tasks or items in your Workspace. Attaching documents directly to specific tasks lets you keep all relevant information in one centralized location. 

ClickUp List View
Attach your documents to tasks with ClickUp List View

This eliminates the need to search for files in multiple places. The List View also helps search for tasks based on various criteria, such as due date, priority, or assigned team member. This functionality simplifies your workflow and makes it easy to find the exact tasks you’re looking for.

4. Elevating documents with AI

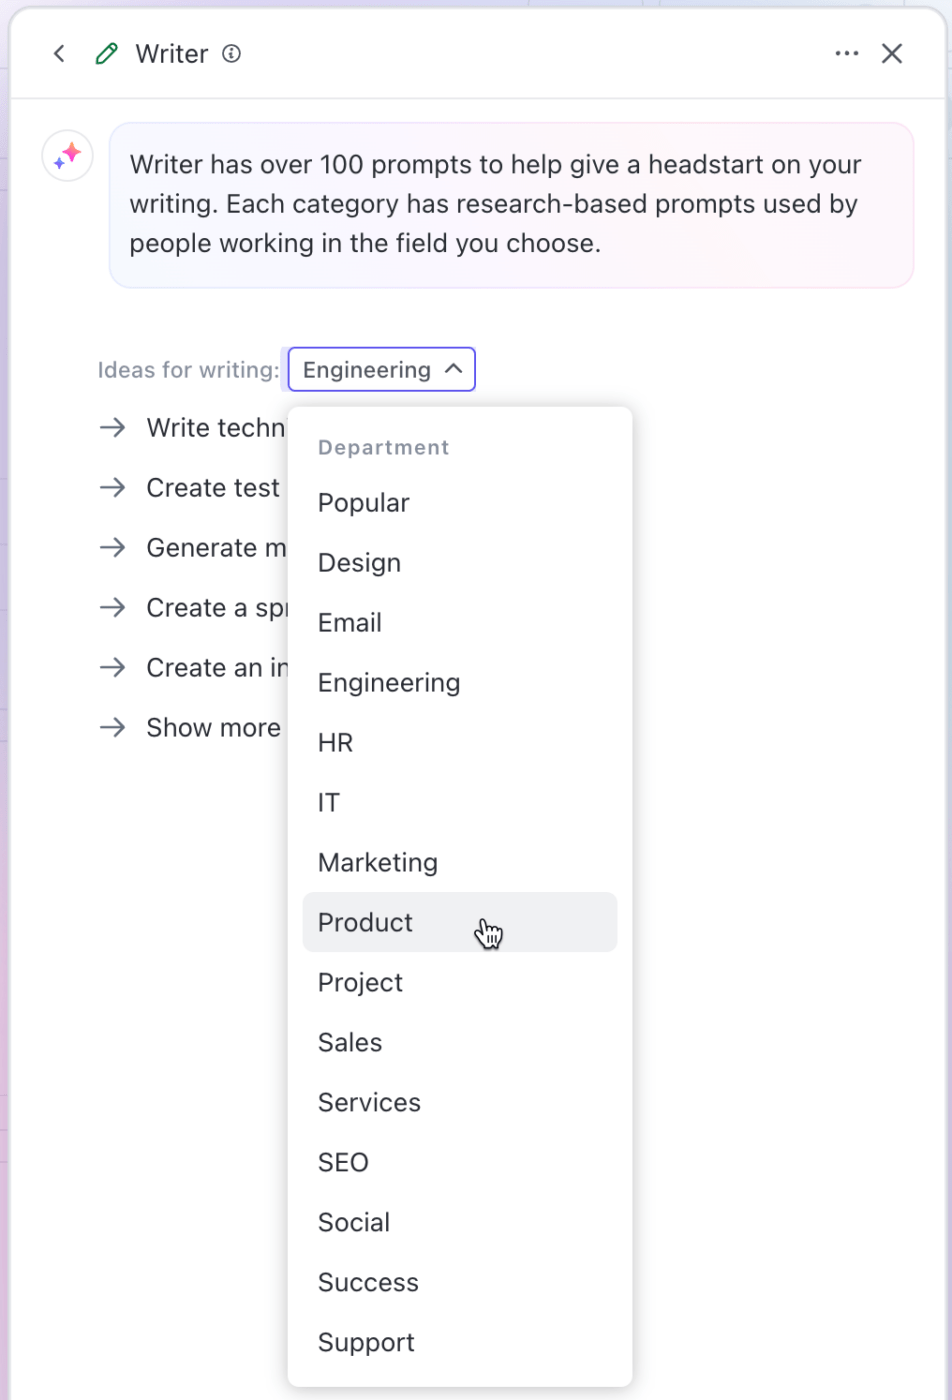
ClickUp Brain: How to Organize Pages in Microsoft Word
Write role-specific content within your docs, or leverage other AI tools in ClickUp Brain

ClickUp Brain, ClickUp’s AI assistant, can enhance your writing and document organization, thus boosting productivity. It leverages natural language processing and machine learning to assist with various tasks.

Here’s how you can leverage this Brain:

  • Document summarization: Quickly generate concise summaries of lengthy documents, making it easier to grasp key points and information
  • Keyword extraction: Automatically identify relevant keywords within documents, aiding in efficient search and categorization
  • Content generation: Automatically create new content based on existing documents or prompts, saving time and effort for tasks like writing reports or proposals
  • Document structure analysis: Analyze the structure of documents to identify potential improvements in organization and clarity
  • Document comparison: Compare multiple documents to highlight similarities and differences, facilitating analysis and decision-making
  • Task creation: Generate tasks directly from document content, ensuring that actionable items are captured and tracked
Summarize this article with AI ClickUp Brain not only saves you precious time by instantly summarizing articles, it also leverages AI to connect your tasks, docs, people, and more, streamlining your workflow like never before.
ClickUp Brain
Avatar of person using AI Summarize this article for me please

Enhance Your Workflow with ClickUp

So, now you’re a pro at organizing pages in Microsoft Word! Whether shuffling entire pages, mastering the elusive section break, or finally getting those pesky page numbers to cooperate, you have the skills to keep your documents looking sharp and professional.

But let’s be honest—while Microsoft Word is great for document creation, it has limitations. Sure, it helps you with formatting and organizing files, but when it comes to task management, team collaboration, and juggling multiple projects? You will need something more comprehensive. 

Imagine a tool that lets you create and share documents and helps you manage your projects, track tasks, collaborate with your team, and more—all in one place. 

ClickUp does all that and then some. So, why not level up your workflow with this platform? 

Sign up to ClickUp today and leverage its features for more than document organization! 

Everything you need to stay organized and get work done.
clickup product image
Sign up for FREE and start using ClickUp in seconds!
Please enter valid email address