


Still downloading templates?
There’s an easier way. Try a free AI Agent in ClickUp that actually does the work for you—set up in minutes, save hours every week.
Sorry, there were no results found for “”
Sorry, there were no results found for “”
Sorry, there were no results found for “”
Microsoft Word is likely the writing platform that most of us encountered either during our first interaction with computers as kids or as the tool we used for writing our college assignments.
As we grew older, MS Word evolved and introduced many new features that made collaboration smoother—especially in a corporate setting.
One of MS Word’s standout features is the ability to annotate images—making document editing more interactive.
In this article, we’ll explore how to annotate in Microsoft Word, helping you elevate your document editing skills without breaking a sweat. ✅
Looking for a better option? Try ClickUp Whiteboards, the world’s only virtual whiteboard that turns ideas into coordinated actions and connects them with your work. More on this later!
Annotating images in Word is extremely easy if you know the steps.
Whether you’re marking up a shared document for a team review or simply trying to draw attention to key details, Microsoft Word’s tools have you covered.
Let’s break it down step by step:
Begin by opening the Word document containing the image you want to annotate. If it’s a fresh project, you can create a new document and add your image.
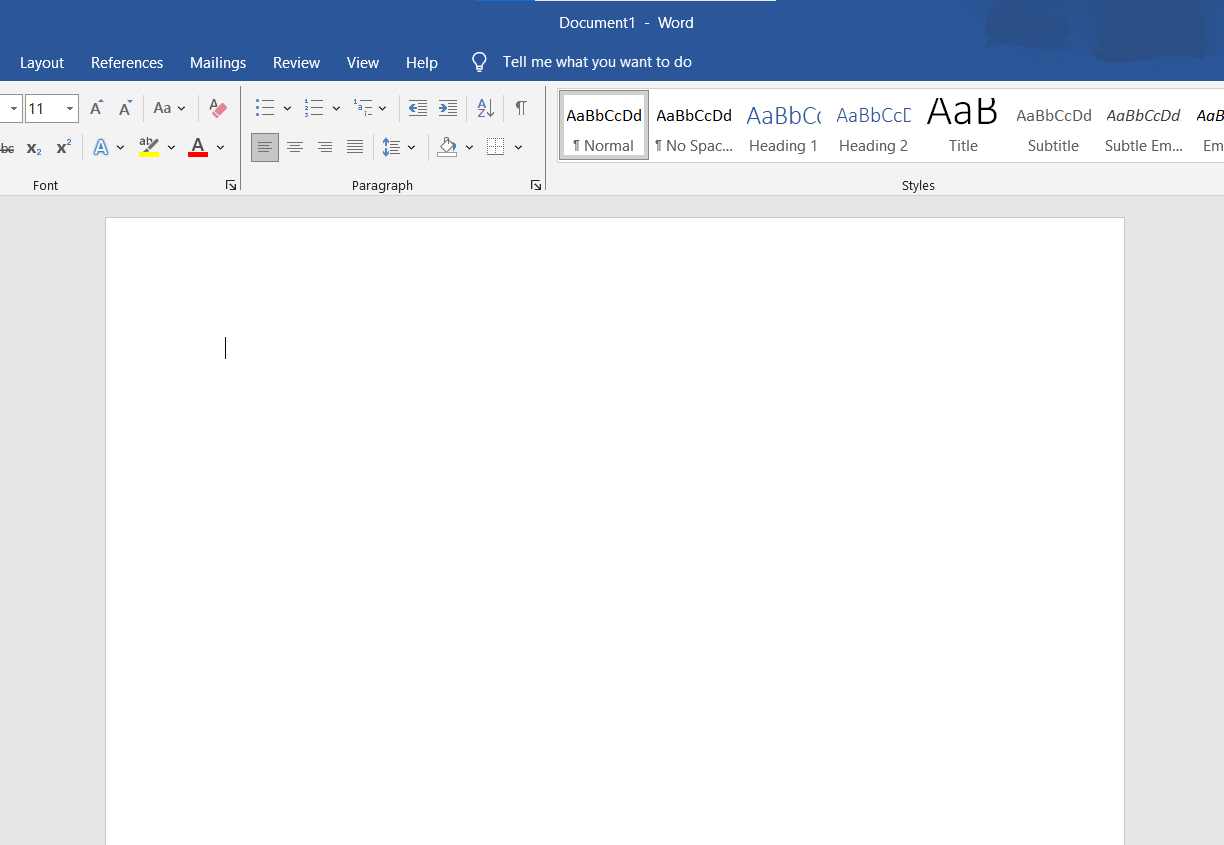
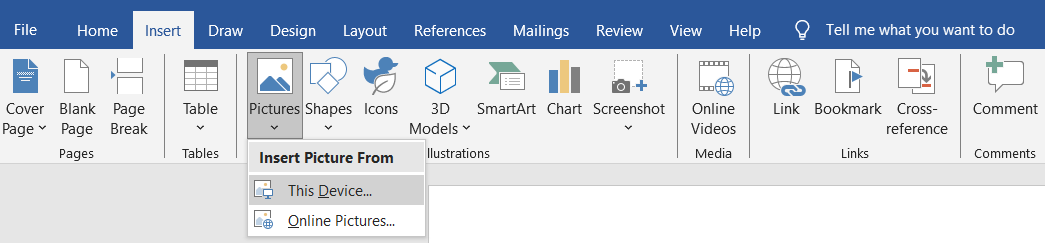
Your image will appear in the document, ready for some annotation magic.
🔗 Also Read: Best Annotation Software Tools

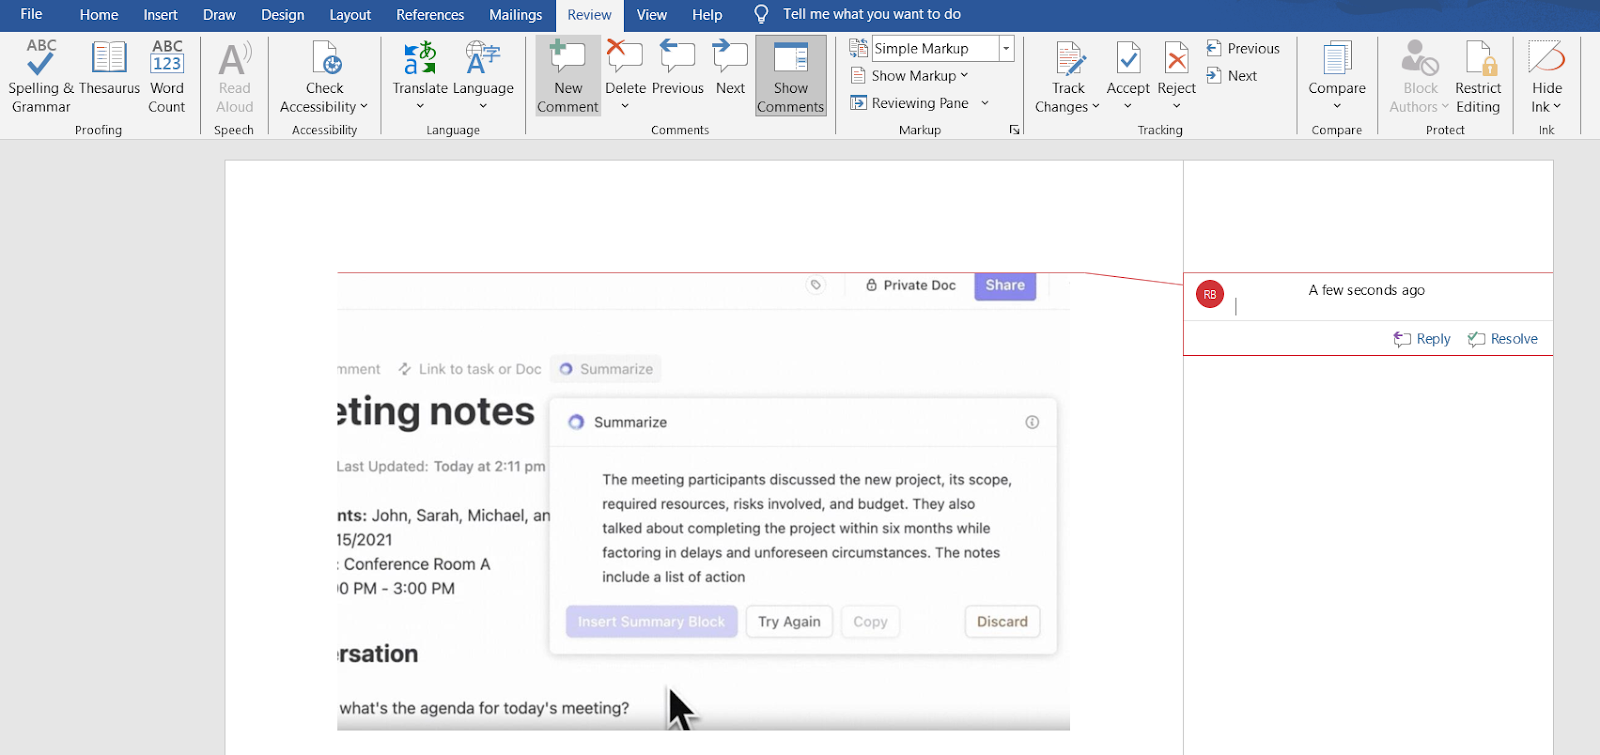
These comments will display beside the image, complete with your name, date, and time.
Unleash your inner artist using the Draw Tab:

💡 Pro Tip: Add arrows or other shapes to draw attention to key details.
Text boxes are great for adding explanations. Here’s how you can add one:

🍪 Bonus: Keep your annotations concise. No one wants to read an essay inside a tiny balloon.
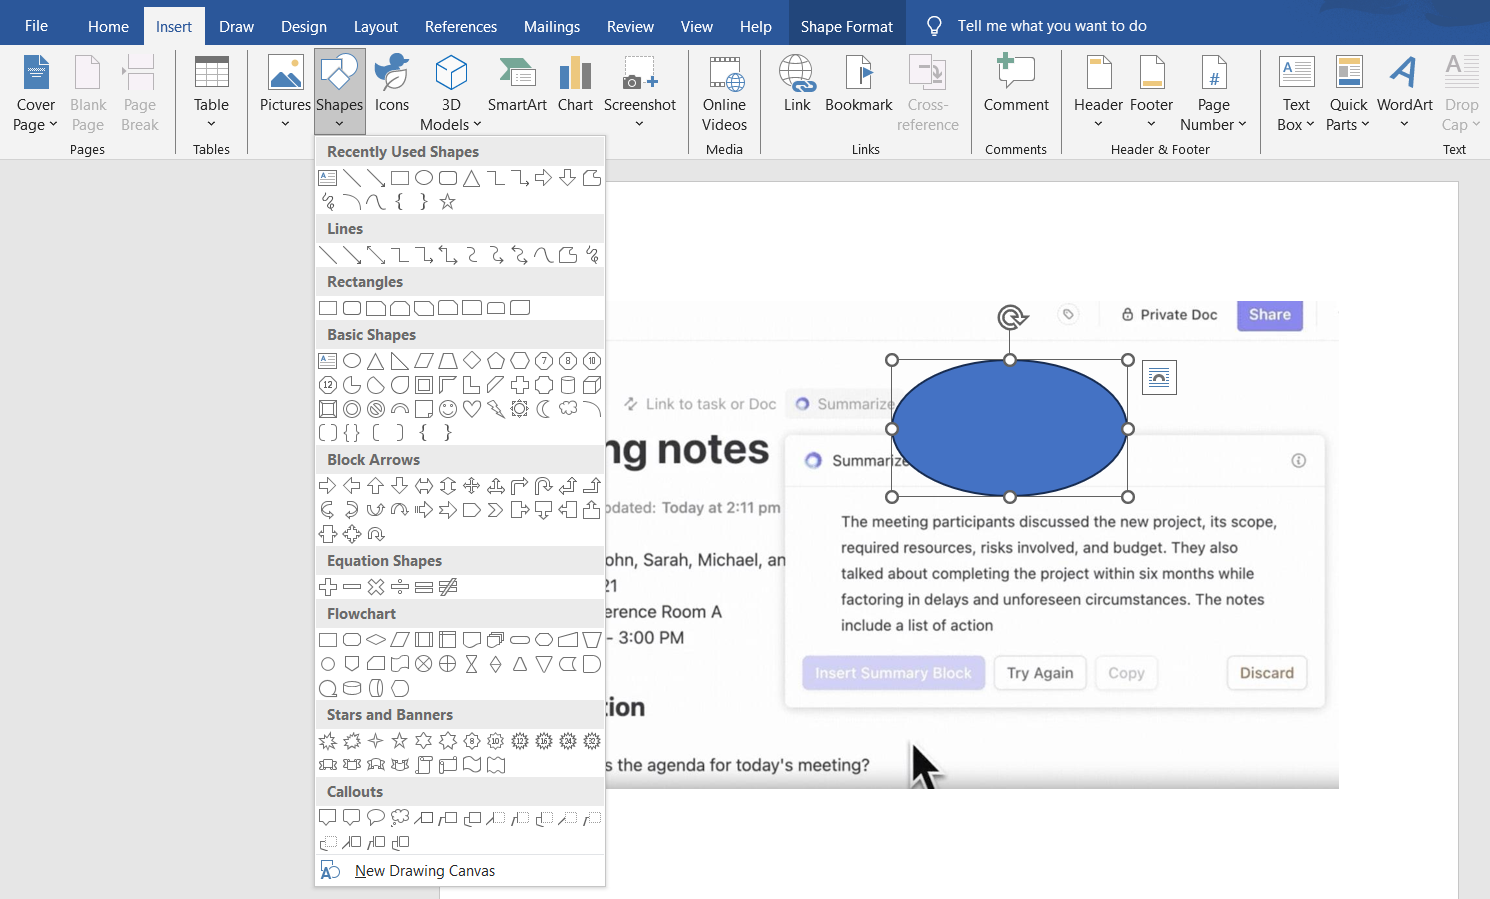
Shapes can make annotations visually impactful. You can add a shape by following these steps:

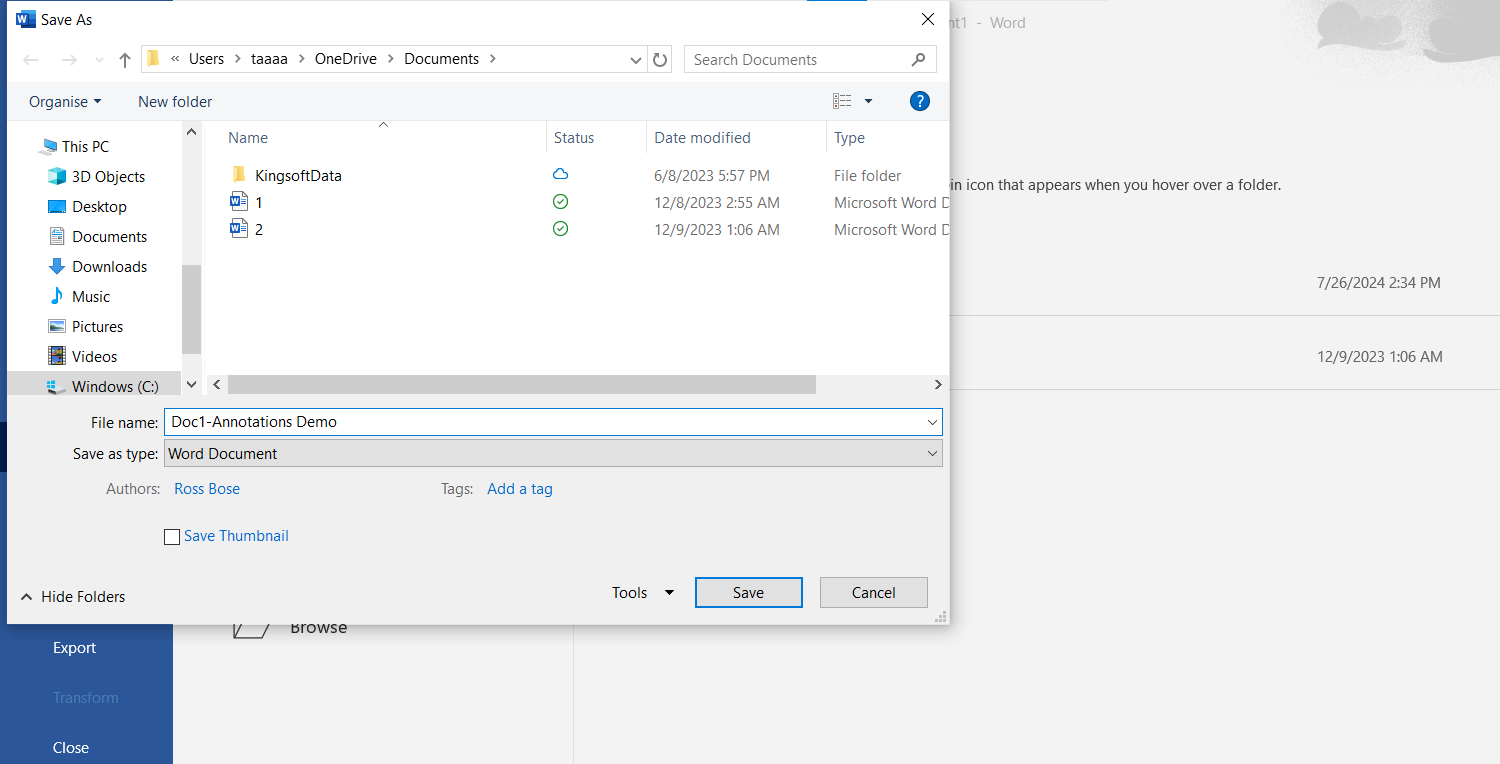
Once satisfied with your annotations, save the file to share with your team:

💡 Pro Tip: With so many steps involved, it is normal to make errors. If you ever want to go a few steps, easily track changes in Word using this guide.
🔗 Also Read: Best Snipping Tools for Video Recordings
Annotating in Microsoft Word is highly convenient, but if you are not careful about its drawbacks, it can quickly hinder productivity. Here are some limitations to keep in mind when using the tool.
While Word allows you to add shapes, arrows, and comments, the range of customization is basic compared to specialized design tools.
For instance, if you’re creating a highly detailed technical document with color-coded annotations for different teams, Word’s options might not be sufficient, leaving your annotations looking less polished than desired.
💡 Pro Tip: Make life easier with these 25 Microsoft Word hacks! From time-saving shortcuts to hidden gems, these tips will have you working smarter.
Annotations can quickly overwhelm complex documents, such as lengthy reports with numerous images.
📌 Example: A marketing team reviewing a 50-slide deck may struggle to navigate excessive callouts and overlapping comments, slowing the review process.
Using the Draw tab to annotate often feels clunky, especially when working on a laptop without a touchscreen or stylus. Imagine trying to circle key areas on an image using a touchpad—it’s more frustrating than effective, leading to imprecise annotations.
🔗 Also Read: Best Photo Editing Software
Not all annotations are visible in Word Online, which can be a problem for remote teams working through OneDrive.
📌 Example: An editor might add annotations using the Draw tab on a Surface device, only to discover their team members using Word Online can’t see them, creating confusion.
Adding multiple images and annotations can inflate the document size, making it difficult to share via email or cloud platforms with storage limits.
Now, a shared document for a project proposal may become too large to upload to a shared drive, delaying feedback and approvals.
Work today feels like a game of hide-and-seek—emails in one corner, PDFs in another, and important notes buried somewhere in the abyss of shared drives.
ClickUp was built to solve this chaos, combining task and project management with AI-powered features that make collaboration effective.
Take annotating images, for example. Unlike other tools that can leave you frustrated with limited functionality, ClickUp Whiteboards bring everything together in one intuitive space.

📌 Example: Imagine a design team preparing a client pitch. They need to review product visuals, but feedback is scattered across emails and meetings.
With ClickUp, they upload the image directly into a task, open the file in the attachment preview, and click “Add comments” to annotate.
Each comment can be pinned to a specific spot on the image and assigned to the relevant team member for actionable feedback.
Instead of endless email threads or messy callouts, teams can upload the image directly into a Whiteboard. Sticky notes, freehand drawings, and text annotations keep everything interactive. You can even zoom in, move items, and see edits in real time—no clutter, no confusion.

And unlike the limitations of Microsoft Word, ClickUp handles diverse file formats like PNG, JPEG, GIF, and WEBP and even annotates PDFs with ease.
Whether it’s a design draft or comments on a PDF proposal, all files can be annotated and organized within the platform. You can even use ClickUp Whiteboards to generate AI images!
That’s not all—ClickUp Docs is also the perfect document editing software when it comes to collaborative work.

For instance, in drafting a client brief, the marketing manager writes the intro, the design team embeds visuals, and the project manager links supporting files—all in one document.
🍪 Bonus: ClickUp allows users to turn sections of Docs into actionable tasks with just a few clicks, keeping everything linked for maximum context. This ensures that tasks remain connected to their original ideas, eliminating the need to switch tools or lose track of important details.
Additionally, real-time updates prevent version mix-ups, while features like custom access rights and nested pages ensure organization.
However, sometimes, words and images aren’t enough.
That’s where ClickUp Clips comes in. Need to explain a complex process? Record your screen directly from the task, walk through the steps, and upload it to the same thread.

💡 Quick Hack: If you are a developer, you could demonstrate fixing a bug visually, saving time and minimizing miscommunication.
🔗 Also Read: Best Word Processing Software Programs
Let’s look at Talent Plus’ story. The premier global human resources consulting firm faced the daunting task of managing dozens of client engagements across multiple teams using disconnected tools.
Naturally, this created inefficiencies and delayed decision-making. But with ClickUp’s unified platform, Talent Plus broke down silos and brought 100+ employees under one roof.
Specifically, ClickUp Whiteboards simplified collaboration by instantly turning visual plans into actionable tasks.
This is the beauty of ClickUp: teams gain real-time insights, which empower leadership to make faster, smarter decisions.
Sign up on ClickUp now and see the difference it makes. ✅

© 2026 ClickUp

There’s an easier way. Try a free AI Agent in ClickUp that actually does the work for you—set up in minutes, save hours every week.