How to Create a Client Onboarding Checklist (+Template)

Sorry, there were no results found for “”
Sorry, there were no results found for “”
Sorry, there were no results found for “”
You never get a second chance to make a first impression.
This is even more accurate when it comes to onboarding new clients. A well-planned client onboarding experience sets the tone for fruitful and lasting relationships. It helps improve client relationships, sets up effective communication channels, and ensures everyone is on the same page.
However, many businesses struggle to create an efficient and effective client onboarding workflow. A well-structured client onboarding checklist can make all the difference. It can ensure your clients feel valued and informed from day one.
In this article, we will walk you through every essential step of client onboarding. Whether you’re a seasoned professional or just starting, our comprehensive checklist, complete with ready-to-use templates, will help you streamline onboarding, boost client satisfaction, and set the stage for ongoing success.
Client onboarding is the process of welcoming new customers and ensuring they feel comfortable and confident with your services. A systematic process ensures that no essential step is overlooked, providing a consistent and professional experience for every client.
The process involves sharing information, setting up communication channels, establishing workflows, and outlining expectations. As it is a comprehensive process, using checklist templates ensures you don’t miss a single step.
Using a checklist also has other benefits, including:
Here are the steps your new client onboarding checklist should contain:
The pre-onboarding stage sets the scene for your clients to experience how they will be treated when they formally board your train. Therefore, you need to research thoroughly. Start by learning about their business, industry, and competitors. Understand their market position, target audience, and key challenges.
Once you have conducted research, hold an internal team briefing. Involve all the relevant team members to discuss the client’s profile, objectives, and pain points.
It’s time to meet the clients and determine their expectations. Start with a meeting to discuss their long-term and short-term goals and desired outcomes. Listen actively to the client’s requirements and clarify their doubts.
Clear communication is the key to effective client management. Therefore, outline your services, deliverables, timelines, payment mode, and communication cadence. Introduce the account manager and give a clear timeline of what to expect next.
💡 Pro Tip: Transparency at this step of the client onboarding process paves the way for a lasting client relationship. Take time to understand the mode, frequency, and channel of communication your client prefers. Use communication plan templates to maintain consistency.
Creating a detailed service agreement is crucial to formalize client relationships. This document should clearly outline the project scope, terms, and conditions, including deliverables, communication schedule, timelines, responsibilities, and other crucial aspects of the project.
Also, prepare NDAs and other contractual documents that you or your client might require, depending on your processes and local regulations. Once done, share them with the client and ensure that they review them thoroughly. This may involve several rounds of revisions and clarifications. Do not forget to keep a copy of the signed contract.

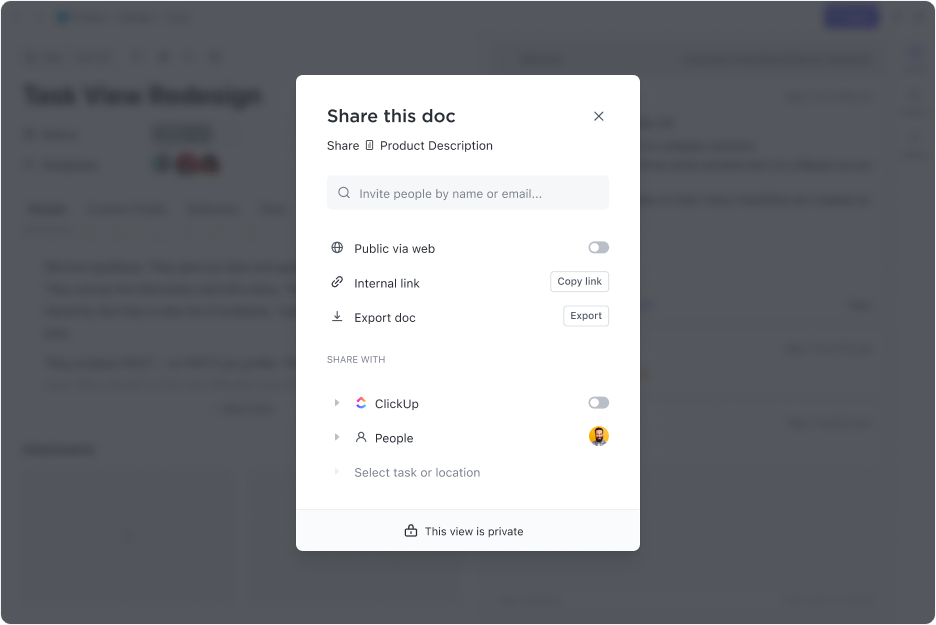
💡 Pro Tip: Use ClickUp Docs to draft detailed agreements with advanced formatting options and AI-assisted writing. Once drafted, share them with the client through ClickUp’s easy sharing features for real-time collaboration and feedback.
Talk with the client regarding the payment terms and billing cycles. This includes determining the frequency of invoices (e.g., monthly, quarterly), accepted payment methods, and due dates.
Once payment terms are agreed upon, set up the client’s information in your billing system. Enter the necessary information, such as contact details, billing address, and payment terms. If you use billing or accounting software, sync the client’s information to streamline this process.
The onboarding process is where the client begins to engage with your services. Therefore, begin by sending a welcome packet. This should include an introduction to your team, an overview of your services, and important processes.
Highlight your company’s mission and values and how you plan to support the client in achieving their goals. To add a personal touch and make the client feel valued, include a personalized welcome letter or video from the CEO or business head.
Create a comprehensive project plan that outlines all key milestones, deadlines, and deliverables for the client. Break down the project into manageable phases and define specific tasks for each stage. You can use a project management checklist to ensure you don’t forget anything.
Also, mention who will be responsible for each task and establish clear deadlines to maintain accountability. This plan should be as detailed as possible to avoid any ambiguity and ensure everyone knows what to expect.

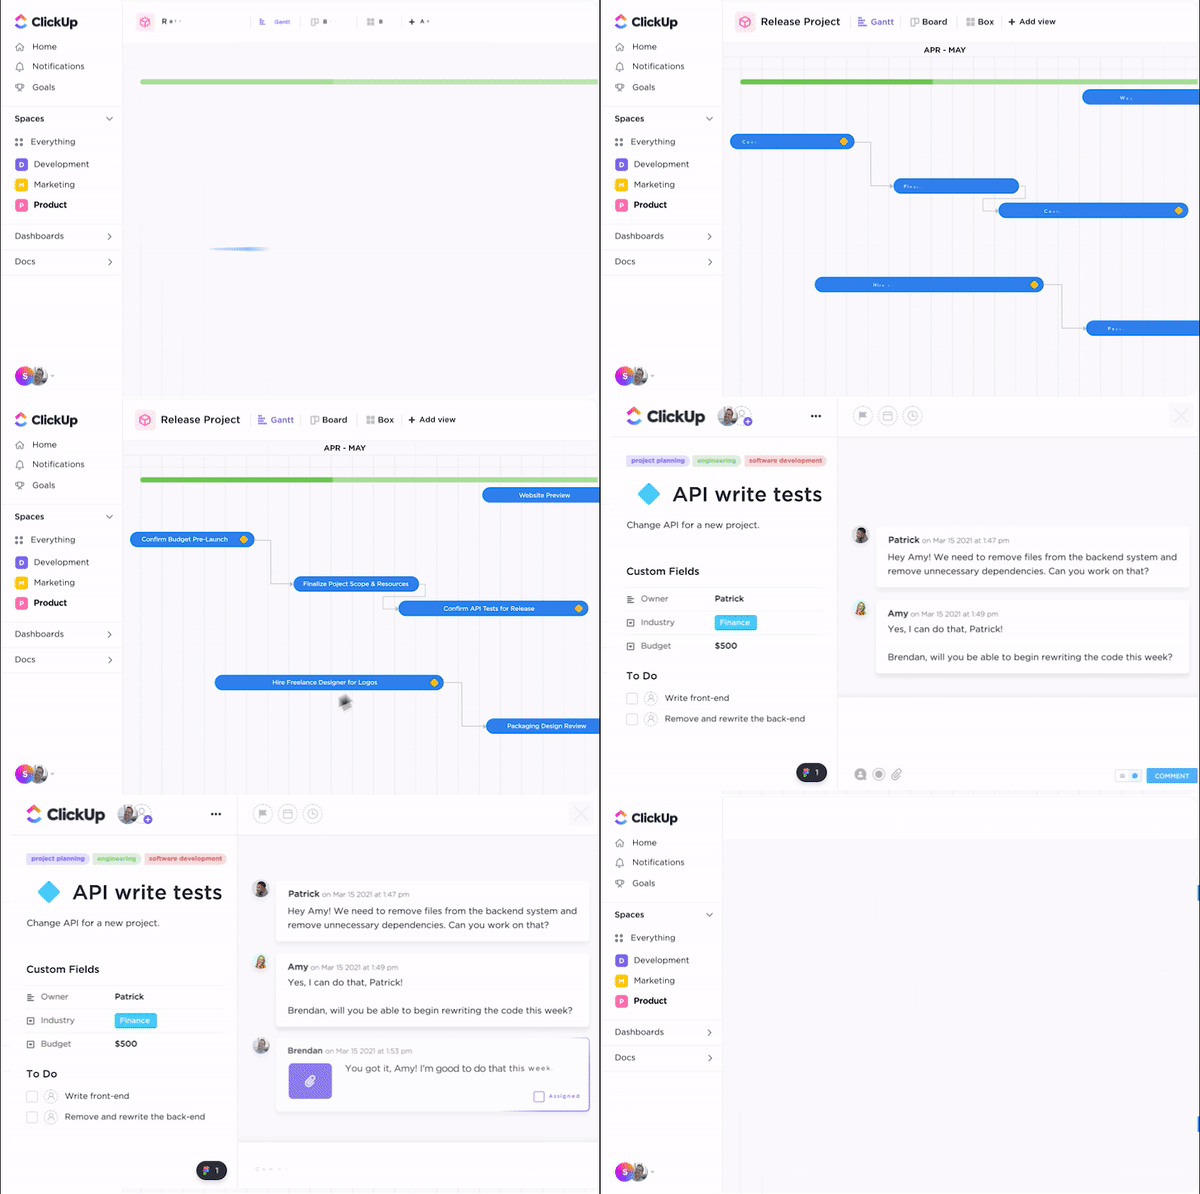
You can use robust project management software features, like ClickUp Views (List, Gantt, Board, etc.) and ClickUp Task Management, to map out the entire project timeline, assign tasks, and set due dates for each project stage.
The next step is to hold a kick-off meeting. This will help you introduce the project team and explain each member’s role and responsibilities. Review the project plan in detail, covering milestones, deadlines, and deliverables. Clarify any questions and ensure everyone is aligned on the project goals and expectations.
💡 Pro Tip: Use client onboarding software to create a client portal where the client can access all relevant documents, timelines, and communication threads. This centralized hub will make it easy for them to stay informed and develop a strong working relationship.
Once everything is done and discussed, request access to all the necessary systems, tools, or platforms you need to deliver your services.
For example, you may need access to the client’s content management system, customer relationship management software, customer database software, or social media accounts.
Don’t forget to document all the procedures and best practices. Having a well-organized repository of information allows the client to refer back to it whenever needed.
For example, a tool like ClickUp allows you to create and store all relevant documents in a centralized place. You can collaborate with your clients in real time, track project milestones, and integrate them with 1000+ tools.
The post-onboarding period is critical to determining the client’s future with you. Proactive communication and continued value delivery demonstrate your commitment to their success and keep them engaged.
Therefore, schedule regular check-in meetings to review progress, address any issues, and ensure the client’s needs are being met. Make sure your communication has a clear purpose.
These meetings will give you a chance to follow up with the client and update them on the latest developments.
Regular follow-ups help you gather feedback from the client, understand the client’s experience, identify any pain points, and find potential areas for improvement.
Use the feedback to make necessary adjustments to your processes and services. This will show that you value the client’s input and are willing to adapt based on their feedback.

Make the process convenient for your clients by providing them with multiple feedback methods. You can schedule meetings, share forms, or conduct surveys.
Create rich surveys, analyze data, and convert responses into trackable tasks for comprehensive feedback gathering using ClickUp’s Form View.
This will also help you provide ongoing support to the client, keep them informed and engaged, and prevent issues from escalating.
Gathering and organizing customer feedback is simple if you use ClickUp’s Customer Satisfaction Survey Template. It helps you to understand customer behavior and preferences better. The template is fully customizable and offers nine custom fields, including helpfulness, clarity, and feedback, four different views, and several custom statuses.
Creating a structured and consistent onboarding process plays a significant role in giving clients a positive experience. Using a client onboarding checklist ensures you don’t miss out on any essential steps during the process.
However, creating the checklist is merely the first step in customer onboarding. The actual process can easily get overwhelming in the absence of the right tool.
This is where ClickUp helps. ClickUp is customer onboarding and retention software that centralizes your client onboarding workflow and lets you create comprehensive checklists, manage clients and deliverables, set milestones, and more—all on a single platform.
Let’s see how ClickUp helps:

With ClickUp’s Task Checklist, you can easily create and manage checklists for any task from any device. Here’s what you can do:

You can use ClickUp’s Checklist Templates to create a client onboarding checklist template, set up consistent processes, and even set up permissions for guests using your templates. ClickUp offers four types of permissions: full, edit, comment, and view only.
Don’t want the stress of defining each step and creating a checklist? Worry not; we have something for you too. Just use our fully customizable templates! For a new client onboarding checklist template, we recommend these:
ClickUp’s Customer Onboarding Template offers a step-by-step process for onboarding a client. It helps you deliver tailored experiences, streamline the process, and measure the success of your customer onboarding process. The template lets you create tasks with custom statutes, including new customers, onboarding calls, client onboarding questionnaires, team assignments, etc. It also offers seven different views and project management.
ClickUp’s Customer Success Plan Template helps you create an effective plan with specific success criteria for each customer. You can organize onboarding, define customer expectations, and track progress against predetermined goals. This customer onboarding template allows you to foster stronger customer relationships and build loyalty.
ClickUp’s Project Checklist Template helps keep your team on track with projects. It lets you track progress, assign tasks to the team, create detailed lists, and identify potential risks. You can also brainstorm tasks, set deadlines, visualize progress, and maximize your efficiency. Moreover, this template lets you categorize tasks and add relevant attributes to make them easier to manage.
ClickUp CRM offers features like pipeline visualization, tracking accounts, real-time collaboration, and streamlined workflows to accelerate customer satisfaction.

With this, you can:


Here’s what Dayana Mileva, Account Director at Pontica Solutions, has to say about how ClickUp helped them connect better with their clients:
With ClickUp, we went one step ahead of the game and created dashboards where our clients can access and monitor performance, occupancy, and projects in real time. This allows clients to feel connected to their teams, especially given that they are located in different countries and sometimes even on different continents.
Here are the most common client onboarding challenges and how you can overcome them:
Incomplete or inaccurate information from the client can delay the onboarding process and easily lead to misunderstandings.
Solution: Use ClickUp’s Form View to create a comprehensive onboarding questionnaire to gather necessary information upfront. This should cover areas such as company details, project goals, and key contacts.
A lack of a structured onboarding process can lead to steps getting missed and important tasks falling through the cracks. This can further lead to delays and a poor client experience.
Solution: To manage this, develop a standardized customer onboarding checklist that covers essential steps using ClickUp Task Checklists. This creates consistency and ensures that nothing is overlooked. Also, utilize project management tools like ClickUp to manage tasks, deadlines, and communication efficiently. These tools help keep the process organized and transparent.
Technical issues, such as problems accessing systems or tools, can significantly delay and disrupt the onboarding process.
Solution: Conduct pre-onboarding technical checks to ensure that all necessary systems and tools are accessible and functioning correctly. That’s where ClickUp Task Dependencies helps you. Use it to ensure technical checks are completed before proceeding to the next steps. Additionally, provide dedicated technical support during the onboarding phase to quickly resolve any issues that arise.

Some clients may resist changes to their established processes or systems, making it difficult to implement new solutions effectively.
Solution: This is where educating the client on the benefits of new systems becomes important. Provide training sessions and resources to help clients understand the changes. Centralize your training with ClickUp Docs and create a shareable knowledge base. You can also implement changes incrementally rather than all at once. This allows the client to adjust gradually and reduces resistance.
One of the most significant challenges during onboarding is when the client’s expectations do not align with the services or outcomes that your company can deliver. This can lead to dissatisfaction and frustration.
Solution: To manage this challenge, clearly communicate your services, the expected outcome, and the timeline from the very beginning. Further, schedule regular check-ins to ensure the client’s expectations are being met and managed. Stay on top of client communication with ClickUp’s Recurring Tasks. Schedule regular check-ins automatically to keep projects on track.
Another common challenge is failing to provide adequate follow-up and support to clients, which can lead to client dissatisfaction.
Solution: Schedule regular follow-up meetings to review progress, address any issues, and ensure the client’s needs are being met. Offer continuous support through various channels, such as email, phone, and live chat, to address any concerns promptly. Take advantage of ClickUp’s Chat View to communicate with the client in real time and ensure all the necessary details related to a task are easily available.
Effective client onboarding sets the foundation for a successful relationship. It ensures that clients feel supported, informed, and confident in their decision to partner with your business.
Each step of the onboarding process, from pre-onboarding preparation to post-onboarding follow-up, is an opportunity to build trust, demonstrate your value, and align your services with the client’s goals.
Using a client onboarding checklist ensures you complete all of these steps. It also helps you overcome the most common onboarding challenges, including lack of information, technical difficulties, and resistance to change.
Using project management tools like ClickUp can help you streamline the onboarding process. You can create comprehensive checklists, set reminders, create surveys, collaborate with clients in real time, and so much more. Sign up for free today!
© 2026 ClickUp