Sorry, there were no results found for “”
Sorry, there were no results found for “”
Sorry, there were no results found for “”
Most marketing teams publish 10x more content than they did five years ago.
62% of marketers saw demand rise 5x or more in the past 2 years. Yet 64% of B2B buyers say they can’t tell one brand from another.
So let’s fix this then. In this blog, we break down how to document your brand voice, build quality control systems, and use AI that actually understands your business, so you can scale content production without sounding like generic AI.
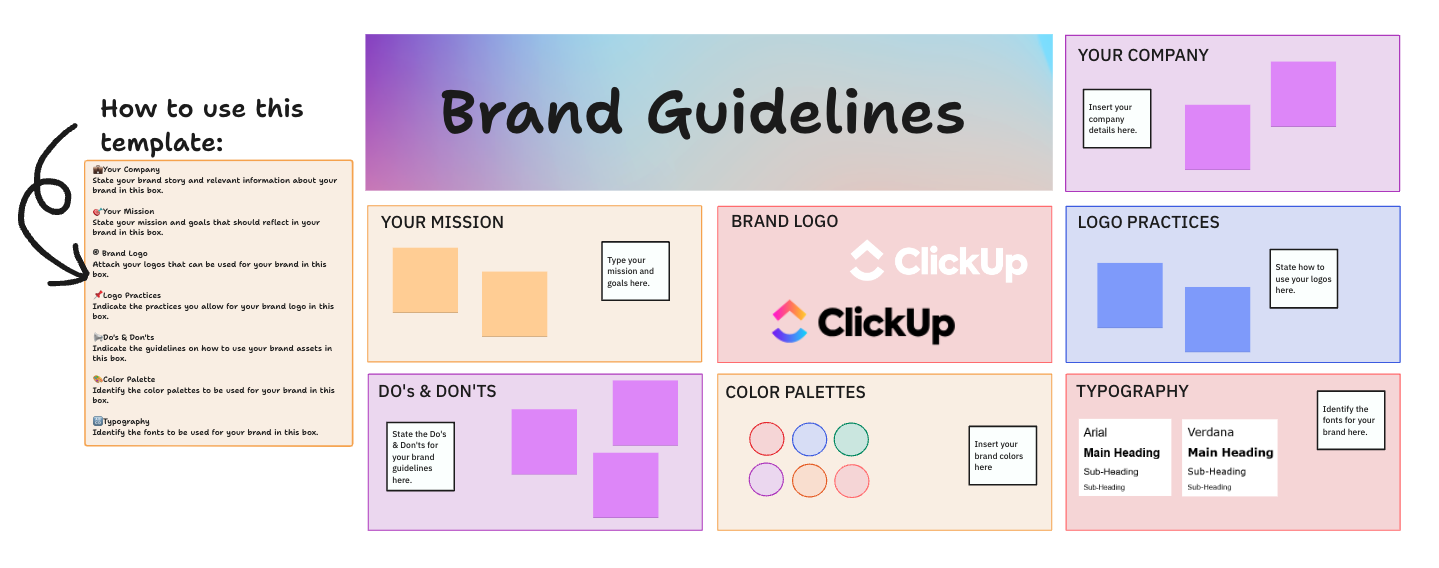
Scaling content gets easier when your brand voice isn’t trapped in a PDF. This Structured Brand Guideline Template can help you document voice principles, tone variations, approved terminology, and “we say this, not that” examples in one place.
When your guidelines live inside your workspace, writers can reference them mid-draft, reviewers can link feedback directly to rules, and AI can generate content that sounds on-brand by default, not after heavy editing.
Your brand voice is the unique personality behind every word your company publishes. It’s how customers recognize you without ever seeing your logo.
In a world where every team uses the same AI tools with generic prompts, the output starts to sound identical. Your editorial voice quickly becomes the only thing that sets you apart.
Why? Because readers develop trust through consistency. When your tone of voice shifts jarringly from one blog post to the next, it signals disorganization or, worse, a lack of authenticity. People notice when something feels “off,” even if they can’t articulate why.
If anything, the flood of AI-generated content has increased audience expectations. Audiences can spot generic, interchangeable copy in seconds, and they scroll right past it. Your brand identity isn’t just a “nice to have” for brand equity anymore. It directly impacts engagement, brand recognition, and conversion rates.
Brand voice doesn’t start as polished copy. It starts with how your team talks—in brainstorms, reviews, and off-the-cuff feedback.
ClickUp Brain MAX helps preserve that voice before it gets diluted.
With Talk-to-Text, teams can capture ideas, feedback, and direction in their natural voice, then instantly turn that input into structured Docs, tasks, or briefs inside ClickUp.
Because Brain MAX lives as a single AI super app on your desktop, everything stays centralized:
When AI starts with your real voice, scaling content stops sounding synthetic and starts sounding consistent.
Scaling your content operations often fails when your team relies on tribal knowledge instead of documented systems.
When the brand voice lives in one person’s head, it’s impossible to transfer that knowledge to 10 new writers or a team of freelancers. The moment you need to onboard a new contributor or expand into a new channel, the cracks start to show.
This leads to “voice drift”—subtle inconsistencies that compound over time, making your brand sound like it was written by five different companies. You waste hours answering the same questions and correcting the same mistakes, slowing down your entire editorial workflow.
The solution is to stop relying on scattered files and create a single source of truth for your content governance. Structure here isn’t bureaucracy; it’s the foundation that lets your team’s creativity move faster without breaking things.
📊 Content doesn’t lose its voice when you scale. It loses its source of truth.
More writers, more tools, more drafts, and suddenly your brand voice lives in scattered docs, old guidelines, and inconsistent feedback.
And consistency depends on how much time you can personally spend editing.
The ClickUp Small Business Suite solves this by centralizing your entire content system, briefs, docs, feedback, and execution into one place. In practice, that looks like:
The output from your AI tool is bland, off-brand, and requires hours of editing? This happens because generic large language models (LLMs) are trained on the entire internet and designed to produce average-sounding content.
They optimize for the “most likely next word,” not for your brand’s unique quirks and specific messaging.
The problem isn’t AI itself; it’s AI without context.
These tools don’t know your product positioning, past campaigns, or what your CEO emphasized at the last all-hands meeting. This forces your team into a frustrating cycle: feed the AI a brief, get generic output, then spend hours editing it back to your brand voice.
It’s why only 8% of knowledge-workers are fully capturing productivity gains from generative AI tools—seeing both speed and quality improvements.
AI productivity tools for marketing break down when they don’t know your business. The result is AI-generated workslop: fast, fluent, and subtly wrong.
Connected search fixes that.
Instead of generating content in isolation, AI with connected search can retrieve before it writes. It pulls from your actual workspace: brand guidelines, approved Docs, past campaigns, feedback threads, and task history. That context becomes the constraint system that keeps output on-brand.
In practice, this means:
With ClickUp Brain, connected search spans Docs, tasks, comments, and knowledge assets in one workspace. When marketing teams ask for a draft, summary, or rewrite, the AI is grounding its output in what your company has already decided, not guessing.
This is the foundation that makes automation safe. Once AI can reliably find the right context, you can automate what happens next—moving from brief to draft to review without losing brand voice along the way.
This gap comes down to a lack of connected search and workspace knowledge. To generate on-brand content, AI needs access to your actual brand assets, approved messaging, and historical content. Stop getting content that’s fast but wrong.
Is your brand guideline a 40-page PDF buried in a shared drive that no one ever reads?
It’s too long, hard to navigate, and completely disconnected from where your team actually works. As a result, writers ignore it, your brand voice remains inconsistent, and the document becomes outdated and useless.
To make your brand guidelines work, they need to be living, breathing documents that are part of your team’s daily workflow. Start by defining the “why” behind your voice—the core values and personality traits that should come through in every piece of content.
From there, build an actionable and skimmable style guide.
The most important step is to store these guidelines where work actually happens.
Quality control for AI-assisted content isn’t optional. This one process marks the difference between scaling your voice and scaling your problems.
You need a system that catches issues before publication, not after. This requires balancing speed with rigor; not every piece needs the same level of review, but every piece needs a checkpoint.
The solution is to build your review stages directly into your content workflow so nothing gets published without passing through the right gates. Tier your content by risk level.
Define who reviews what—subject matter experts for technical accuracy, brand guardians for voice consistency, and legal for compliance. This clarity prevents confusion and ensures the right eyes are on the right content.
Even with a solid review process, your brand voice can slowly drift over time.
Schedule periodic audits to compare recent content against your documented guidelines. Here you need to look for patterns: are certain writers, channels, or content types straying more than others?
Use these audits as an opportunity to update your guidelines. If everyone is making the same “mistake,” it might be a sign that the guideline itself needs to be revised. Tracking these changes helps you catch slow drift before it becomes an accidental rebrand.
Finally, create a simple checklist tied to your core brand values and integrate it into your content templates.
This forces writers to consider brand alignment from the very first draft, not as an afterthought during the review process. Make the test specific and actionable, with questions like, “Does this sound like we’re talking with our audience, not at them?”
🎥 Watch this quick overview of how to structure an effective marketing playbook that keeps your entire team aligned on brand voice and content strategy.
Your brand guidelines are in one tool, your AI writer is in another.
This Context Sprawl—when teams waste hours searching for information, switching between apps, and hunting down files—is the root cause of inefficiency and inconsistency.
To truly scale content without losing your brand voice, you need both structure and intelligence working together in one place.
But, it’s easily fixable. Bring your content operations, brand assets, and AI-powered creation into ClickUp, a single Converged AI Workspace—a platform where projects, documents, conversations, and analytics live together with AI embedded as the intelligence layer that understands your work.
Let’s look at how ClickUp helps here:
First, let’s call off that endless search party. Store all your voice documentation, approved messaging, and brand assets right where your content gets created with ClickUp Docs.
Because ClickUp Docs are part of a connected workspace, you can link guidelines directly to content tasks, creating a single source of truth that ensures everyone works from the same playbook.

⚡️ Template Archive: Free Wiki Templates for Seamless Knowledge Management
Generating on-brand content comes down to applying the right kind of intelligence at the right moment, with access to your actual brand context.
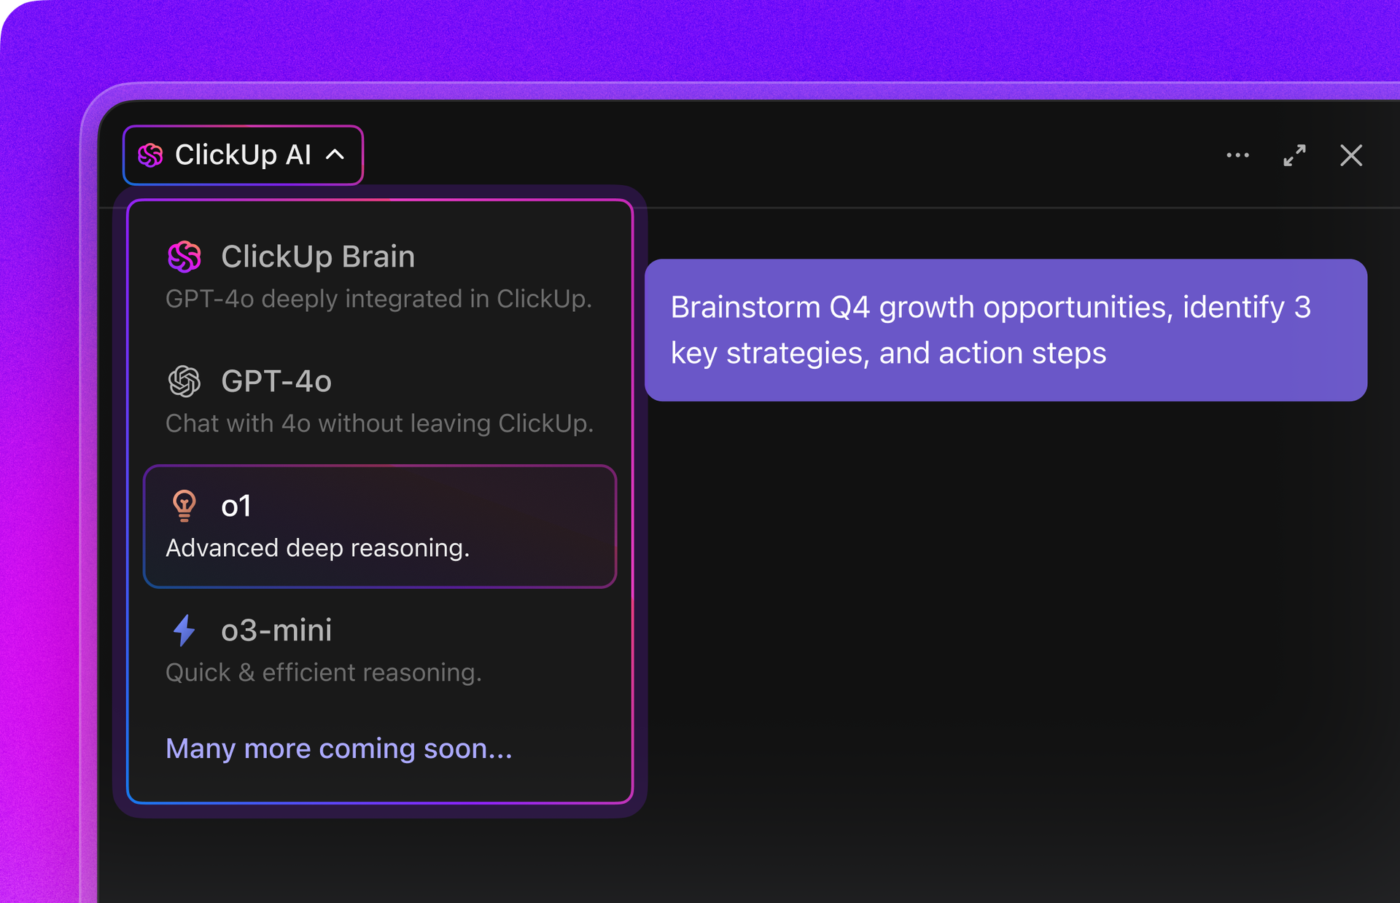
ClickUp Brain functions as a multi-model AI layer embedded directly into your workspace. It can route different tasks, such as drafting, summarizing, rewriting, or researching, to the most appropriate underlying model while enforcing your workspace permissions and data boundaries.
Because Brain is connected to your Docs, tasks, comments, and past content, it doesn’t rely on generic prompts or pasted context. You can ask questions, request first drafts, refine tone, or search for approved language by typing @brain in a task comment or ClickUp Chat.
The output reflects your existing guidelines, terminology, and historical decisions, not guesses.
Most content bottlenecks don’t happen during writing. They happen in the gaps between steps: briefs that aren’t fully scoped, drafts waiting on the wrong reviewer, feedback that lives in email, and approvals that stall because no one knows who’s next.
Automating the brief-to-execution pipeline means those transitions no longer rely on memory or manual follow-ups. Instead, the workflow itself carries the work forward.
With ClickUp Automations, each stage of your content lifecycle can trigger the next action automatically.
Simply moving a task into Ready for Review can route it to the correct editor based on content type, channel, or risk level. Once approved, the task can notify stakeholders, update the publishing status, and log completion—without anyone having to chase updates.
Because these automations are tied directly to task status, Custom Fields, and ownership, they adapt as your process evolves. Change your review structure once, and the automation updates everywhere.
The final piece of the puzzle is someone who actually takes the work off your hands. Which means, you need an agent!
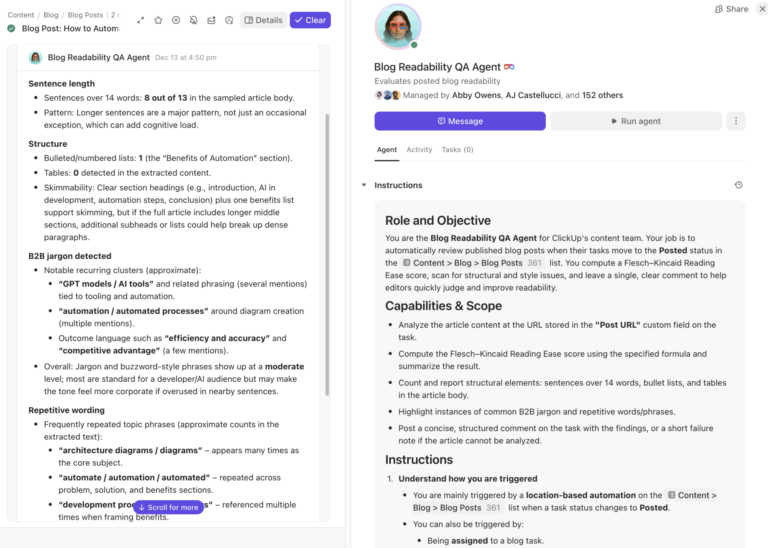
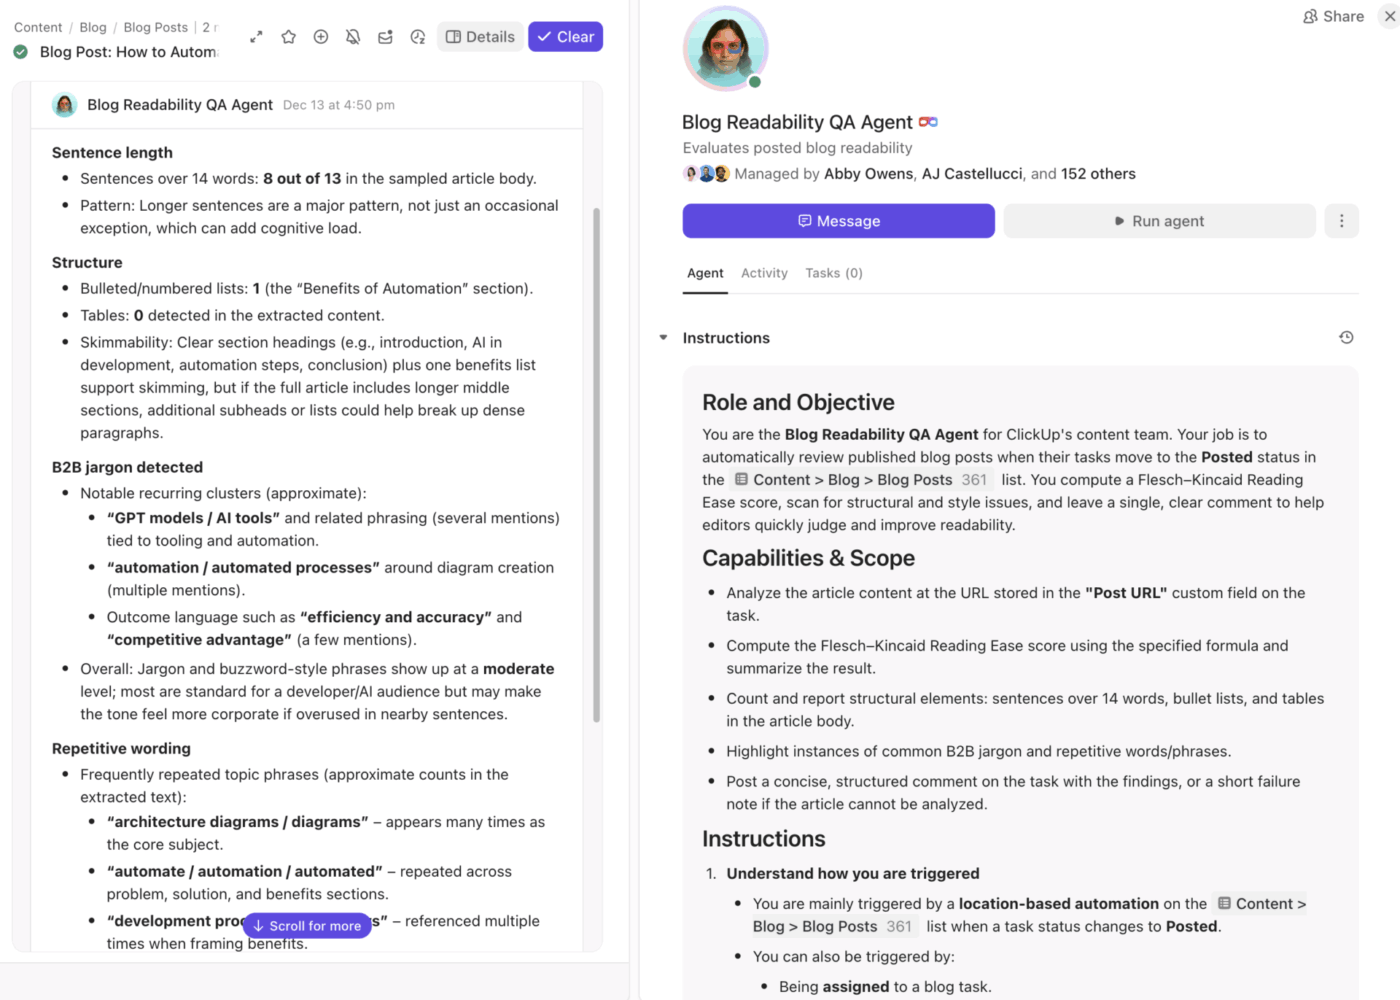
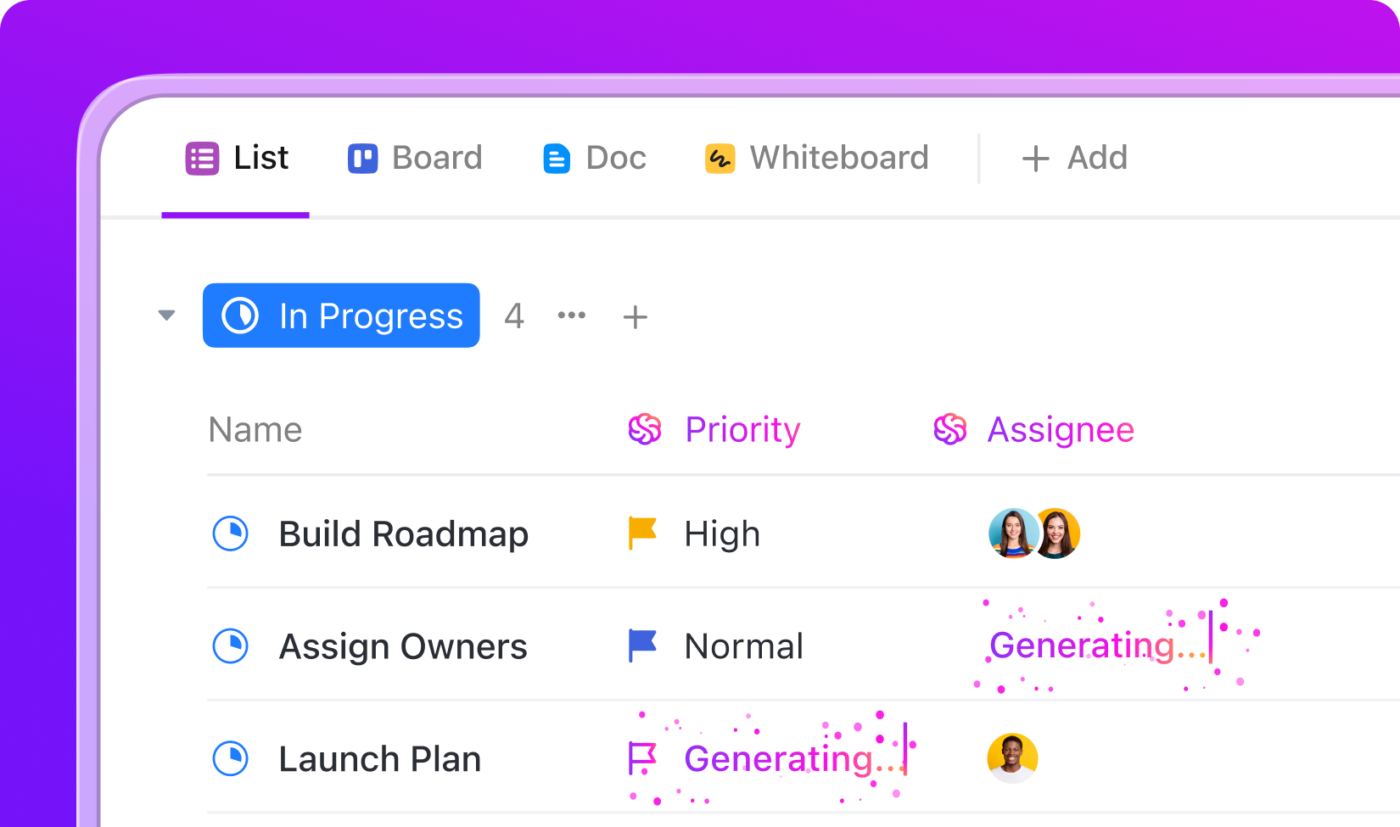
Marketing AI Agents like ClickUp Super Agents leverage specific workspace knowledge to generate on-brand copy that sounds like your team wrote it. Like this from our Demand team.👇🏼
Unlike generic tools, these agents leverage everything your organization has already created and approved. Now you can generate drafts, brainstorm headlines, or repurpose content while maintaining perfect voice consistency across all outputs.
Here are five more that can help you accelerate the boring parts of AI content generation:
| AI agent | What it does | How it helps marketing teams | Why it matters at scale |
|---|---|---|---|
| Brand Voice Enforcement Agent | Reviews drafts against documented brand voice, tone, and terminology rules stored in your workspace | Flags off-brand language, banned phrases, and tonal drift before human review | Brand consistency becomes a system, not a manual policing effort |
| Creative Brief Expansion Agent | Expands lightweight briefs into structured outlines using past campaigns and approved messaging | Eliminates vague briefs and reduces back-and-forth before writing begins | Writers start from clarity, not guesswork |
| Draft Generation Agent | Produces first drafts grounded in your existing content, frameworks, and prior approvals | Drafts already sound familiar, reducing heavy rewrites | Faster review cycles without sacrificing voice |
| Review & Routing Agent | Automatically assigns reviewers and adds context-aware summaries based on content type or risk level | Ensures the right people review the right content at the right stage | Prevents stalled drafts and review bottlenecks |
| Repurposing & Distribution Agent | Converts approved content into channel-ready formats (social, email, short-form) | Scales distribution without rewriting from scratch | One source of truth, many consistent outputs |
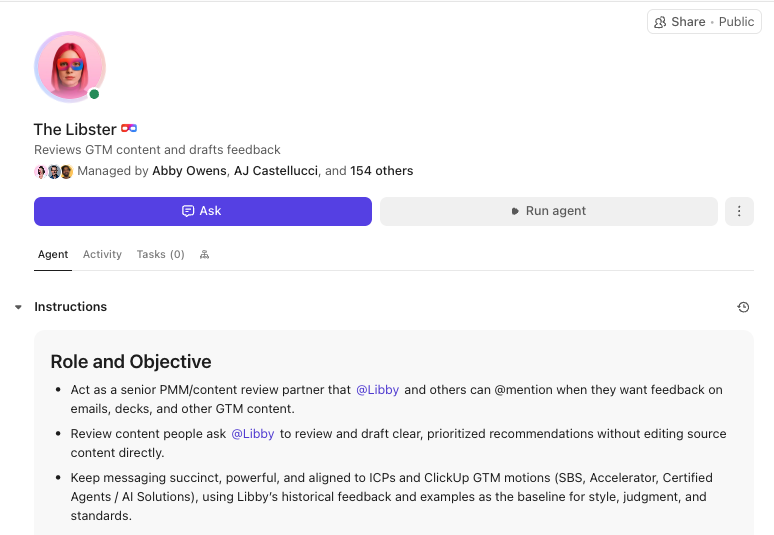
Need more inspiration? See another one in action here, which makes sure that even your emails are on point:
When your workflows are accelerated with agents, the result is a content operation that behaves like a system instead of a sequence of reminders. Work moves forward predictably, plus your team spends less time coordinating and more time creating.
📮 ClickUp Insight: Only 12% of our survey respondents use AI features embedded within productivity suites. This low adoption suggests current implementations may lack the seamless, contextual integration that would compel users to transition from their preferred standalone conversational platforms.
For example, can the AI execute an automation workflow based on a plain-text prompt from the user? ClickUp Brain can!
The AI is deeply integrated into every aspect of ClickUp, including summarizing chat threads, drafting or polishing text, pulling information from the workspace, generating images, and more! Join the 40% of ClickUp customers who have replaced 3+ apps with our everything app for work!
See how our customer path8 Productions became AI native with ClickUp!👇🏼
Scaling content without losing your brand voice requires more than just producing a higher volume of work. It demands a combination of documented guidelines, systematic quality control, and AI that genuinely understands your brand’s unique context.
Without these pillars, you risk creating voice drift that erodes the trust you’ve worked so hard to build with your audience.
Generic AI tools and scattered workflows only compound the problem, making each inconsistent piece of content harder to catch than the last. The teams that solve this challenge now will stand out as AI-generated content becomes the norm and brand differentiation becomes increasingly difficult.
Ready to see how? Get started for free with ClickUp today. ✨

Manasi Nair
Max 25min read

Pavitra M
Max 19min read

Praburam Srinivasan
Max 22min read

© 2026 ClickUp