How to Write a Design Brief in 8 Steps (With Templates, Examples & Best Practices)

Sorry, there were no results found for “”
Sorry, there were no results found for “”
Sorry, there were no results found for “”

Do you think the hardest part of a design project is its execution? You aren’t wrong, but here’s the thing: the success or failure of your design project depends on something you do even before the project begins.
It relies on whether the design concepts that you imagined so vividly could be understood and recreated IRL. What’s the solution? Writing detailed and practical design briefs, of course!
Like placing an order at a restaurant, a design brief tells the designer what you want out of a request. It helps them understand the project, the task, and where to start.
The key to writing a highly effective design brief is to be both clear and concise—which is challenging when you’re dealing with complex tasks or multiple non-negotiable project requirements. But we’re here to help with tips and design brief examples to make this easier. 💜
Whether your design team is looking to standardize your briefs or you’re part of a design agency commissioning a company project, this article has you covered.
Read along for a fresh take on writing efficient design briefs, including the essential elements, how-to breakdowns, design brief best practices, a customizable design brief template, and more!
A design brief is a written project management document that lays the design thinking for a design project with the outlined goals, project scope, and approach for the request. Similar to your project roadmap, the design brief is a designer’s guiding light when it comes to the where, what, when, and why of a specific request.
A well-written design brief typically passes through many hands before it lands on the designer’s to-do list. With approvals from all project managers and stakeholders, the brief should be thorough but to the point, identifying the approved timeline, end product, and budget (if applicable).
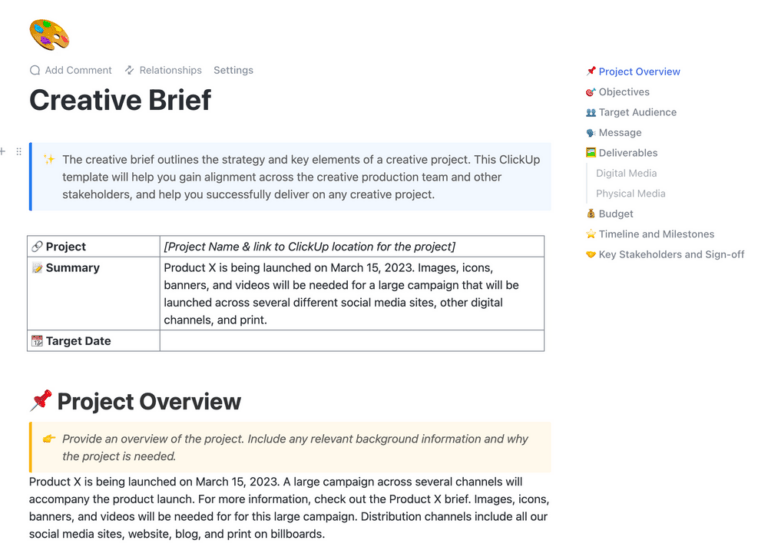
On a deeper level, briefs are also a way for the designer to connect and align with the person making the request. In this sense, try to use your project brief as a collaborative tool for eliminating the general confusion that comes with additional back-and-forth phone calls, messages, and emails.
But while it’s important to include core details and context to your requests, your design brief should still be, well, brief. You want it to be long enough to describe the project and communicate your request without overwhelming the designer with a multi-page pamphlet that runs margin-to-margin. 🥵
As we mentioned earlier, a design brief is best created collaboratively by all involved persons. This would include:
Need a design brief fast? Get clear objectives, requirements, and expectations instantly with ClickUp’s free Design Brief Template.
A good design brief should be comprehensive yet clear. Here are the key components it should include:
The design brief should give as much context as possible about the project and the overall business. It should provide:
A design team must understand the audience they are trying to reach and what’s important to these personas if the design has to have an impact. This is particularly critical for UX design. The design brief should include:
A well-planned design brief helps the designers understand what is expected of them and prevents multiple revisions and delays. Consider including:
Your brief should also include a mention of all the design elements you require, and brand-specific asks. These could cover:
As in any project, clearly specifying the available resources, like budget and time, helps to set expectations. Include specific details in the design brief about:
To ensure that everybody is on the same page, always clarify what a successful design project means to you. This includes:
How do these elements come together in a design brief? We’ll show you!
Also Read: How to Optimize Your Agile Design Process
The main difference between a design brief and a creative brief is the target audience. A design brief is directed toward designers, while a creative brief focuses on marketing teams or other individuals involved in the creative process.
A design brief includes more technical details like timelines, budget constraints, and specific requirements for the project. On the other hand, a creative brief may focus more on brand messaging, tone of voice, and target audience for the project.
Both types of briefs serve a purpose in the design process and should work together to provide a complete understanding of the project’s goals and objectives.
Here’s a tabular comparison of design briefs and creative briefs for easy reference:
| Aspect | Design Brief | Creative Brief |
| Primary purpose | Focuses on specific design execution and technical requirements | Outlines broader marketing and communication strategy |
| Level of detail | Broader, encompasses the entire creative strategy | More conceptual and focused on messaging strategy |
| Audience | Primarily for designers and design teams | For all creative team members (writers, designers, strategists) |
| Content focus | Design elements, visual requirements, technical specifications | Brand messaging, campaign objectives, market positioning |
| Deliverables | Specific design outputs (logos, websites, packaging, etc.) | Overall campaign elements and marketing materials |
| Technical info | Detailed specifications for dimensions, colors, formats | General guidelines for brand tone and creative direction |
| Timeline | Design-specific milestones and production schedules | Overall campaign timeline and major marketing dates |
| Measurements | Design-focused metrics (usability, visual appeal) | Marketing metrics (engagement, awareness, sales) |
| Scope | Narrow, focused on design execution | Broad, covers the entire creative strategy |
| Components | Design specifications Technical requirements Visual references Format details Production guidelines | Marketing objectives Brand positioning Key messages Target audience insights Competitive analysis |
Also Read: How to Apply the Principles of Design
There’s no set-in-stone format you must stick to when writing an effective design brief. 🤩
Your team will find the type of brief that serves your design project management style best in terms of length, detail, and work style. Small requests or smaller-scale projects may not require as hefty of a brief, but there are still key elements that all briefs share.
Relying on a template, a survey-style request, or a standardized document structure are all great ways to collect the necessary information to build a design brief. The key is to keep it consistent! Here is our step-by-step guide for writing effective design briefs with real-life examples. ✏️
Follow these eight steps—or skip to the next section for a free design brief template to make the design process even easier! 🤓
Think of your design brief as a reliable source of truth—a document that you can refer back to at any time for the most accurate information and progress updates as you manage your design project.
So, create one single document that’ll have all your design brief information. While you can do this in a simple Word or Google document, using a software created to support design teams will ensure that you keep the design brief streamlined and always updated.
Design project management tools like ClickUp will allow you and your team to collaboratively ideate and compile your thoughts for the design project. Powerful design tools will also alleviate some of the stress involved in your design workflow with the ability to organize, edit, share, and manage projects of any size.
💡Pro Tip: A documentation tool like ClickUp Docs offers a ton of features like AI, nested pages, Slash Commands, styling options, embedding, and advanced settings to customize your design brief document.
You’ll also love how far you can take your design briefs with real-time editing, @mentions in comments, and secure sharing and permissions via a simple link.
Plus, Docs can be connected to your workflows, so any updates that happen in your document are automatically reflected in related tasks and other areas of your workspace.

Context is everything and this section of your design brief should give exactly that!
Give a brief but descriptive project overview section that explains your project and its purpose. This doesn’t have to be too deep, but a sentence or two that clearly states your request and its purpose is a great starting point for the designer.
This section may also include a bit about the company or client commissioning the design. Common details include what the company does, its primary services, values, and brand identity.
Our social media marketing agency is redesigning our website to feature a new home page, blog section, and portfolio. We are a small team of eight members who work with 50 businesses in our area, and all of our work is currently clustered together on our outdated webpage. We have matured as a brand since we created our initial website and grown as a company, and we want our new website to reflect that.
Describe the problem this project will address and the big-picture idea that you’re hoping to achieve with it. Be direct with the purpose you want the project to serve and use this section to align the design team with the client’s overall vision and objective through SMART goals.
SMART stands for Specific, Measurable, Attainable, Relevant, and Time-bound.
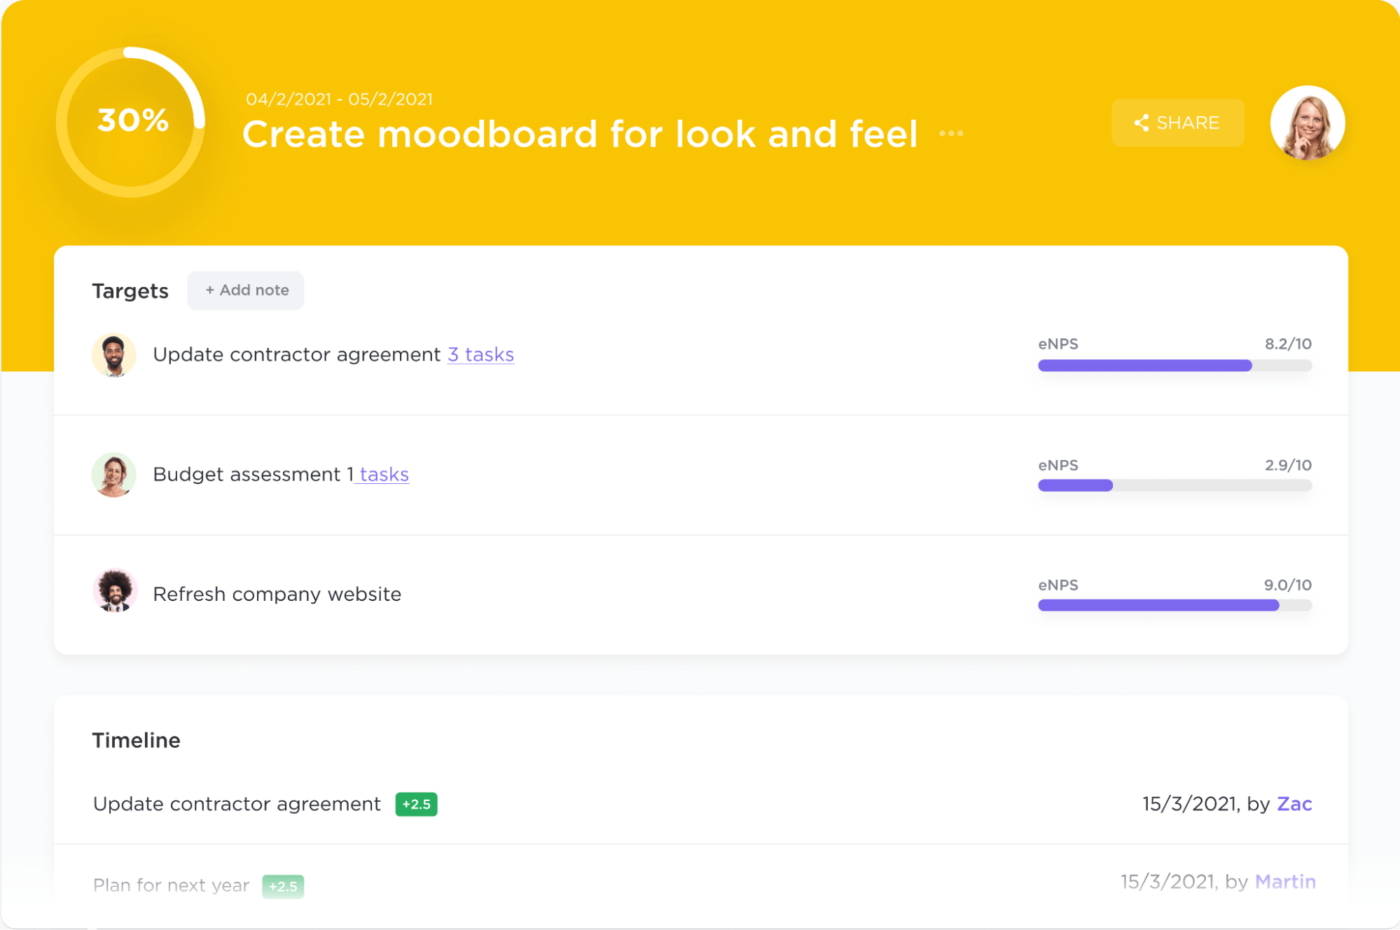
We want our redesigned website to reflect our brand identity better, drive more traffic to our services, and increase email newsletter sign-ups by 25% by the end of our next fiscal quarter.
💡Pro Tip: ClickUp Goals is a great way for teams to collaboratively create, share, and track goals.
The next section of your brief covers the who of it all.
This is where the client commissioning the project will describe their ideal customer, audience, user personas, and use cases.
It is crucial for the designer to understand their client’s target audience through this request to meaningfully connect with those customers’ needs.
Our target market audiences are female entrepreneurs in the San Diego area in the 25-34 and 35-44 age ranges. These clients want to grow their business by investing in paid ads on social media platforms and want resources to improve and increase their online presence.
Now we’re starting to move into the details and logistics sections of your design brief. ⏰💸
Make sure the timeline provided is realistic and feasible for what the brief is asking. If there are any budgetary or resource constraints, this is the time to lay them down.
Designers need to know when the project is due for its first round of edits, when they can expect feedback from the client, and any key milestones, task dependencies, or deadlines tied to the request.
This will help establish clear communication between the designer and the client so all of their expectations are met, and avoid potential bottlenecks while the project is in progress.
💡Pro Tip: Design project teams can use tools like Gantt charts to track milestones and identify blockers well in time.
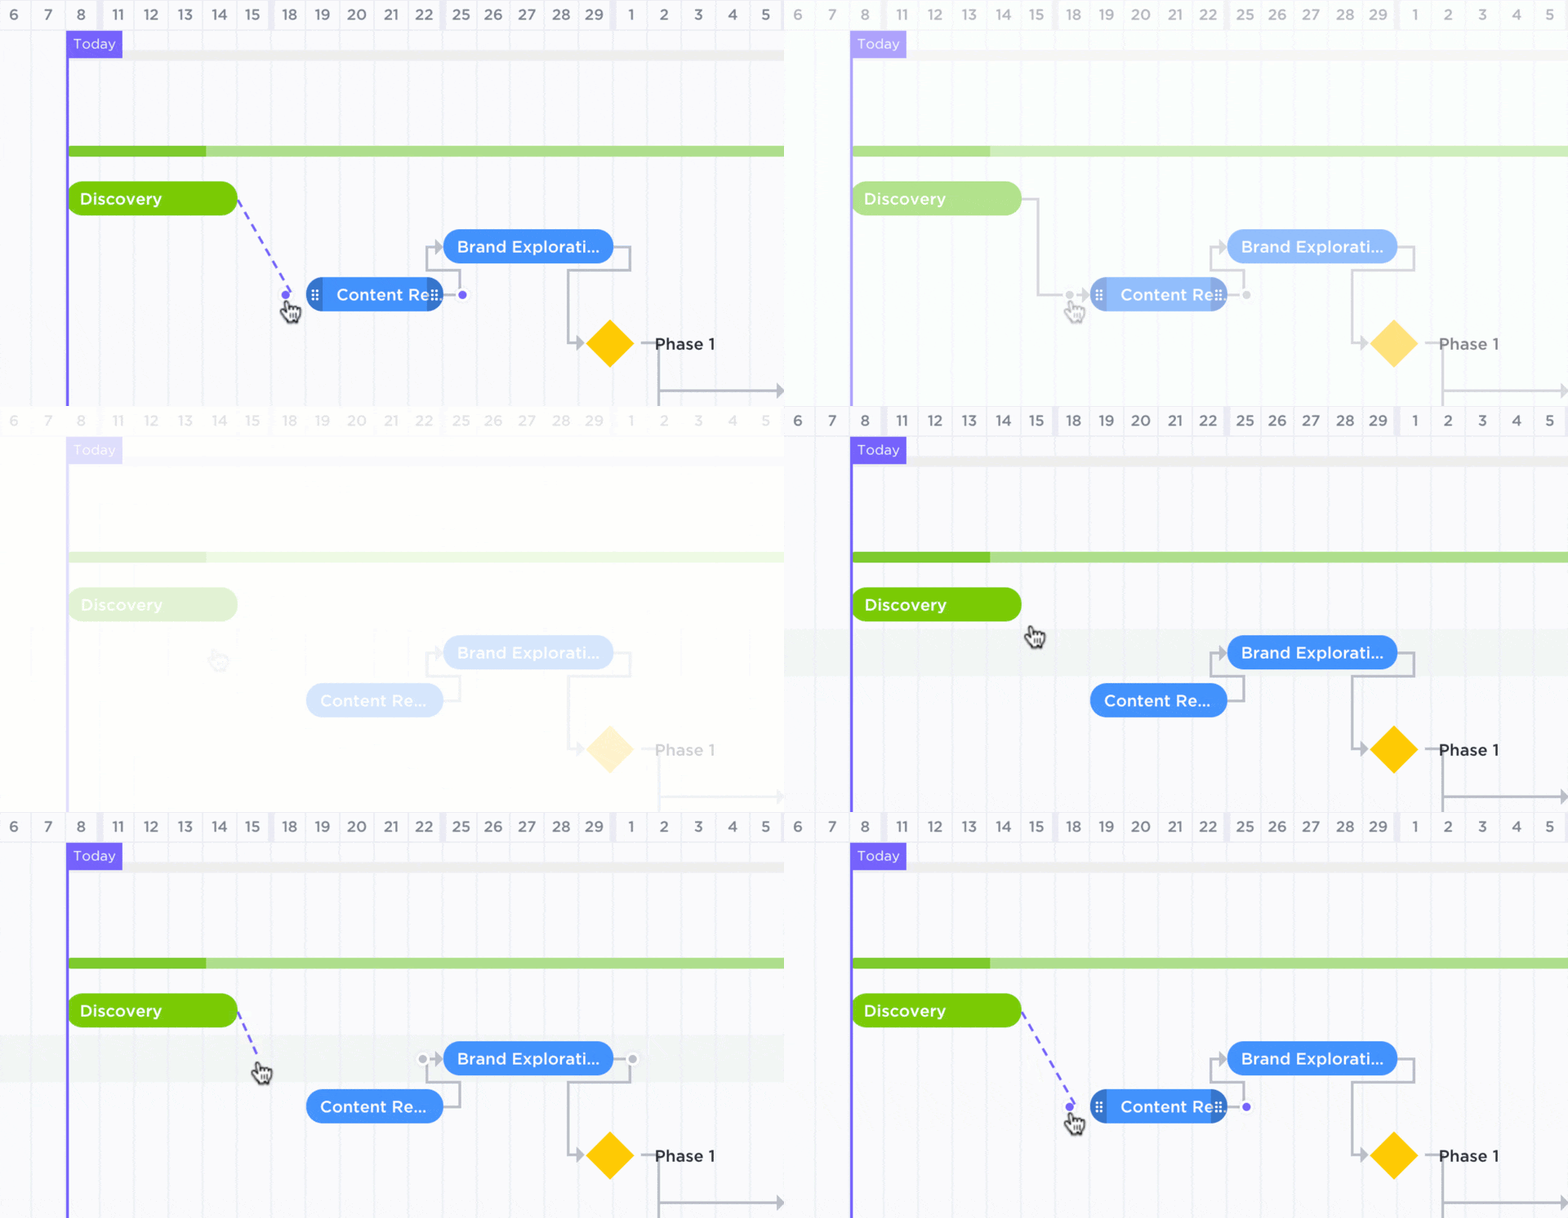
Our ideal timeline from start to finish is six months. We are announcing our new website at an event in March but want to quietly launch the website a month prior. This extra month will give us some wiggle room if there are any setbacks. We would like to approve the mockups and wireframes, and go through two rounds of edits before we launch.
This section is all about the file details and formatting in which you want to receive the project. If necessary or applicable, specify the size, file type, naming process, and project deliverables you’re expecting. For instance, what is your preferred type of video, image, or software to work with, and how should they share it with you?
We will approve initial ideas and designs from our digital whiteboard software and review all wireframes in Figma. All images and icons would be required in SVG format.
To make sure that all of the i’s are dotted and t’s are crossed, add any other relevant information to the end. This may include key contacts to reach out to if the designer has any urgent questions, approval design process details, key dates, client mockups, and more!
This is a great time to specify anything that you do not want to see from this project and inspo images to give the designer a clear idea of what to work off of.
Check our virtual whiteboard for recent work we’ve done with our clients, rough sketches of what we’re imagining for our new website, some research, media, and more!
💡Pro Tip: The best tool to brainstorm and share design ideas? ClickUp Whiteboards! With tools for drawing, uploading media, embedding, styling, and real-time editing, ClickUp Whiteboards are built to capture your ideas the moment they happen so you can act on them instantly. With chat, docs, and tasks integrated, Whiteboards are every designer’s dream. ✨
Plus, your Whiteboard stays updated at all times, wiping out the need for multiple tabs, constant refreshing, and confusion caused by lengthy text-based descriptions.🎨

Design projects are collaborative, and so are design briefs!
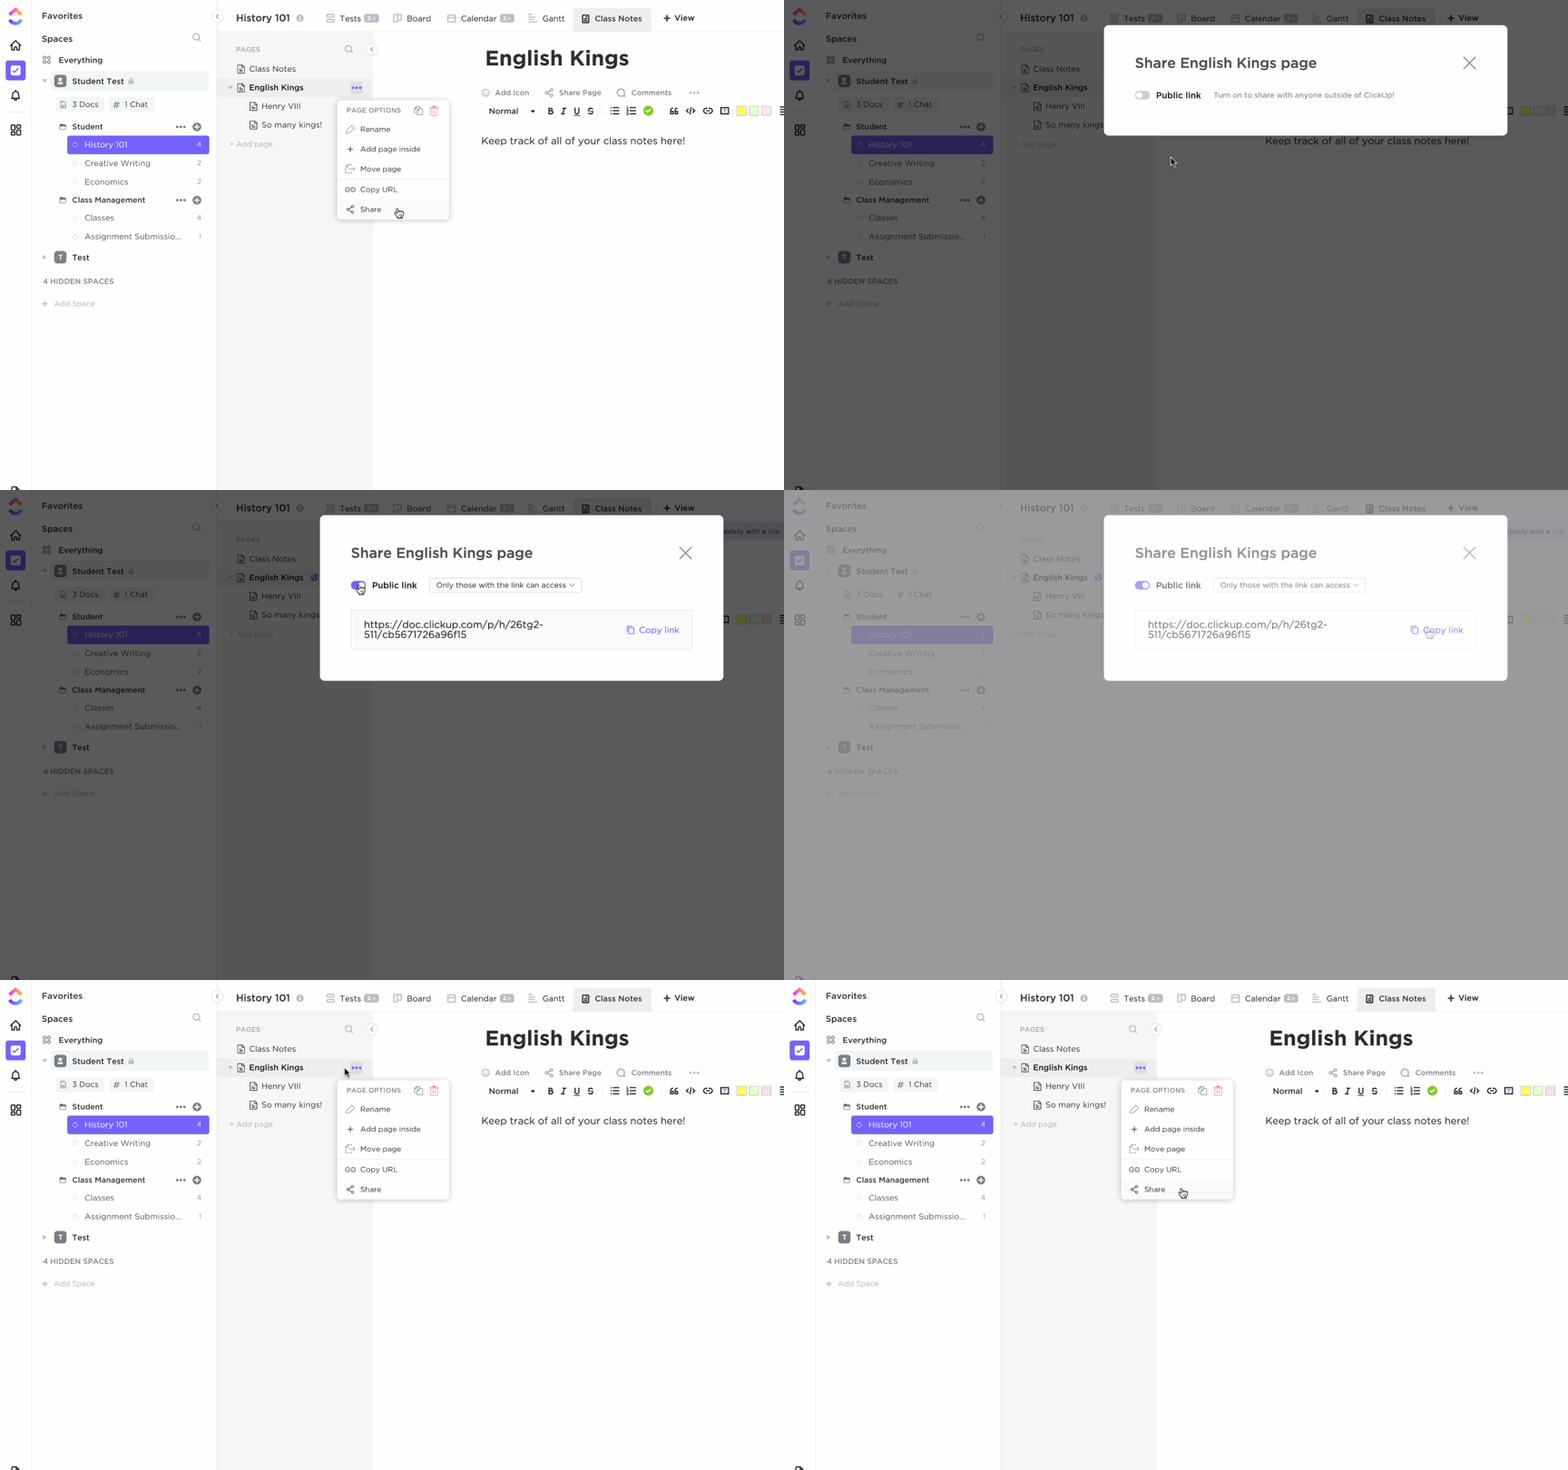
Make sure that you share your design briefs with all the relevant stakeholders, apart from the team executing the project. This will get the entire team quickly get on the same page (literally) and stay on target. 🎯
💡Pro Tip: Quickly share, edit, and update your design briefs via custom permissions in ClickUp and convenient sharing options like a simple link.
A local coffee shop, seeks to rebrand itself to attract a broader customer base while maintaining its loyal clientele. The café wants to emphasize its commitment to sustainability, community involvement, and high-quality, locally-sourced products.
Our goal is to refresh the cafés brand identity to reflect its values of sustainability and community involvement. We aim to increase foot traffic by 30% and boost our social media engagement by 50% within six months after the rebrand launch.
Our primary audience includes eco-conscious individuals aged 20-35 living in the urban area near the café. These customers value sustainability, community, and quality in their coffee and café experience.
We have allocated $10,000 for the rebranding project, hoping to complete it over the next four months. The timeline includes initial concept development, design iterations, and final implementation across all platforms.
Please refer to our Virtual Whiteboard for inspiration, brand assets, and contact details for the project manager. We do not want the rebrand to stray too far from our original color scheme to ensure brand recognition among our current clientele.
A startup focusing on productivity tools seeks an innovative and user-friendly mobile app design. The app aims to help professionals manage their tasks and projects efficiently, with unique features enabling collaboration and prioritization.
The objective is to design a mobile app that stands out in the crowded productivity market by focusing on ease of use, collaboration, and customization. We aim to acquire 10,000 active users within the first three months post-launch.
Our target users are professionals aged 25-45 who juggle multiple tasks and projects. They are looking for a comprehensive but straightforward solution to improve their daily productivity and work collaboration.
Our budget for the app design project is $15,000, with a timeline of five months from concept to final design handoff. This includes user interface and experience design phases, with feedback cycles after each major milestone.
For more details on the app’s features and functionalities, visit our Digital Whiteboard section. We are open to innovative ideas but must ensure the app remains intuitive for new users.
💡Pro Tip: Save time by creating templates for design briefs, or asking ClickUp Brain to give you design brief examples.
You can learn more about ClickUp Brain here:
Like in a bad game of telephone, inconsistent design project briefs gloss over key ideas and eventually lose the project’s main point entirely. But customizable templates are a surefire way to guarantee that every detail is clearly stated.
Think of pre-built design brief templates as a way to standardize how you write your design briefs. They’re created to simplify the design brief process so everyone involved can focus on what matters most—the project itself.
The Design Brief Template by ClickUp is your one-stop solution for writing thorough and valuable creative briefs. This template applies a designated List to your Workspace with separate views for managing tasks, timelines, and your overall direction.
In your design brief List view, you’ll find pre-made customizable tasks for everything from client sessions to gathering assets, and seven custom statuses for total transparency. But the coolest feature of this template is definitely the creative brief Whiteboard with colored sections, sticky notes, and diagrams to solidify your project vision, brand, resources, notes, and more.

This template also comes with a thorough how-to ClickUp Doc to walk you through every feature to ensure you’re using it to the fullest extent.
💡Pro Tip: The Help Doc in the Design Brief Template shows off a ton of styling and formatting features to use as inspiration when writing your design brief in ClickUp. Set banners at the top of your Doc and throughout the page for a clear outline of information, embed videos, add a table of contents, and more. Or, layer another one of ClickUp’s pre-built templates on top of your Doc to keep the process moving along.
Following certain practices and rules while you create a design brief can ensure that it’s the most effective and helpful brief possible. Here are our suggestions:
Also Read: How to Use AI in Product Design
There you have it! Not only are you set up for success with the eight essential steps for writing design briefs, but you’ve got a flexible, free, and customizable design brief template to lighten the load.
The take-home idea, though, is not just how to write a functional brief, but how to make the most of it. And that’s where ClickUp can help you take your processes to new heights. ✅
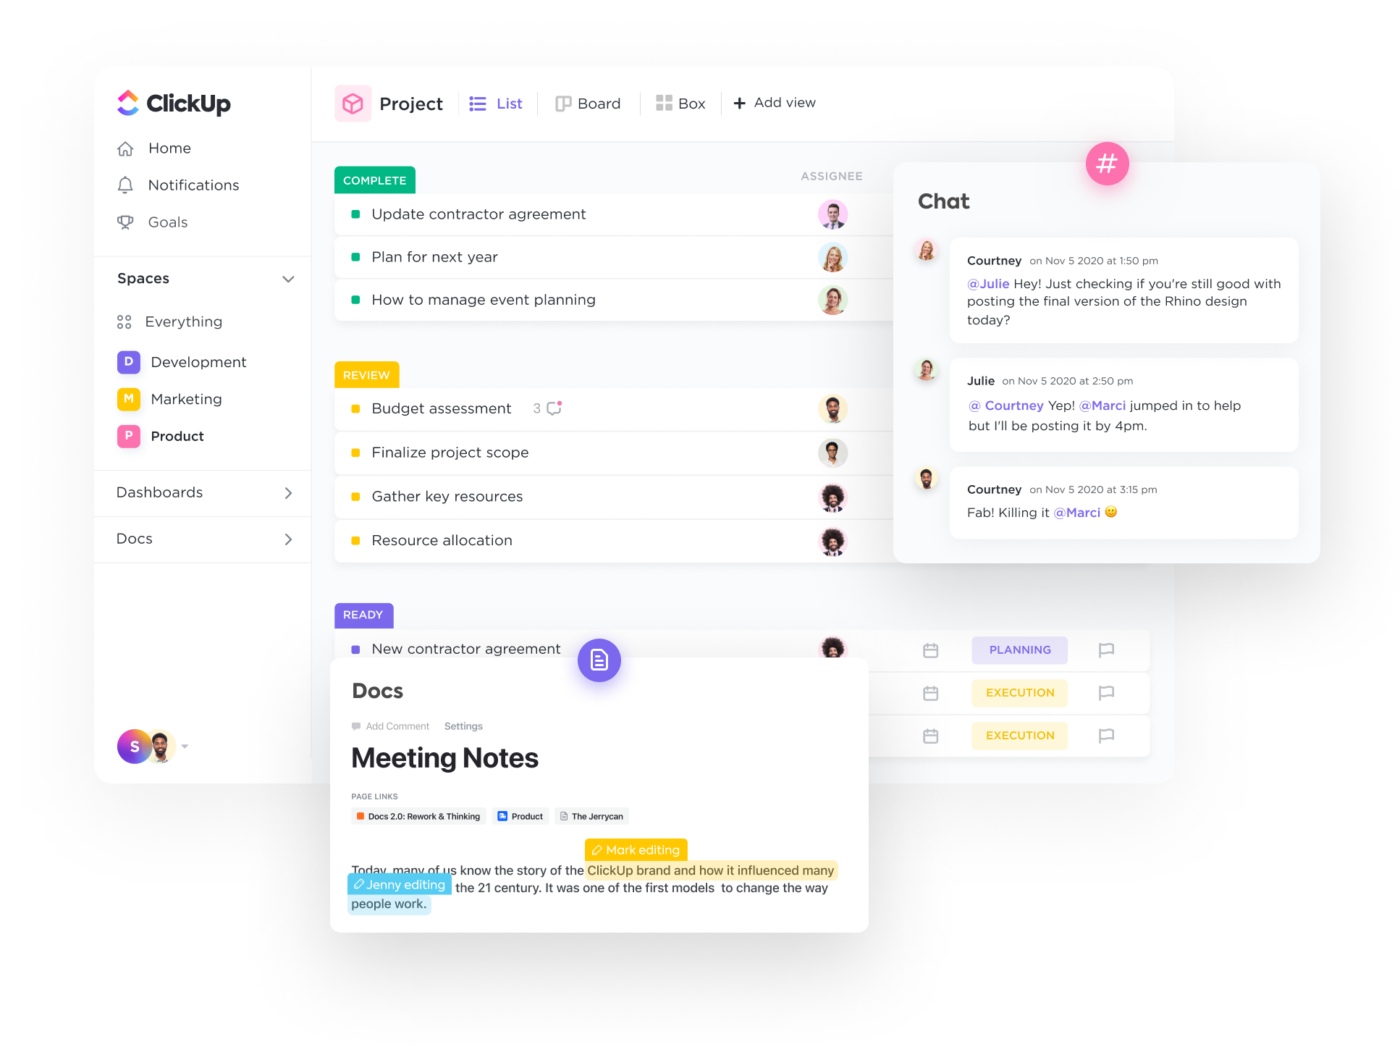
ClickUp is the ultimate productivity platform for teams to bring all of their work together into one collaborative space, no matter your use case or work style. Its feature list is loaded with hundreds of time-saving tools to make work management easier and more convenient than ever—with 15 ways to visualize your projects, over 1,000 integrations, in-app chat, and more!
Access everything you need to write effective design briefs, including ClickUp Docs, Whiteboards, unlimited tasks, and more, at absolutely no cost when you sign up for ClickUp’s Free Forever Plan.
And when you’re ready to boost your productivity even further, unlock even more advanced features for as little as $7.
© 2025 ClickUp