You walk out of a brainstorming session brimming with new ideas and eager to get the ball rolling with your team.
What’s your next step? Make a quick checklist. 📋
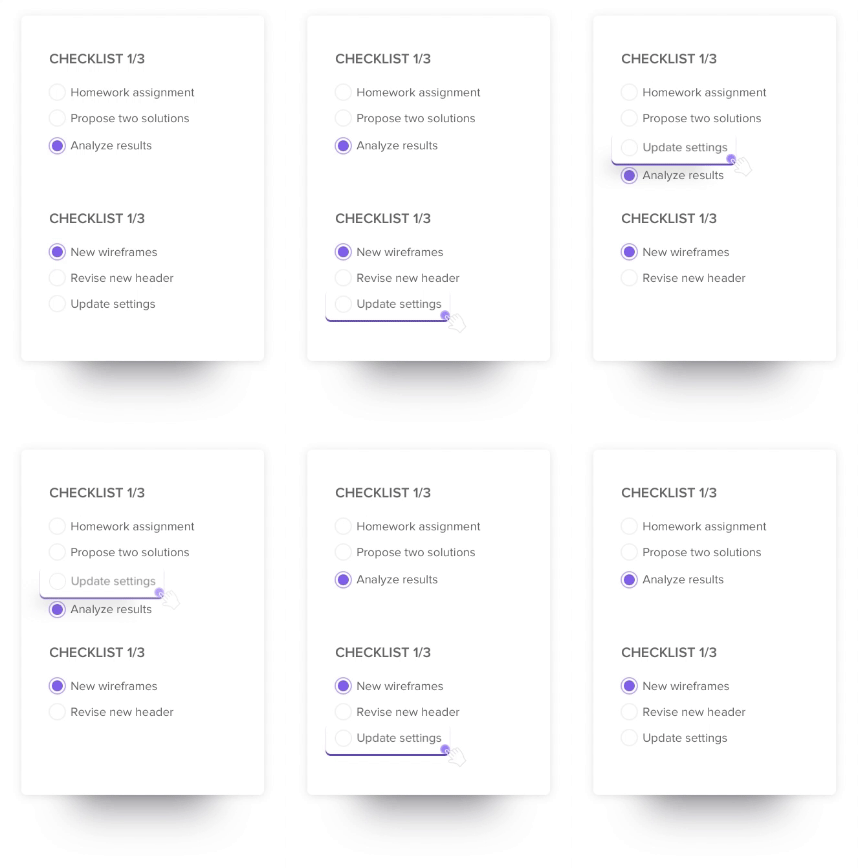
A checklist is a simple and effective way to manage work. We’re all familiar with the idea of listing down tasks, arranging them in priority order, ticking them off, and marking them complete.
A checklist also boosts productivity-related positive reinforcement. It initiates a surge of accomplishment as you check off tasks from your list.
There are various tools available in the market to build checklists. Microsoft OneNote offers a straightforward yet powerful way to create and manage checklists.
In this blog, we will learn how to create a checklist in OneNote and share the details of a bonus tool that can level up your checklists as well as larger task management needs.
Using checklists for data organization and task management
Checklists are a great productivity tool without question. But they offer benefits that extend beyond task completion.
⭐ Featured Template
OneNote checklists feel messy? Try ClickUp’s free Project Checklist Template to keep tasks neat, simple, and easy to track.
Here’s a quick overview of how they can help you.
- Useful for organizing information and data points into categories for easy understanding
- Allows you to prioritize critical tasks so you are always on track with your deliverables
- Brings in consistency by ensuring action items are completed in the same way every time
- Streamlines workflows by simplifying large data sets and complex activities
- Makes it easier to track the progress of your work
Steps to Create Checklists in OneNote
Microsoft OneNote provides a simple way to create and manage important tasks. It offers the fundamental functionalities of checklist creation, such as checkboxes, formatting, and nesting your task list, making it a versatile tool for personal and team use.
Below, we look at a step-by-step guide to creating checklists in OneNote.
Primary method:
Step 1: Start a new page on OneNote. This is where you will create your checklist.

Step 2: On the Home tab, click on the down arrow next to Tags to expand the dropdown menu of formatting options. Select the ‘To Do’ tag to add a check box to your checklist.

Step 3: Click and drag the bottom-right corner of a checkbox to help you accommodate a task.

Step 4: Fill in the task details in the cell adjacent to the checkbox. Do this for every checkbox, and each to-do item will have a checkbox.

Alternate method:
Step 1: Type out a list of tasks/items on a new page in OneNote
Step 2: Highlight the items on your list
Step 3: Expand the Tags dropdown menu on the Home tab, and select ‘To Do’ to turn your list into a checklist
That’s an example of how easy it is to create a checklist on Microsoft OneNote.
Drawbacks of Using OneNote for Creating Checklists
While OneNote technically supports creating and managing checklists, it may not be the ideal choice for users who need robust task management capabilities.
Let’s look at some of the limitations of OneNote checklists:
- Limited task management features: OneNote lacks support for advanced task management functionalities, such as assigning user tasks, tracking task progress, setting completion dates, or establishing dependencies between checklist items and project tasks. This makes it challenging to manage complex projects effectively
- No automated reminders: Unlike dedicated task management tools, OneNote does not send reminders or notifications to checklist owners. This can make it harder to deliver urgent tasks and projects on time
- Limited offline functionality: OneNote lets you access a limited set of features in offline mode. It might not be suited for users and teams that work in remote locations or with limited internet connectivity
- Minimal automation: Compared to most task management platforms, OneNote’s to-do list has limited support for automated workflows. Workflows on OneNote need to be set up manually, which is time-consuming and less efficient
- Lacks integration to task management systems: OneNote is part of the MS Office suite and is tightly integrated with other tools in the Office ecosystem. However, the platform falls short when it comes to supporting integrations with other popular task management tools like Asana, ClickUp, Trello etc.
Check out these OneNote templates!
Other Tools for Creating Checklists
Sure, OneNote is a great checklist app, but its features are limited to basic task management. Which, of course, is fine for making simple lists and quick notes.
As for alternatives, you can try to create a checklist in Excel. There are several Excel AI tools that can help automate your entire spreadsheet workflow.
However, when you manage larger projects that entail detailed task planning, prioritization, collaboration, and reporting, you will need a better, interconnected checklist experience.
This is where ClickUp, an all-in-one productivity platform, shines.
ClickUp: A robust task management tool
ClickUp’s project management platform is a powerful tool to maximize productivity.
With ClickUp, you no longer have to switch between apps to manage tasks, communicate with your team, or track progress. Features like customizable checklist templates, pre-built automation, and ClickUp’s very own AI, ClickUp Brain, make it easier to manage projects of any size and complexity.
Here’s a quick look at everything you can do with ClickUp.
- Task assignment: Use ClickUp Tasks to break down large activities into multiple tasks and sub-tasks. Assign each task to a specific team member for better accountability
- Scheduling and tracking: Set due dates for every task along with custom task statuses to see if an action item is ‘Open,’ ‘Closed,’ or ‘In-progress’
- Alerts and reminders: Get notified of upcoming deadlines with ClickUp Reminders. Check off completed task reminders or snooze them for later
- View actionable insights: Unlock detailed insights into project progress and team performance with ClickUp Dashboards. Create custom dashboards to view metrics that matter the most to you
- Collaborative features: Collaborate with stakeholders and team members and share real-time updates using the ClickUp Chat View. Use @mentions and comments to leave feedback or assign action items
Advantages of managing checklists in ClickUp
ClickUp Task Checklists provide a simple and user-friendly approach to managing your tasks and projects. The intuitive user interface makes it easy to create to-do lists.
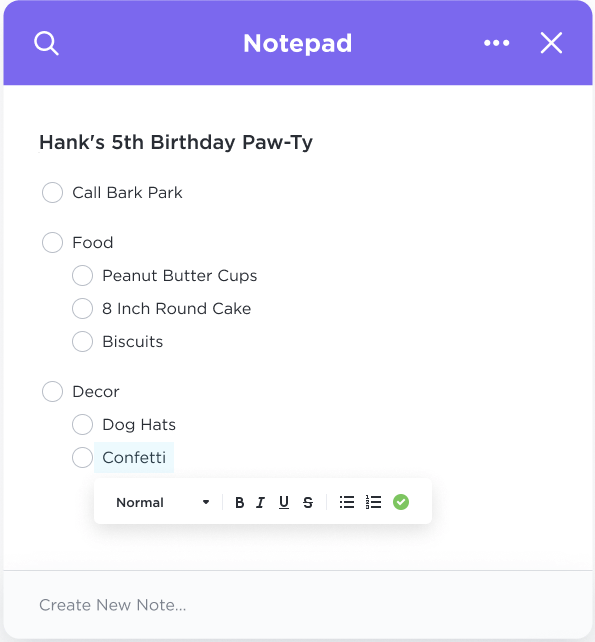
Here’s a closer look at the advantages of creating and managing checklists in ClickUp:
- Nestable checklists: Create checklists with sub-items for tasks and action items with dependencies
- Drag-and-drop organization: Reorder items in your task list using ClickUp’s simple drag-and-drop feature to reflect changing priorities
- Assign to-do’s: Invite team members to collaborate on tasks by adding assignees to specific tasks and sub-tasks
- Build custom templates: Create a reusable checklist template from scratch, or choose one from a library of pre-built checklist templates when creating a new checklist on ClickUp
- Cross-platform functionality: Access your ClickUp screen from any device—mobile, desktop, or browser tab so you can capture your ideas anywhere, any time
- Automated notifications: Ensure team members stick to deadlines by configuring ‘task due’ notifications
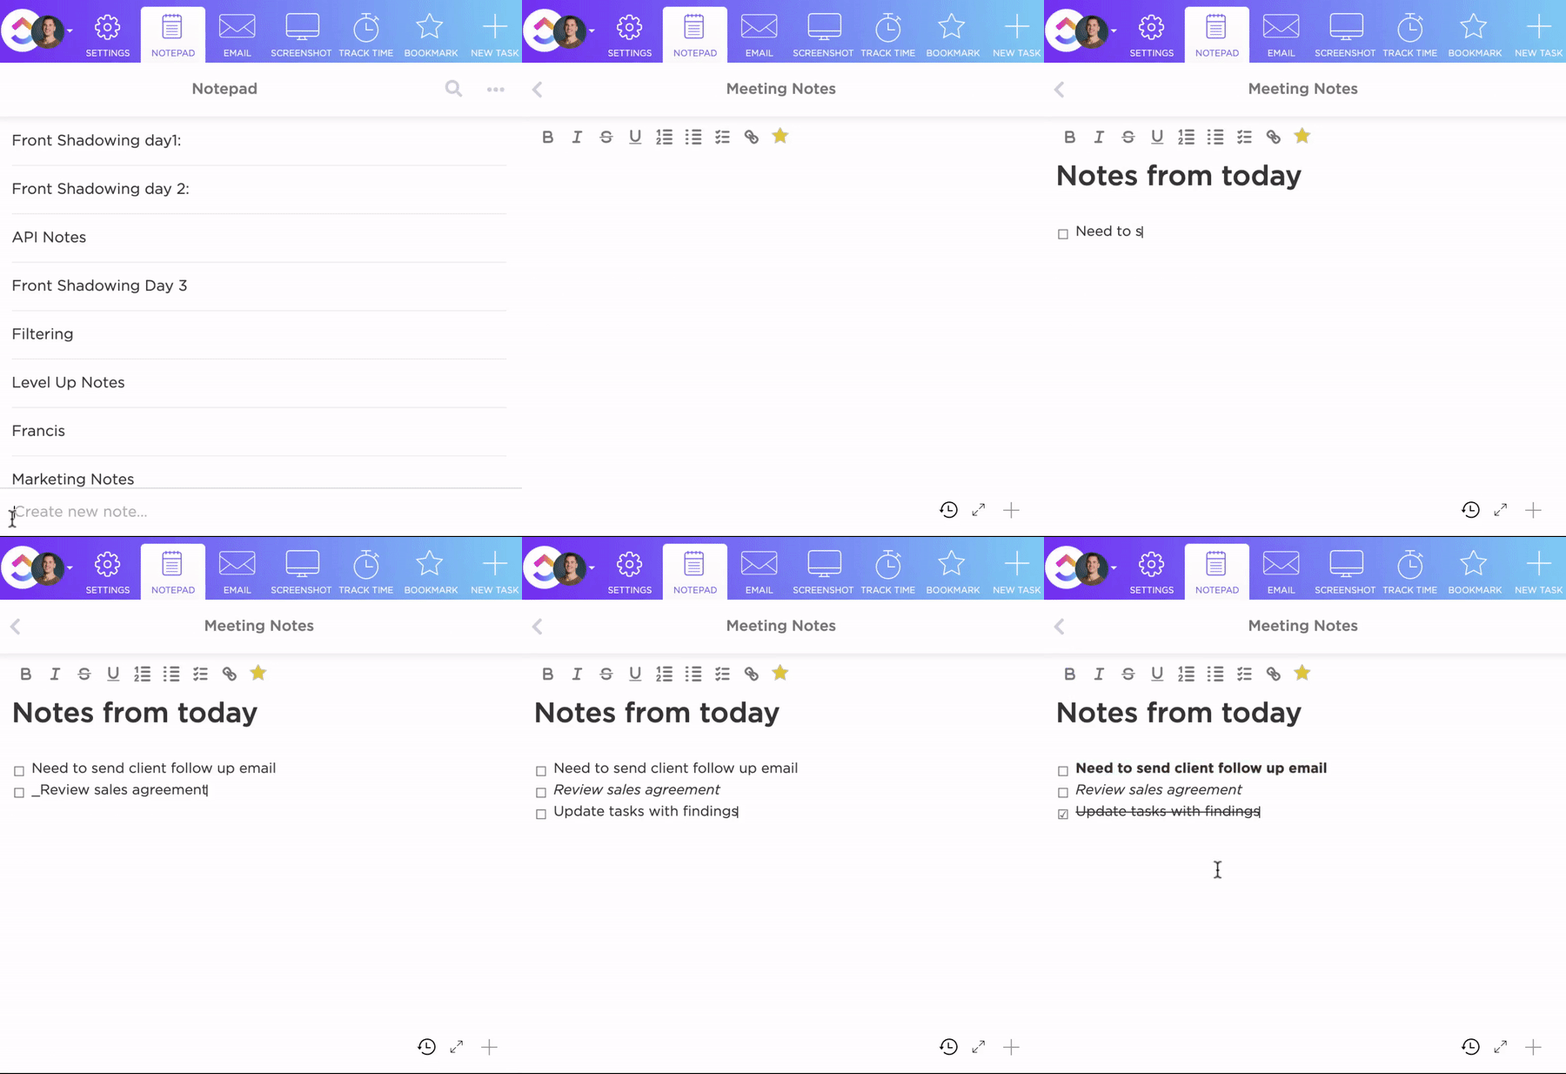
- Easy note-taking features: Use ClickUp Notepad to organize all your tasks and checklists in a single hub. The built-in rich formatting and editing options allow you to take notes and organize them to suit your preferences best. For instance, use colors to highlight important information and headers to create distinct sections. Order important data points with the help of bullets so that information is easy to navigate
Read More: Free to-do list examples
Creating and Managing Checklists in ClickUp
ClickUp’s ease of creating checklists, combined with its support for sophisticated task management use cases, makes it the obvious choice for individuals and teams looking to manage tasks efficiently.
Let’s look at a step-by-step guide on how you can create a ClickUp Task Checklist:
Step 1: Open your task
Go to the existing task within your ClickUp project space where you want to add a new checklist.
Step 2: Start creating your checklist
Look for the “Action items” tab near the task description or comments section, and click the “+” icon to start building your checklist.
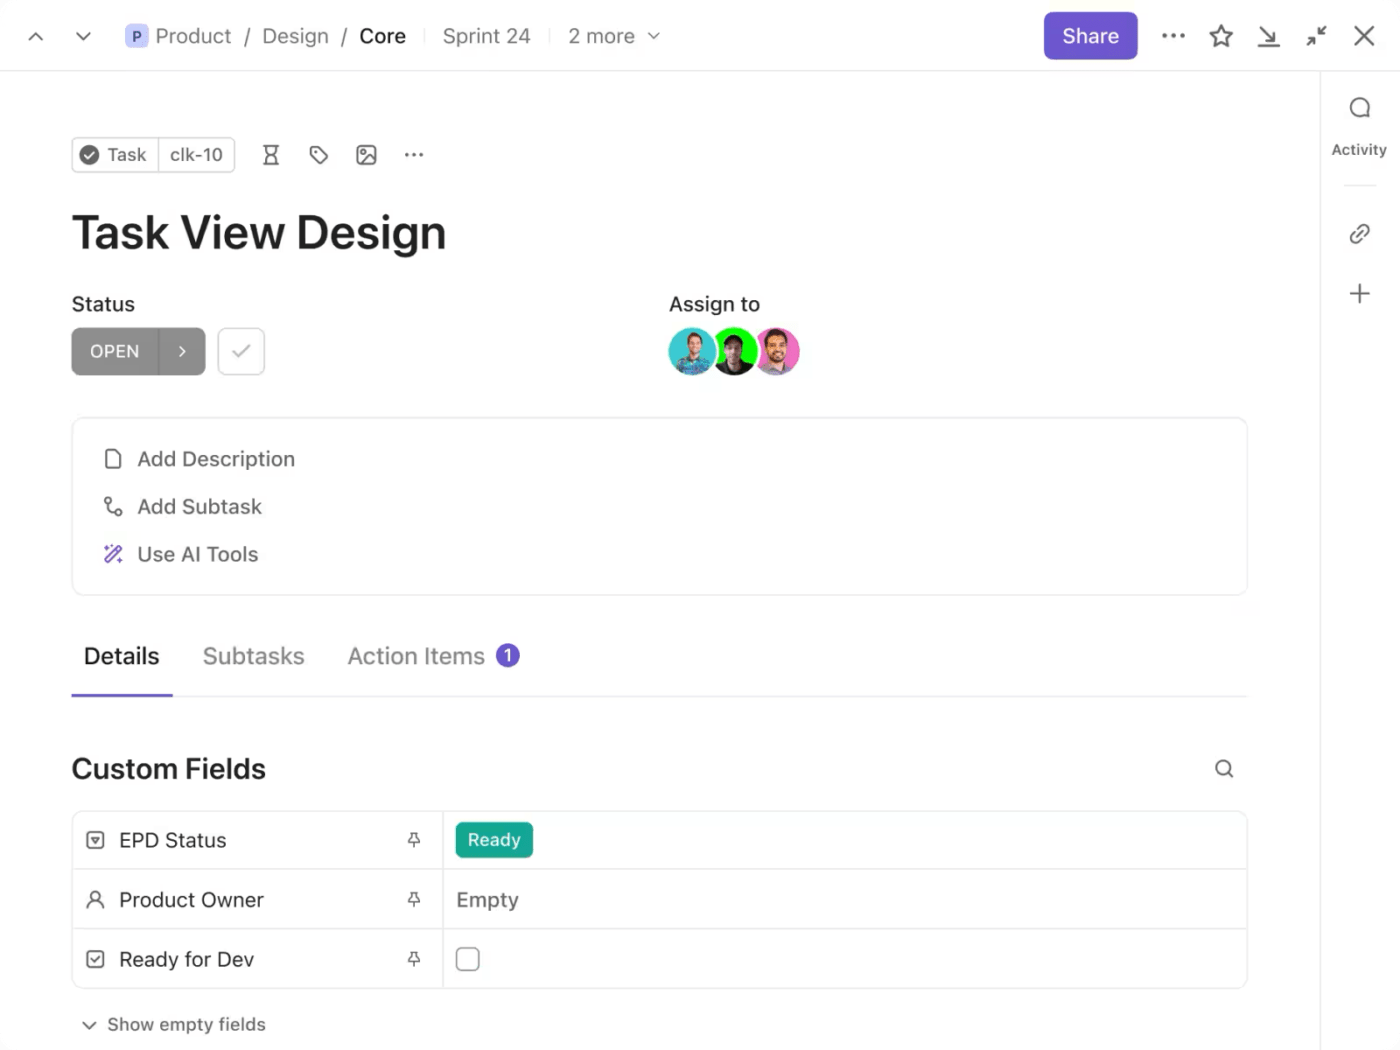
Step 3: Add items to your checklist
On each line of your checklist, type in the details of your action items or tasks that you need to complete, and hit ‘return’ or ‘enter’ to create a checklist item. You can also copy-paste a list of items or tasks, and ClickUp will automatically add a new checklist item for each line.
You can even drag and drop items between different ClickUp checklists.

Step 4: Edit your checklist
Click on the ellipsis (…) next to the checklist’s name to add more tasks or items to your checklist, remove existing items, rename the checklist, or assign the entire checklist to another team member.

Step 5: Assign items to users on your team
Click the ‘assign’ icon (the greyed-out silhouette next to a checklist item) to set users as ‘owners’ responsible for tasks or items. This is a quick and efficient way to distribute tasks and responsibilities within your team.
Step 6: Nest items
Nesting tasks under a main or ‘parent’ task details all the sub-tasks that need to be completed to accomplish the parent task. You can break a larger, more complex task into smaller, manageable ‘subtasks.’ ClickUp allows the nesting of items up to five levels deep on checklists.

Step 7: Track the progress of your checklists
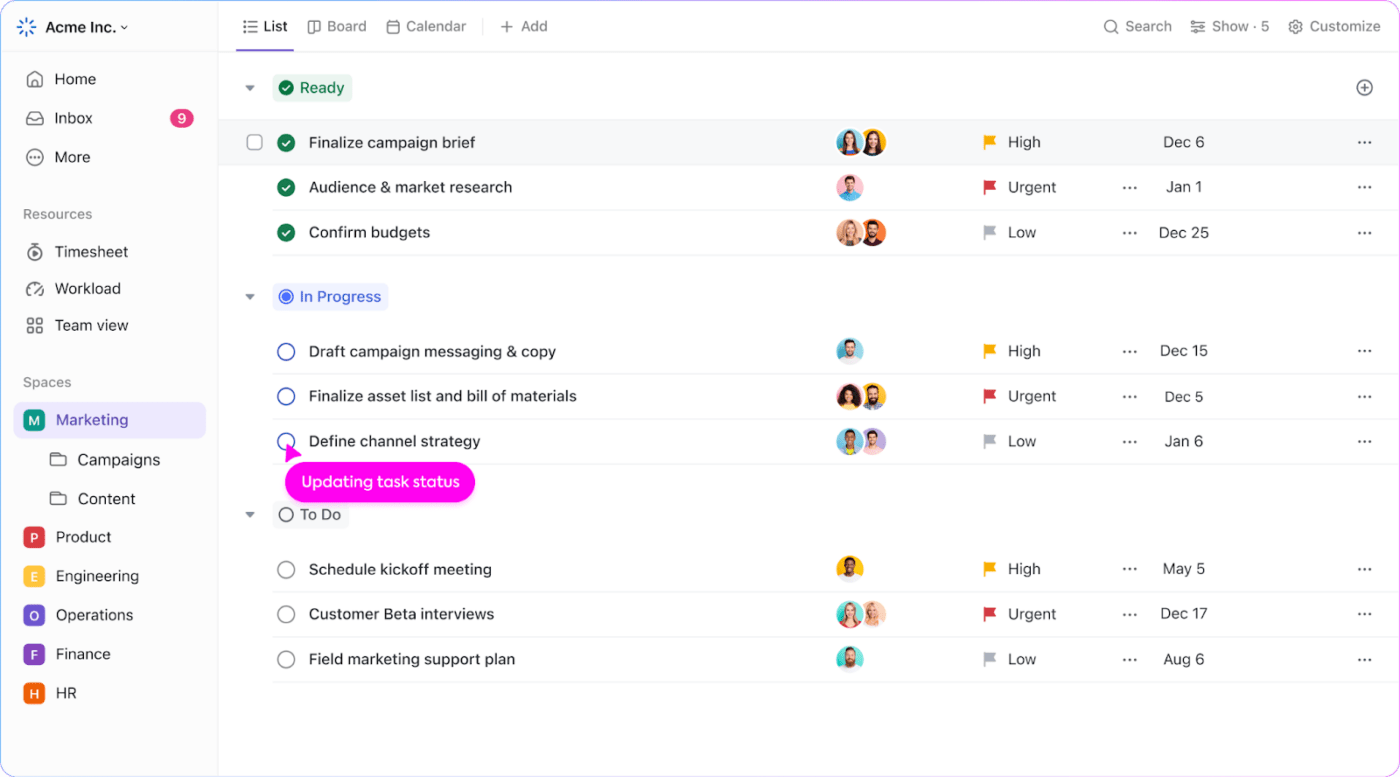
On ClickUp’s List view, tasks with an associated checklist indicate the checklist’s completion status next to the task name. This allows you to track the progress of different tasks and identify completed tasks at a glance.

As your projects grow in size and complexity, so too will your task management needs. Fortunately, ClickUp offers advanced features to handle these evolving challenges right out of the box. Discover how ClickUp can help you stay on top of evolving project requirements:
- Recurring checklists: Save time and reduce errors by automating repetitive tasks with recurring checklists. Set them to reappear at regular intervals or based on checklist status changes. For instance, streamline weekly meetings with automatically generated agendas
- Checklist dependencies: Create interconnected workflows by defining dependencies between checklist items and other tasks. You can configure it to move a task from “Ready” to “Final” when “Approval” is complete
- Integrations: Connect with popular tools like Zoom, GitHub, and Google Drive to automate task management processes
Read More: Free To-Do List Templates
ClickUp Checklist Templates
Some processes of your business processes, such as stakeholder communication, project planning, vendor selection, or change management, have standard protocols.
Instead of creating a checklist from scratch every time, you can use ClickUp Checklist Templates to get started with processes in no time. This way, you can streamline recurring tasks and focus on what matters.

For example, the marketing team can create a recurring checklist template for all the tasks that need to be completed before uploading a blog on WordPress.
Similarly, if you want to create a project to-do list on ClickUp, you can use a task management template to organize your tasks and to-dos.
Revolutionize your documentation process with the ClickUp Checklists Template. This template combines the power of checklists and integrated documentation, offering a comprehensive solution for managing your tasks.
The ClickUp Project Checklist Template is a beginner-friendly template that covers most of the general requirements for any new project. It provides sections for organizing your tasks and action items.
Use it to:
- Add clear timelines to each task and set due dates to deliver projects according to their deadlines
- Use custom fields to add priority levels to each task. Ensure important activities are closed on time
- Add task dependencies for tasks that can start only after the initiation or completion of another activity
- Increase visibility into deadlines for every task and coordinate important events by using the ClickUp Calendar View
Level Up Your Checklists with ClickUp
Checklists are a simple and efficient way to get started with task management. While you can create checklists on Microsoft OneNote, it is best suited for users whose work is deeply integrated within the MS Office ecosystem.
By contrast, ClickUp checklists offer a more versatile solution for anyone looking to get started with task management.
Whether it’s the more structured task management templates or fully customizable travel itinerary templates, ClickUp’s user-friendly interface makes creating to-do lists a breeze.
ClickUp’s reusable checklist templates save time and help maintain consistency on larger projects. They can also be shared with teams to facilitate real-time collaboration on tasks.
Additionally, smart features such as recurring checklists, task dependencies, and automated workflows powered by integrations eliminate repetitive grunt work and boost team productivity.
If you’re curious to know how you can streamline task management with ClickUp’s flexible platform, sign up today for free and learn more!


