Sorry, there were no results found for “”
Sorry, there were no results found for “”
Sorry, there were no results found for “”
Imagine that you’re leading a product launch and juggling a dozen tasks with multiple team members. Tasks are being missed, deadlines are overrun, and team communication has become sloppy. This chaos can be prevented with (wait for it) an established workflow in an organization.
Building a workflow is like laying out a clear road map for your project. It maps out the steps involved in detail, assigns responsibilities, and helps everyone stay on the same page.
A well-defined workflow is essential to keep projects on track.
Eventually, it leads to increased productivity, reduced errors, improved communication, and smoother collaboration. The most common tool for creating workflows is Microsoft Excel.
In this article, we’ll explore the step-by-step process of building effective workflows within Excel. This will include defining your goals, planning the steps, setting up your spreadsheet, and testing your workflow.
Think of an Excel workflow as a blueprint for how data moves through a spreadsheet. A series of steps, formulas, and functions transform raw data into meaningful information.
Messy workflows in Excel? Try ClickUp’s Process Flow Whiteboard Template for free to simplify and organize everything in one place.
A simple workflow might involve importing data from a CSV file, cleaning it up, creating a pivot table for analysis, and generating a chart to visualize the results.

Let’s take the example of a sales team that wants to track deals from initial contact to closing. The sales team can depict the entire workflow in an Excel spreadsheet using flowcharting tools, automating calculations, generating reports, and sending notifications at specific deal stages. Thus, the workflow simplifies the entire process.
Excel is a powerful platform with features like various data analysis tools, pivot tables, and charting capabilities that provide the foundation for creating dynamic and interactive processes.
For instance, a marketing team could use pivot tables to compare campaigns, identify top-performing channels, track key metrics, and make data-driven decisions.
Excel’s built-in analysis features can also be used to analyze data, spot trends, identify patterns, and make data-driven decisions.
Beyond various types of data analysis, Excel can handle various tasks, from tracking and inventory management to project management, budget creation, and sales forecasting.
There are also AI tools that integrate with Microsoft Excel easily and provide predictive analytics and advanced automation capabilities.

For example, Excel Formula Bot is an AI formula generator with robust AI-powered tools that can generate Excel formulas, analyze data, and have a natural conversation with your spreadsheet data.
While Excel is powerful, it can be strengthened with VBAs [Visual Basic for Applications]. VBA allows you to create custom functions, automate repetitive or complex tasks, and build interactive user interfaces.
VBAs also function as personal assistants for various Excel workflows. This software can automate tasks like formatting cells or advanced ones like generating complex reports.
Also, manually updating a hundred cells with a specific formula every time a new data set arrives can be time-consuming. With VBA, you can write a script to do this automatically. Additionally, you can write a VBA script that automatically generates sales reports every month without any manual intervention.
Before creating an Excel workflow, it’s crucial to understand its benefits. Whether you’re tracking sales or analyzing finances, this step-by-step guide will show you how to create workflows and leverage Excel’s power for better decision-making.
For this workflow example, let’s focus on trend analysis and forecasting.
We’ll use Excel’s built-in features to identify sales trends over time and project future sales using linear forecasting. This approach is particularly useful for strategic planning and decision-making.


Here’s what each part of the equation means:
| y | This is the value we want to find. In this case, it represents the sales amount we’re predicting for the 4th year |
| x | This is the number of years. Since you have 3 years of data, and you want to forecast for the 4th year, x = 4. |
5E+06 | This is the scientific notation for writing 5,000,000 |
Since Excel spreadsheets do not allow the direct display of calculated values (like sales amounts) directly on the trendline in the form of currency, you can manually add the calculated value as a label on the chart.
To add the label, click on the Insert tab in Excel, then select Text Box.
Now click on the chart to place the text box near the end of the trendline, and type the calculated value [$1,549,016] into the text box, formatted as currency, as shown below.

This workflow will help you manage and analyze your data more efficiently and provide a strong foundation for making informed business decisions.
As your data evolves, you can continue to refine and adapt your workflow, ensuring that it remains a powerful tool in your business arsenal.
While Excel is a versatile tool, it has limitations when managing complex workflows.
While Excel can serve us well, its limitations become apparent as workflows grow more complex. Manual updates, error-prone formulas, and a lack of visibility into overall project progress can hinder productivity. It’s time to consider a more robust solution.
Enter project management software like ClickUp.
Designed for managing projects and workflows, it offers features like task dependencies, real-time collaboration, custom fields, automation, integrations, and advanced reporting.
By transitioning from Excel to ClickUp, teams can improve efficiency, communication, and overall project outcomes.
Also Read: 10 Workflow Examples and Use Cases in 2024
ClickUp allows you to create complex workflows with multiple approval steps, track progress, and collaborate with team members in real time, making it a compelling Excel alternative for businesses of all sizes.
Unlike the rigid structure of Excel workflows, ClickUp offers a more intuitive and flexible approach.
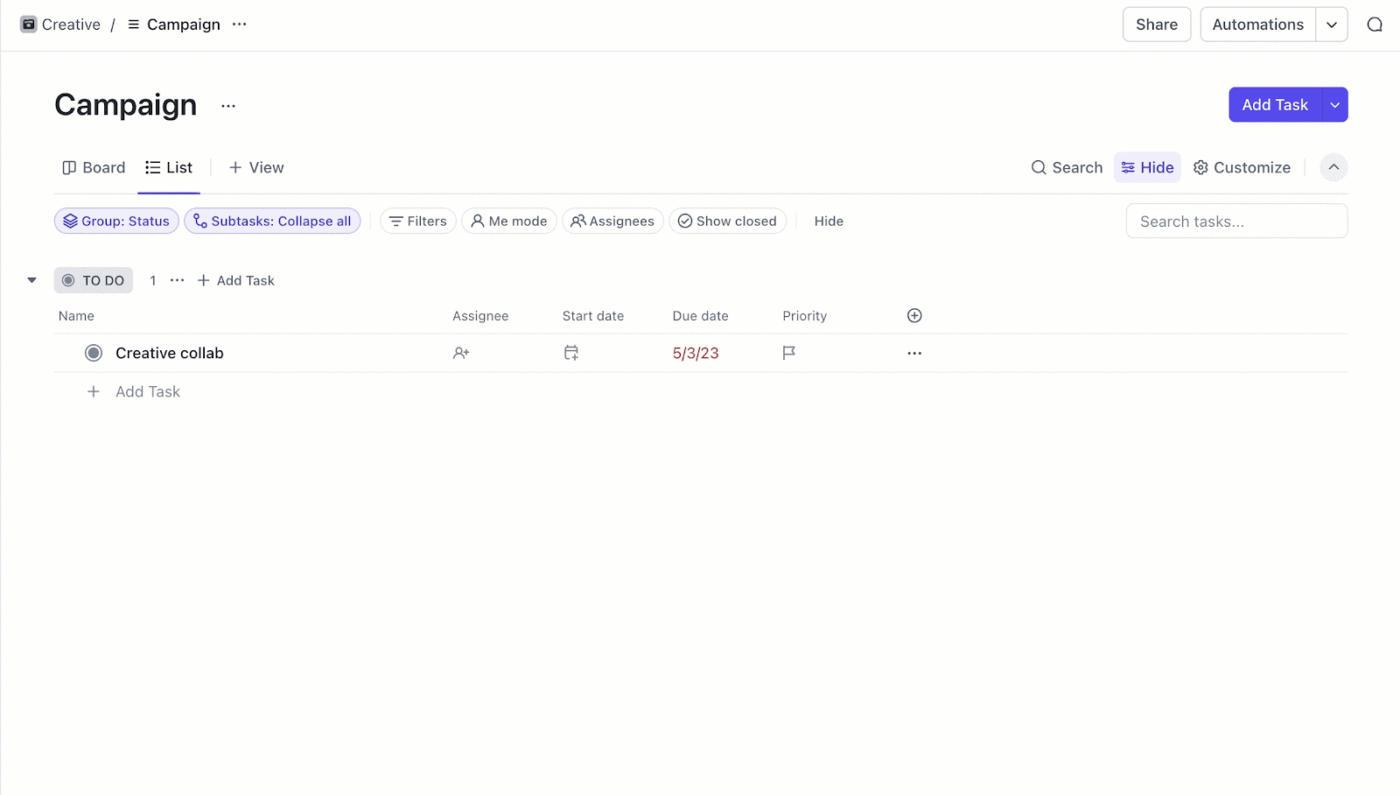
Let’s continue with the earlier example of a sales pipeline to illustrate how the same workflow can be improved on the ClickUp platform.
Create a Workspace called ‘Sales Pipeline’ to house all related tasks and workflows.
Use ClickUp’s List view to create stages for your sales pipeline.
Create a list for each stage of your sales pipeline: Prospect, Qualified Lead, Proposal, Closed Won, Closed Lost.
Use ClickUp’s Custom Fields to capture specific information about each deal, such as company name, contact person, deal value, and probability.
Each sales opportunity becomes a ClickUp Task. Add details like customer information, contact details, and expected revenue. Unlike Excel rows, tasks in ClickUp can hold more information, including due dates, assignees, and Custom Fields [like the sales stage].

Assign tasks to sales reps and set due dates for each stage. This provides better visibility and accountability than manual tracking in Excel.
Use ClickUp’s Dependencies feature to link tasks together, ensuring that one task must be completed before another can start. This will feel more intuitive than creating complex formulas in Excel.
Unlike Excel’s limited automation capabilities, ClickUp Automations allows you to set up rules to move tasks between stages based on specific criteria.
Set up rules to automatically change a lead’s status based on specific criteria.
For example, move a lead to ‘Qualified Lead’ when a certain Custom Field is filled out, or when a deal is closed, send a notification.
Use ClickUp’s Board View to visualize the workflow, providing a clear overview of deals at different stages. This visual representation of your workflow is more dynamic and informative than a static Excel chart.
Set up a board view for your sales pipeline list, with columns representing each sales stage. Drag and drop leads as they progress.
Add comments to tasks, assign them to team members, and set up notifications to keep everyone informed.

Use ClickUp’s Whiteboards to see everyone’s activity and work closely as a team. Brainstorm, add notes, and bring your best ideas together on a creative canvas.
Also, if you need a plug-and-play solution without having to start from scratch, whiteboard templates are the way to go.
ClickUp’s reporting and analytics features provide insights into sales performance, helping you identify trends and areas for improvement. This goes far beyond basic Excel reporting capabilities.
ClickUp’s Dashboards provide a real-time overview of your sales pipeline [in this case], and goals help you track progress towards targets.

As you saw in the above sales pipeline example, by following a simple sequence, you can quickly create a dynamic and efficient workflow in ClickUp, get real-time updates, and collaborate efficiently with your teams.
Let’s look at some more features and tools that aid in streamlining the workflow creation process in ClickUp.
ClickUp integrates with your favorite tools, like email, Slack, and Google Drive, thereby eliminating data silos and streamlining communication.
Real-time updates eliminate version control headaches. ClickUp updates automatically, ensuring everyone sees the latest changes instantly. You won’t have to wonder if you’re working on the most recent version of your workflow.
Excel workflows can sometimes slow down your computer. ClickUp, on the other hand, is built for scalability, handling even the most intricate, complex processes with ease. As your team and projects grow, ClickUp scales effortlessly, keeping your workflows running like clockwork.
Security shouldn’t be an afterthought. ClickUp Security offers robust security features to keep your important data safe, including granular access controls and enterprise-grade encryption.
ClickUp Brain, ClickUp’s AI assistant, is like having a personal workflow assistant. It can analyze your existing workflows, pinpoint bottlenecks, and suggest improvements.
For instance, if you’ve been using a sales pipeline in ClickUp, Brain can identify which stages take the longest, suggest automating repetitive tasks, or recommend merging certain stages for efficiency. It’s like having a data-driven coach for your workflows.
Imagine automatically assigning tasks based on progress or notifying stakeholders when approvals are needed—ClickUp Brain makes it a breeze to automate repetitive tasks and processes.
ClickUp has an extensive library of pre-built workflow templates that give you a running start to any project.
By using the ClickUp Work Plan Whiteboard template, you can clearly define project goals, objectives, and deadlines, and break down tasks into manageable components.
This template helps you organize and prioritize tasks with drag-and-drop ease, easily assign responsibilities among team members, and visualize progress with real-time updates on task status.
Here’s how you can get started with this template:
ClickUp’s Process Flow Template is designed to help you visualize processes quickly and easily. It can organize teams around projects with task lists, checklists, and comments, and track progress to ensure everything is completed as planned.
Using a process flow template means that you gain improved clarity and understanding of the process, easier identification of bottlenecks and inefficiencies, and enhanced communication and collaboration within the team.
Whether you’re creating a new process or streamlining an existing one, this workflow template has got you covered!
You can make informed decisions about the best workflow tools for your team if you understand the fundamentals of workflow creation.
While Excel can be helpful, it has limitations in complex processes, collaboration, and scalability. By understanding the core principles of workflow design and exploring alternatives like ClickUp, you can elevate your team’s productivity and achieve better results.
With its intuitive interface, robust features, powerful tools, and seamless collaboration, ClickUp can transform how you manage your workflows.
Discover how this innovative platform can help you streamline tasks and processes, boost efficiency, and achieve your business goals.
Try ClickUp for free today!
© 2025 ClickUp