
Sorry, there were no results found for “”
Sorry, there were no results found for “”
Sorry, there were no results found for “”
Creating a timeline for your project can be extremely helpful in terms of organization and communication.
Not only does it help to keep everyone on track, but it also makes the visualization of your project much easier. This allows for better collaboration between team members, as they will be able to see exactly who is responsible for each task and when it needs to be completed. 🙋♀️ ✔️
Additionally, by having a clear visual representation of the project, you and your team can prevent overlap or missed deadlines and better anticipate any potential problems and solve them before they become an issue.
In this article, we’ll show you a step-by-step guide to making a timeline in Google Docs along with other tips and tools for creating project timelines. 🙌
Check out ways to get your project on track with timeline!
1. How do you make a timeline in Google Docs step by step?
You switch the page to landscape mode, open the drawing tool, add an arrow-based line, and use text boxes to place events or tasks along your timeline.
2. What are the limitations of creating a timeline in Google Docs for project planning?
Google Docs timelines require manual formatting, can’t assign tasks or track progress, and become difficult to update for active, ongoing projects.
3. What’s the easiest way to build a project timeline without manual work?
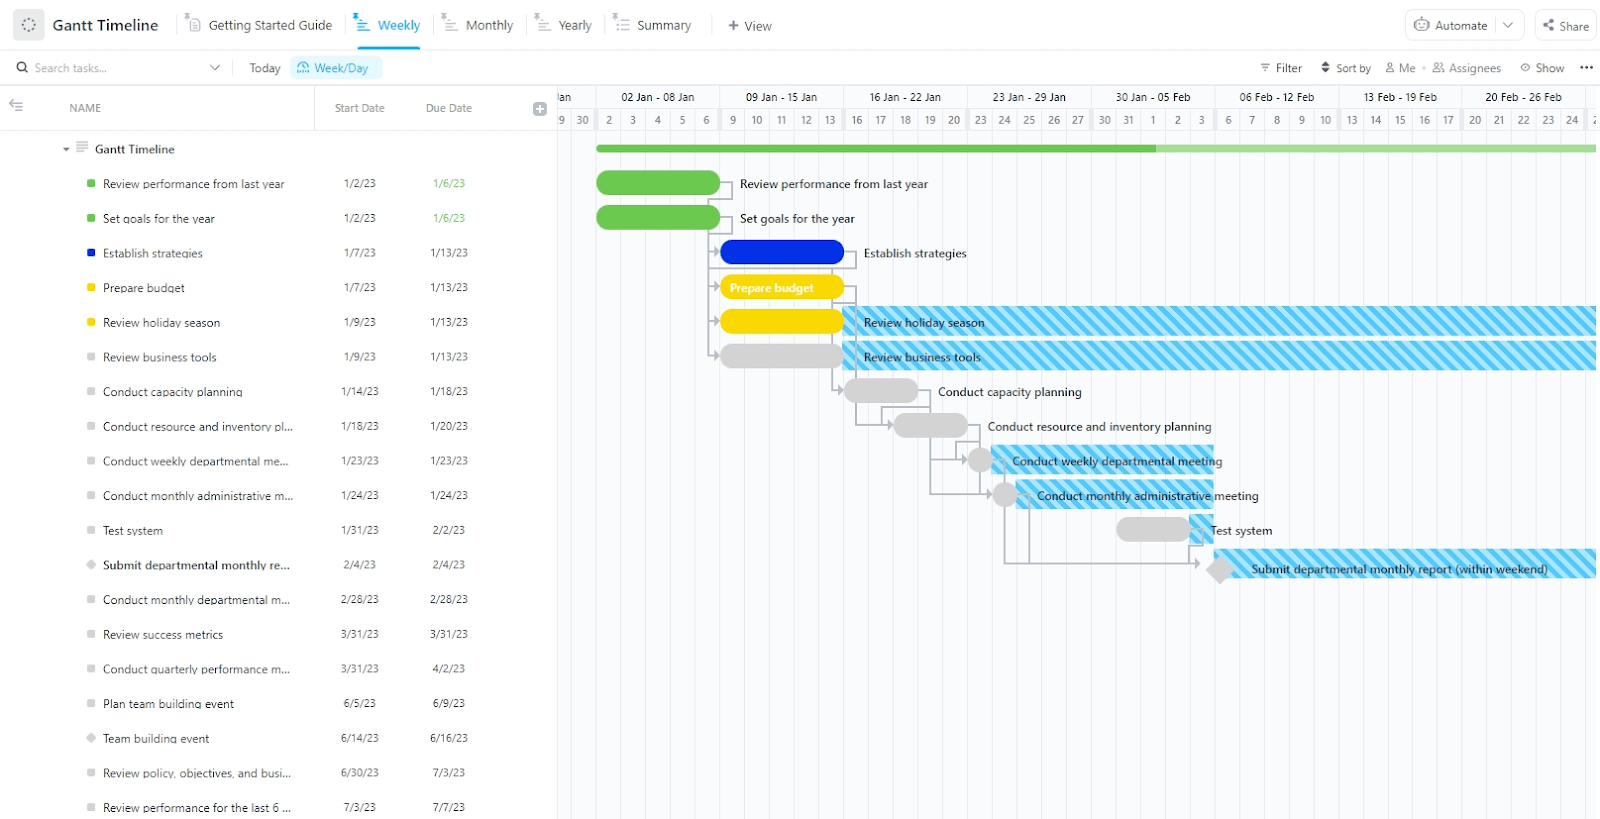
Using a dedicated project timeline tool—like ClickUp’s Gantt Timeline Template—lets you auto-update tasks, manage dependencies, and keep your team in sync.
4. How does ClickUp improve visibility and collaboration compared to Google Docs timelines?
ClickUp timelines update in real time, support task assignments, and give teams a shared workspace for deadlines, priorities, and progress tracking.
5. Is there a faster alternative to drawing timelines manually in Google Docs?
Yes—ClickUp’s ready-to-use Gantt Timeline Template help you build, manage, and update timelines instantly with zero manual formatting.
You can create a timeline in Google Docs by switching to landscape mode, opening the drawing tool, adding an arrow-based timeline, and inserting text boxes for events. The process is manual but allows basic visual structuring inside a document.
Want a faster way? Try ClickUp’s free Gantt Timeline Template.
To keep your team in sync, your timeline needs to live in an app where everyone can view it throughout the project lifecycle.
Trying to make a timeline in Google Docs? It’s time-consuming, and honestly… not built for it. Use the free Gantt Timeline template in ClickUp—clear, flexible, and ready to go in seconds.
Like Google Docs!
Here are the steps on how to make a timeline in Google Docs:
Your Google Drive contains every Google Sheet, Doc, and Slide you’ve created.
Go to the Google Docs home page and click on 👉 Go to Google Docs.
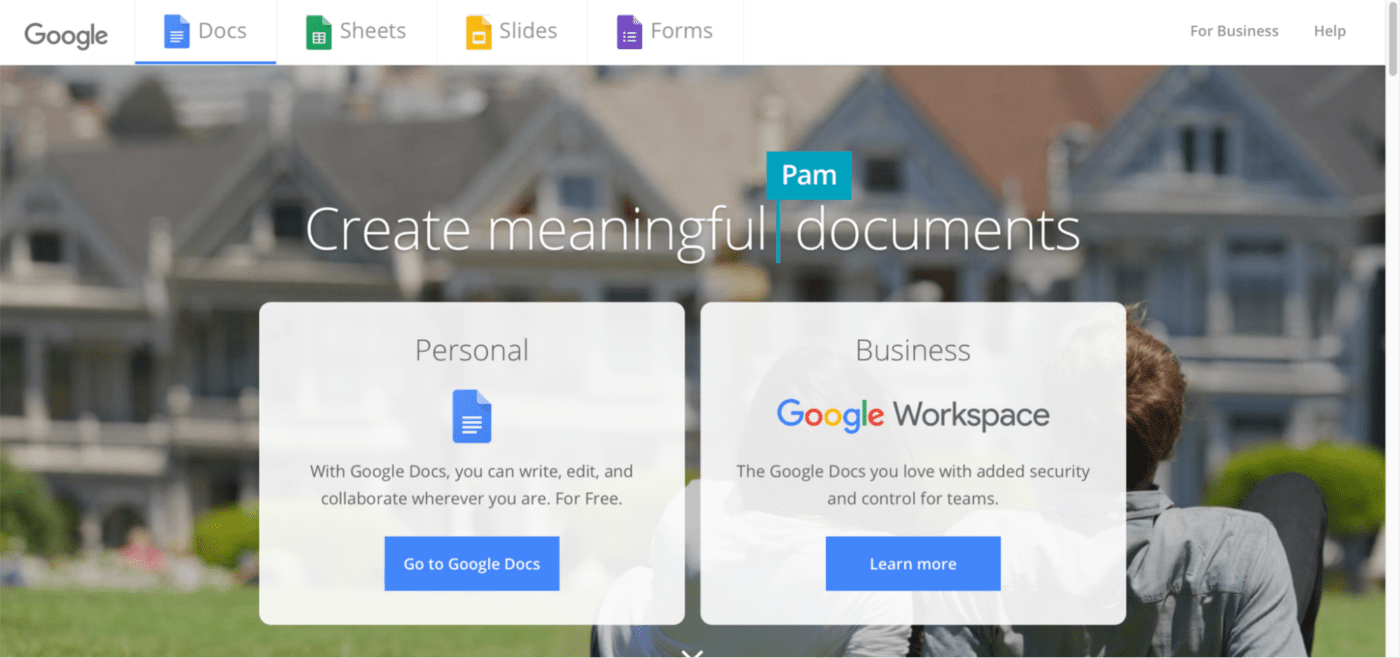
You’ll be redirected to a new page that shows a template gallery.
👉 Click on blank to start creating a timeline.
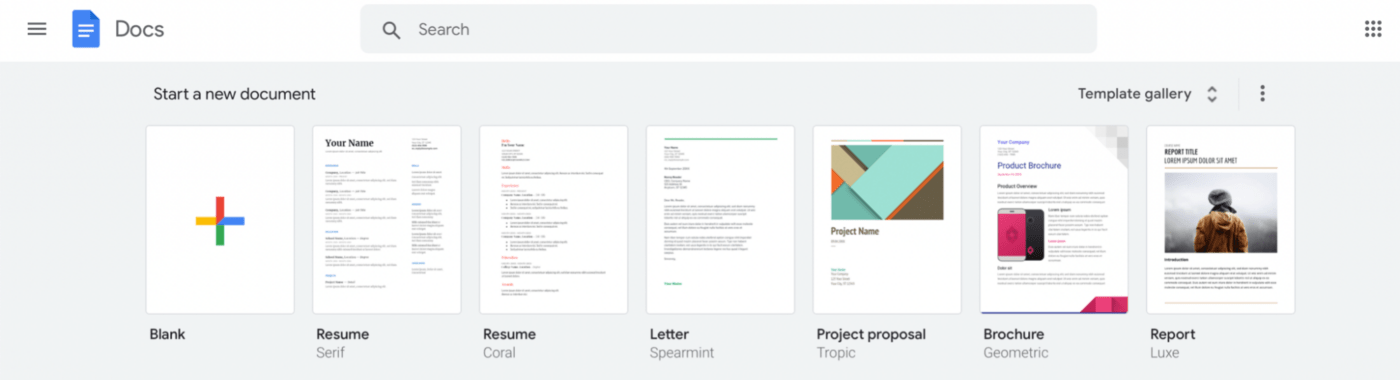
It’ll be untitled; you can name the document accordingly.
For now, let’s name it Project Timeline. 😊
You need as much space as possible for timeline creation.
And since Google Docs are set to portrait by default, you can switch the orientation to landscape.
To do so, 👉 click on the File menu on the upper left-hand side of your Google document, then select Page setup.
Do you spot the Landscape option in the Page Setup dialogue box?
👉 Select it and click OK.
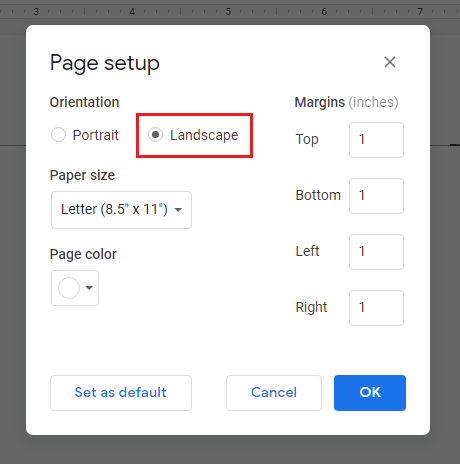
Your doc shall now be in landscape orientation. 🙌
We’re now going to create your timeline using the Google Docs drawing tool.
It’s a built-in tool that lets you draw lines, form text, create shapes, and add color to what looks like a boring white document.
To access the drawing tool, 👉 click on the Insert menu on the upper left-hand side of your document > Drawing > + New.
You’ll see a blank canvas sitting on top of your document.
📌 Quick note: Instead of drawing directly in a Google Doc, you can also use Google Drawing to create a timeline. Save it to Google Drive, and later insert it into your Google Doc once ready.
Now that your canvas is ready, let’s bring out the artist in you and make a timeline. 👩🎨
👉 From the toolbar of the drawing canvas, click the drop-down button beside the Line tool. Then select the option Arrow from the drop-down.

👉 Now, click and drag a line horizontally to create your timeline, starting at one end of your canvas. The line will always come out straight if you follow the white and grey grid.

Both the ends of your horizontal line should have arrows.
👉 To do this, click on Line start on the toolbar.
👉 Then choose an arrow type from the drop-down.
You can also change the line’s thickness by choosing a larger pixel weight from the Line weight option.
Follow similar steps to make a flowchart in Google Docs.
Now we’re ready to add some tasks or events to the project management timeline.
To do that, you’ll need text boxes.
Spot a boxed T? 👀
👉 Select it and click on an area above or below the horizontal line.
Done?
Now follow these steps to add tasks, events, and any other timeline graphic or element:
Here, we’ll number the days.
To make any other format changes, you can highlight the text box and click on the three dots on the toolbar.
You’ll find all the options starting from bold, italic, alignment, bullets, etc.
To save time, copy and paste the first text box to duplicate the format and style.
Then edit the text accordingly.
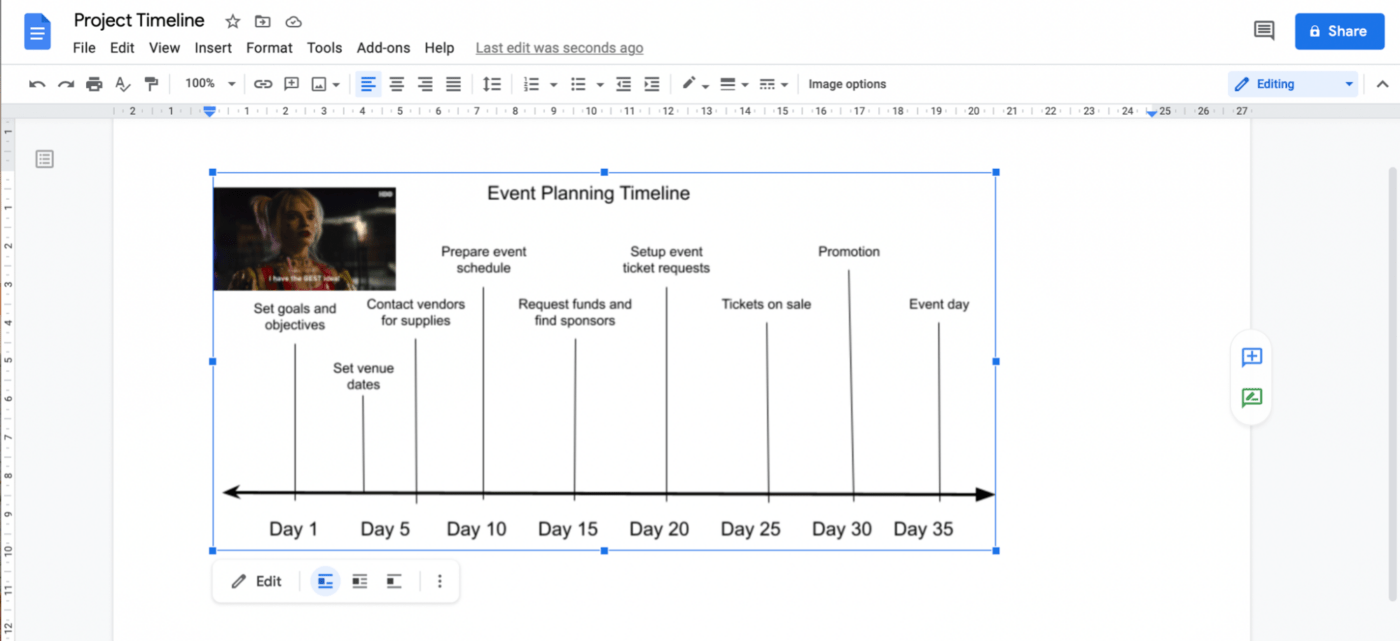
When you’re done formatting and adding necessary text boxes, your timeline may look something like this:

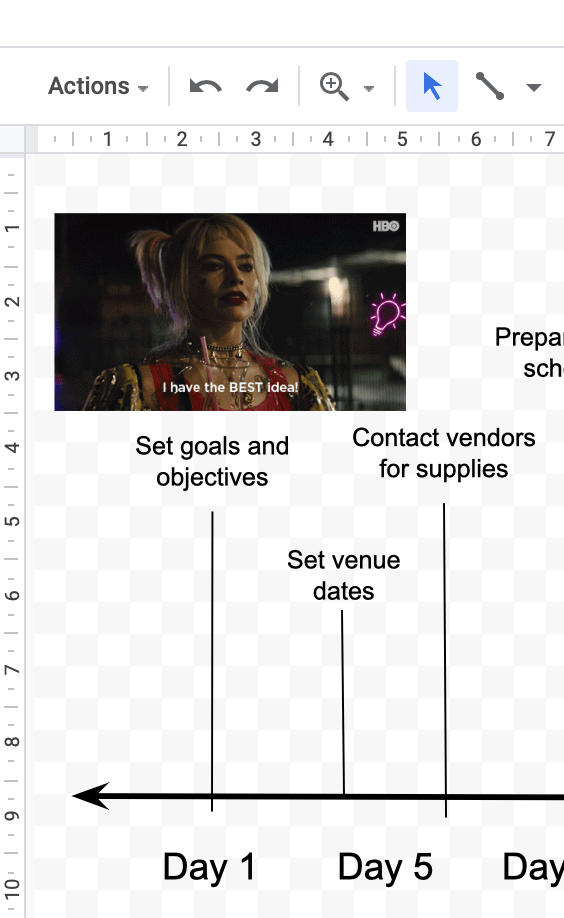
👉 Now, connect the event tasks to their respective day number with vertical lines. To do that, select the same Line tool that you used in step four.
👉 Then select ‘Line‘ from the drop-down and start connecting the events/tasks to the timeline arrow.

📌 Quick Note: This step is entirely optional. You may add images to your event planning timeline if you’d like to jazz it up and add fun or important visuals.
You can insert an image by:
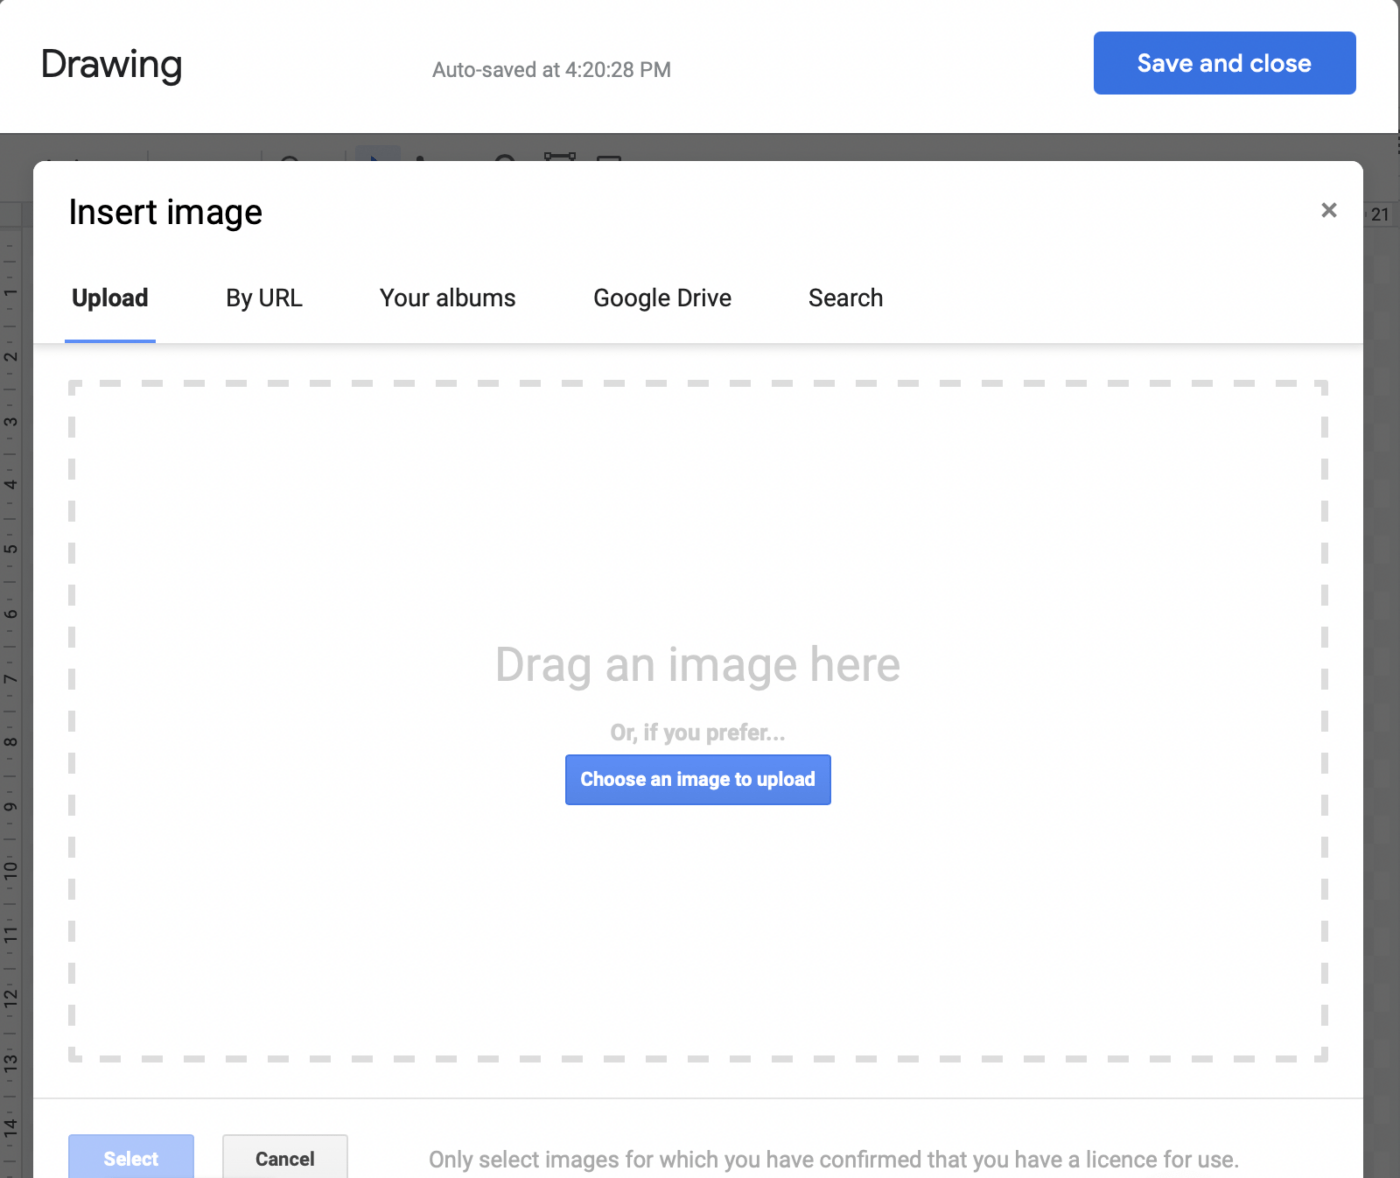
You’ll find the options in the Image tool in the toolbar.
After inserting the image, resize and position it as needed.
Here we’ve added this Harley Quinn image that reads ‘I have the best idea’ right above goals and objectives for some motivation. 👩🎤 ✨
Drag and drop your timeline elements as needed to make room for the images.
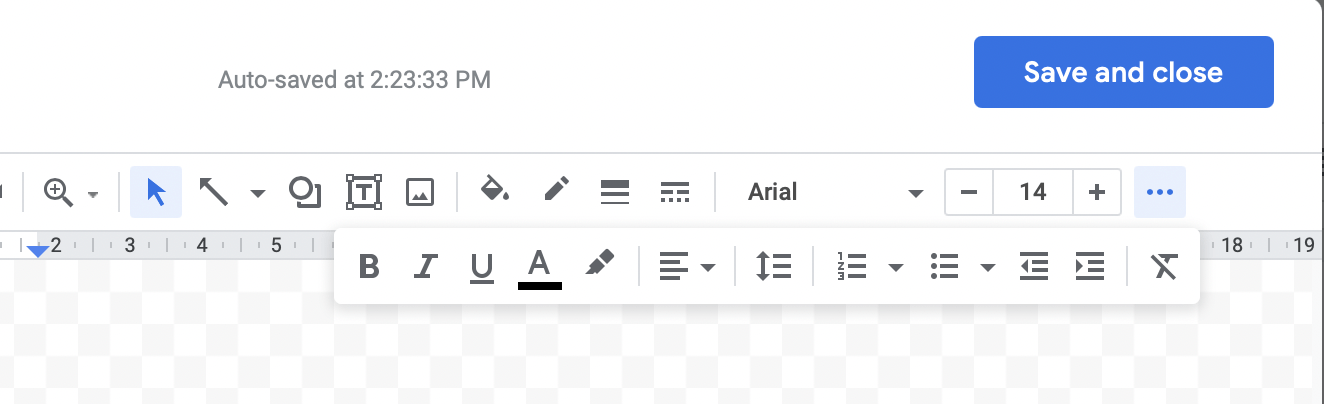
When you’re done, spot a big blue Save and Close button to click on. The timeline will be saved to your Google document.
Missed adding something?
Just double-click on the timeline, and you’ll be back at the drawing canvas.
Make the changes and click Save and Close again.
And there you go.
You’ve made your very own timeline in Google Docs! 👏👏 👏
The manual effort may be fun once or twice but doing this for every project sounds like a bad plan.
The smarter option is to save time by using a Google Docs template. ⚡️


Bonus: How to Make a Family Tree on Google Docs!
Google Docs can create simple timelines, but it falls short for real project planning and ongoing workflow management. Here’s a breakdown of the key limitations:
This is a classic example of Work Sprawl, when timelines live in documents, tasks live elsewhere, and updates get lost across tools. Without a single system of record, even well-made timelines become outdated the moment real work begins.
📮 ClickUp Insight: 31% of managers prefer visual boards, while others rely on Gantt charts, dashboards, or resource views.
But most tools force you to pick one. If the view doesn’t match the way you think, it just becomes another layer of friction.
With ClickUp, you don’t have to choose. Switch between AI-powered Gantt charts, Kanban Boards, Dashboards, or Workload View in a single click. And with ClickUp AI, you can auto-generate tailored views or summaries based on who’s looking—whether it’s you, an exec, or your designer.
💫 Real Results: CEMEX sped up product launches by 15% and cut communication delays from 24 hours to seconds using ClickUp.
Use ClickUp’s Project Timeline tools to build timelines that update automatically, support tasks, and help your team stay aligned in real time.
Creating timelines in Google Docs is doable, but it may not be the best long-term solution.
Here’s why 👇
Let’s start with the basics.
You can manipulate a Google document to display a basic timeline, but this Google app is actually designed for creating and sharing documents just like Microsoft Word.
We wouldn’t have minded if Google Docs had built-in timeline templates or if using the drawing tool was easy.
Google Docs operates in a web browser. This means you can work on any device with an internet connection.
However, this presents a limitation as well.
No internet connection=No timelines. 🙆♀️
Google also offers a Drive app for Chrome and a Drive desktop program, which provides offline access to all Drive files, including files in Docs.
It sounds great, but there are a few things you need to know. 👀
To work offline, you need to plan. You have to set up Drive for offline use and choose the files you want to access offline beforehand.
If you don’t, you can’t use Docs offline urgently.
In other words, if your wifi is down suddenly, you won’t be able to access your files. 😅
Let’s say you create a project timeline on Google Docs because you’re up for a challenge.
But can you create tasks? Nope.
What about scheduling or assigning them? Nope.
Because guess what?
We have the perfect Google Docs alternative for you!
It’s ClickUp—one of the highest-rated productivity tools used by solopreneurs to enterprise teams across different industries.
Bonus: How to make a mind map in Google Docs!
Meet ClickUp. The only timeline tool you’ll ever need! To create your own Timeline view in ClickUp, go to your existing Workspace and add the Timeline view. That’s it!
It’s simple to convert your workspace into a clear and highly visual timeline for your team to review. But that’s just the beginning: ClickUp offers way more than task management and project visualization tools. ✨
If you want to see more granular details about projects, flip over to the ClickUp Gantt Chart view. Gantt Chart view gives you a bird’s-eye view of all Spaces, Projects, and Lists. Collaborate with your team, track task dependencies, and prioritize tasks and projects, all in one place.
It’s impossible for a PM to be everywhere at once, but ClickUp makes project management a breeze by combining all your work into one platform.
Oh, and did we mention the templates? Borrow ClickUp’s Project Timeline Whiteboard Template to visualize your timeline in one convenient dashboard. The ClickUp Fillable Timeline Template makes it easy to quickly map out your projects and events. But don’t worry—if you’re a Gantt diehard, the ClickUp Gantt Timeline Template is here for you, too.
Crafting a project timeline in Google Docs may appear cost-effective but the truth is that it can be quite time-consuming and limiting. Fortunately, more efficient alternatives like ClickUp exist. As a highly robust project timeline creator, ClickUp also doubles as a resource manager, notetaker, and time tracker. More than just a productivity tool, ClickUp offers much more for free, making it an invaluable tool to kickstart your project today.
Being a smaller team and having thousands of orders from around the world, we need to be ultra efficient and ClickUp Gantt charts allow us to track all of our production and logistics in one place, which made our production team two thirds more efficient.
Best of all, it’s free—that’s your cue to get started today. 😉
No, Google Docs timelines don’t update automatically, you must manually adjust shapes, text boxes, and dates. For dynamic timelines, tools like ClickUp automatically reflect task and date changes in real time.
Google Docs works for static visuals but becomes hard to maintain for active projects. It lacks task assignments, dependencies, and progress tracking needed for ongoing work.
ClickUp’s Gantt Timeline Template is a free alternative that lets you assign tasks, manage dependencies, and update timelines automatically. It removes the need for manual formatting entirely.
Yes, but simultaneous edits can easily break formatting since timelines rely on drawings and shapes. Dedicated timeline tools handle collaboration without layout conflicts.
If your project involves shifting deadlines, multiple owners, or dependencies, Google Docs becomes inefficient. At that point, a live timeline tool with task syncing is the better choice.

Manasi Nair
Max 26min read
Manasi Nair
Max 28min read
Manasi Nair
Max 27min read

© 2026 ClickUp