


Still downloading templates?
There’s an easier way. Try a free AI Agent in ClickUp that actually does the work for you—set up in minutes, save hours every week.
Sorry, there were no results found for “”
Sorry, there were no results found for “”
Sorry, there were no results found for “”

Working with checklists is an excellent way to improve productivity and motivation. Checklists help produce zero-defect work by breaking down complex tasks into a series of sequential steps that are easy to follow.
Checklists also help ensure consistency and completeness in a task. The best part is that they are shareable, meaning that any individual who takes up the task after you has the same guidance to complete it.
Checklists are a great way to offload crucial tasks from your mind and put them on paper so that you remember to do them.
Many tools, including checklist apps, Google Docs, to-do list apps, and more, are available online for creating custom checklists.
Opt for Google Docs if you want a tool to help you create and share checklists across your team to streamline your workflow and boost productivity.
Read on to learn how to easily create checklists on Google Docs.
Creating checklists in Google Docs will help your team work with updated and consistent information. Here are the kinds of checklists you can create on this platform.
Let’s learn how to make a checklist in Google Docs.
🎯Did you know that more than just checking lists, ClickUp’s variety of Checklist Templates gives you the flexibility to assign tasks, due dates, and track progress? Well, now you know. Try it for free!
Here is a step-by-step guide on inserting checkboxes into an available list of items in Google Docs to create checklists. Using this method, your list items may look like a checklist, but they will still be static.
Step 1: Place your cursor where you want your new checkbox to appear.
Step 2: Select ‘Insert’ from the navigation bar of your Google Docs.

Step 3: Navigate to the ‘Special Characters’ menu bar item and click on it.
Step 4: In the open dialog box, enter a keyword for the special character you want or draw it in the box below the text field.

Step 4: In the keyword box, type ‘check.’ You can also draw a checkmark in the drawing area.

Step 5: Once the interface displays checkboxes and checkmarks, you can select the special character you want displayed on your list.
Remember that these are static characters, and you cannot interact with them. If you want to create a dynamic, collaborative checklist, let’s look at how to create an interactive checklist in Google Docs.
Also read: Free To-Do List Templates
The steps for a bulleted list in Google Docs differ slightly from those for converting it into a checklist. Here’s how to create one:
Step 1: Type down the items on your checklist one after another, each one in a new line (or if you have created a checklist in Excel, import it from there).
Step 2: Select all your text by holding your cursor click down.

Step 3: Navigate to the bulleted list icon on the toolbar located at the top right corner of your page and click on it to convert your text into a neat bulleted list.
Step 4: Now, navigate to the same bulleted list icon again and click the drop-down arrow next to it.

Step 5: You will notice another drop-down menu called ‘Checklist menu’—click on the arrow next to it.
Step 6: Select between strikethrough for checked items and the one without, as per your preference. Once done, your bulleted list will be converted into an interactive checklist.

Step 6: You can check or uncheck the boxes, and the strikethrough will appear if you have selected that option from the Checklist Menu list.
Bonus: How to See Edit History in Google Docs!
On-page is a fast-forward shortcut method to directly and quickly convert your bulleted lists into checklists on the page itself. This method works best when you also have a long list of items with nested items.
The shortcut allows you to do everything then and there without navigating through the toolbar for the right options. Follow the instructions below:
Step 1: Import your numbered or bulleted list into Google Docs and ensure the nesting and order of the numbered list below are correct.
Step 2: Once you have fixed everything, position your cursor over the top bullet.
Step 3: Now, double-click on the bullet to highlight all the bullets simultaneously.

Step 4: Right-click on the top bullet once all the bullets are highlighted. A menu will open on the page.

Step 5: In this menu bar, you will notice a single checkbox just underneath the bullet-style options—click on it.

Step 6: You will notice that all the list items below the highlighted bullets are now in the new checklist format.

Step 7: Repeat the same process for all the levels of nested bullets in your list to convert everything on the page into one checklist item.
This method will help you create an interactive checklist that can be checked or unchecked from the page.
Also read: Daily Checklist Apps & Family Tree in Google Docs!
Google Docs is an excellent collaboration platform for those using the Google Workspace. However, it has limitations regarding checklists.
Google Docs checklists fall short of efficiency standards when your tasking operations are complex and multiple people are working on the document simultaneously. Here are five key areas where Checklists on Google Docs fall short.
Therefore, working with checklist templates for speedy setup and collaboration is better.
If you want a more efficient and engaging way to work with checklists, ClickUp has the right offerings.
ClickUp provides you with a range of list templates that you can use to detail your weekly, daily, project, or to-do tasks. These checklists are collaboration-friendly and can be set up immediately without any delay.
Let’s take a look.
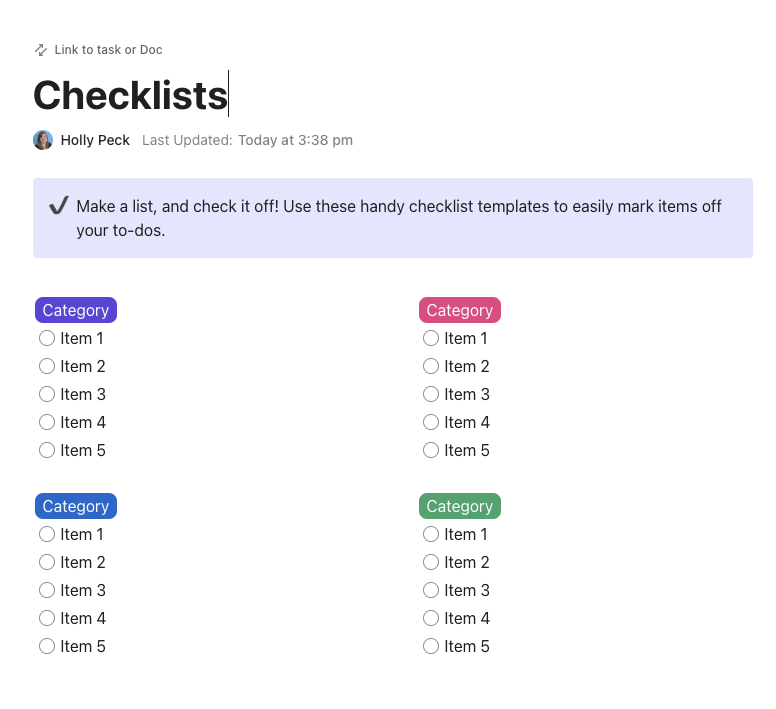
Tackle tasks with the ClickUp Checklists Template. Designed with versatility in mind, this template allows users to quickly jot down and organize their tasks, regardless of their nature or complexity. From day-to-day errands to intricate work projects, this tailored checklist serves as a reliable assistant, helping you streamline your tasks and improve productivity. The customizable feature of this checklist means it can seamlessly adapt to your specific needs, transforming task management into a simple, pain-free process.
Organize your weekly tasks effectively using the ClickUp Weekly Checklist Template. This template lets you plot your daily tasks and plan your week to the last activity.
This checklist is thoroughly customizable to help you:
It is extremely easy to start using this template in ClickUp. Here’s how:
This checklist is the best option if you want a customizable checklist that you can visualize and tweak as you like, which is not possible with Google Docs.

ClickUp Task Checklists are special checklists within a task in ClickUp as a to-do list, making it easier to assign the items on the clickable checklist to different team members.
Use these checklists to:
📮 ClickUp Insight: 64% of employees occasionally or frequently work outside their scheduled hours, with 24% logging extra hours most days! That’s not flexibility—that’s never-ending work. 😵💫
ClickUp Tasks help you break big goals into smaller, manageable steps, so you always know what to tackle next—without the overwhelm. Just ask ClickUp’s AI to generate subtasks, add checklists, and map dependencies to stay organized and in control. Meanwhile, ClickUp Automations streamline routine work by handling updates, assignments, and reminders—so you can spend less time on busy work and more time on what matters. 🚀
💫 Real Results: Pigment improved team communication efficiency by 20% with ClickUp—keeping teams better connected and aligned.
Here’s how to access task checklists from within a ClickUp Task:

Bring the power of the world’s pioneering neural network to your tasks, documents, and people to connect everything in your digital workspace with ClickUp Brain. This tool lets you ask questions about your work, company wikis, plans and insights, products, and more.
ClickUp Brain enables you to:
ClickUp Brain can help you do much more with your task management skills, which you cannot do with Google Docs.
ClickUp Brain helps you create AI-generated tasks or docs with pre-filled checklists according to your business needs. There are two ways to do this with ClickUp Brain:
Access ClickUp Brain from anywhere in your workspace alongside your current work.
Checklists are an integral part of productivity and motivation in the workplace. Even outside the workplace, checklists help individuals stay organized in their day-to-day chores and get things done as part of their task management software.
Utilize the gamut of checklists and tools that ClickUp provides to facilitate efficient tasking in the form of flexible, versatile checklists. You can explore more ClickUp solutions directly on the website.
If you wish to start with checklists today, sign up for free on ClickUp.

© 2026 ClickUp

There’s an easier way. Try a free AI Agent in ClickUp that actually does the work for you—set up in minutes, save hours every week.