
As a digital marketer, you’ve put weeks and months of effort into designing the perfect website. And now, you’re awaiting D-day with bated breath. Your new website will be the face of your business, so as the launch date approaches, you might be plagued with a litany of nervous questions, like:
“What if my new site crashes?”
“What if the graphics don’t work?”
“What if the pages don’t load fast enough?”
“How do I know where my visitors are coming from?”
For a website to do what it’s supposed to—be the virtual flagship office of your brand—several things need to function perfectly: from UX design and backend security to search engine optimization. You can never be too careful with how much planning and care goes into it.
That’s where a website launch checklist comes to the fore. It ensures that critical information does not fall through the cracks. By checking each item off, you’re guaranteed a successful launch.
In this post, we’ll help you get your website publish-ready. We’ll also discuss how ClickUp, with its website checklist template and suite of project management features, supports you in this journey.
Ready? Let’s go! 🚀
- Pre-Launch Checklist: Content, SEO, Design, and Technical Setup
- 1. Website content review
- 2. In-depth SEO check for search engines
- 3. Review your website design
- 4. Evaluate your Content Management System
- 5. Evaluate site UX and accessibility
- 6. Configure your site’s permalink structure
- 7. Generate an XML sitemap
- 8. Make appropriate redirects
- 9. Integrate analytics and set up Google Search Console
- 10. Check your domain and hosting configuration
- 11. Establish security protocols
- 12. Check for legal compliance
- 13. Ensure your SSL certificate works
- 14. Update your backend components
- 15. Test your site’s load speed
- Launch Day Checklist
- Website Post Launch Checklist
- Creating and Implementing a Website Launch Checklist Using ClickUp
Pre-Launch Checklist: Content, SEO, Design, and Technical Setup
1. Website content review
A website typically includes:
- Product offerings and benefits
- An ‘About us’ section
- Policy pages (in the footer)
- Multimedia (e.g., images, videos, GIFs)
- Navigation menus (including bread crumbs)
- Call-to-action (CTA) buttons and contact forms
Go over every piece of content on each web page of your new website with a fine-toothed comb to ensure it’s free of typos and spelling errors and reads well. Ask team members to give it a second and third read before you upload the content to the content management system to ensure nothing goes unchecked.
Having error-free content is critical to showcasing professionalism and authenticity, so don’t skip this step.
Pay particular attention to web pages with details like contact information—you want your website visitors to be able to reach you. And if there’s any copy that isn’t quite in line with your brand identity and offerings, tweak it as required.
Also, make sure your CTA buttons have the correct text and are engaging enough to increase the chances of being clicked on.
To drive traffic to your website, use ClickUp as a content marketing software.
You can turn each website page or a group of pages into ClickUp Tasks and easily monitor their status by creating custom fields, such as “Draft,” “In Review,” “Final,” and “Approved.” This will help ensure you or your team don’t miss a single improvement opportunity.
2. In-depth SEO check for search engines
Ensure you cover all the on-page SEO basics before you hit ‘Publish’ on your new website.
Answer the following questions as a part of the pre-launch checklist:
- Have you integrated keywords naturally into your web content?
- Do your page titles include the keywords you want to rank for?
- Have you included alt text for your images?
- Are your page meta descriptions optimized?
Keywords help search engines like Google and Bing determine whether your website content is relevant. You can conduct keyword research using a tool like Ahrefs or SEMrush or Google’s Keyword Planner.
3. Review your website design
Work closely with your UX designer to ensure the overall design theme and structure fit well. You can do this systematically by using a variety of strategies to manage design projects.
Before the launch, take a quick pulse-check from different team members to see if the website has a cohesive layout and theme that aligns with your business. Make sure all your content (text and visual) centers around it, too. The UX designer ensures that each page uses the same background colors, text colors and fonts, white space, image captioning format, and so on.
For improved conversions and a greater impact, try to avoid using stock photos; instead, choose high-quality images taken by a professional photographer especially for your brand, or custom-designed graphics. To ensure they load quickly across devices, use a tool like TinyPNG to compress the image sizes without compromising the quality.
Most visitors like a clean website experience, so make sure your pages aren’t cluttered with content. Design each page as a judicious mix of text, visuals, and blank space, and include CTAs wherever relevant.
You should also include a high-resolution version of your website logo in the header, footer, and other vital areas to establish brand familiarity.
Integrate your design assets with web design tools Figma and InVision into ClickUp to have all your design files directly accessible within the platform. This allows your team to easily review, comment, and collaborate on designs without switching between tools.
💡Pro Tip: Consider using ClickUp Integrations to connect ClickUp to your content management system, website builder, website analytics tools, designing platform, and any other tools in your tech stack.
4. Evaluate your Content Management System
Select a suitable CMS for your website. AI website builders like WordPress, Joomla, and Drupal provide robust platforms with extensive customization capabilities and user-friendly interfaces.
They come with a drag-and-drop functionality that lets you set up a wide range of plugins and themes, making it easy to have a professional-looking site even if you aren’t a designer or developer by training.
Before the website launch:
- Validate the content integration process
- Make sure you thoroughly test the CMS functionalities
- Verify that it meets your site’s performance and security requirements
💡Pro Tip: When launching your business website, buying your domain is non-negotiable. Most CMS platforms and website builders include plans for web hosting services, so purchase your domain name, connect it to your website, and you’re all set.
5. Evaluate site UX and accessibility
Regardless of industry, your web design must have a fine balance between aesthetics and overall functionality. Test your website across devices, browsers, and operating systems to ensure it functions smoothly everywhere.
Pay attention to the navigation journey and tweak your menus and button placements to make browsing more intuitive. For instance, include your logo in the site header that links to your homepage to make it easy for visitors to return to it.
Your website UX also impacts search engine rankings, leading to lower bounce rates, higher click-through rates, longer dwell times, and increased engagement. All these metrics indicate that users find your website useful.
Also, test your accessibility features so that your site can be navigated by those using text-to-speech readers or other assistive solutions. The Web Content Accessibility Guidelines (WCAG) provide a set of standards to help you with this.
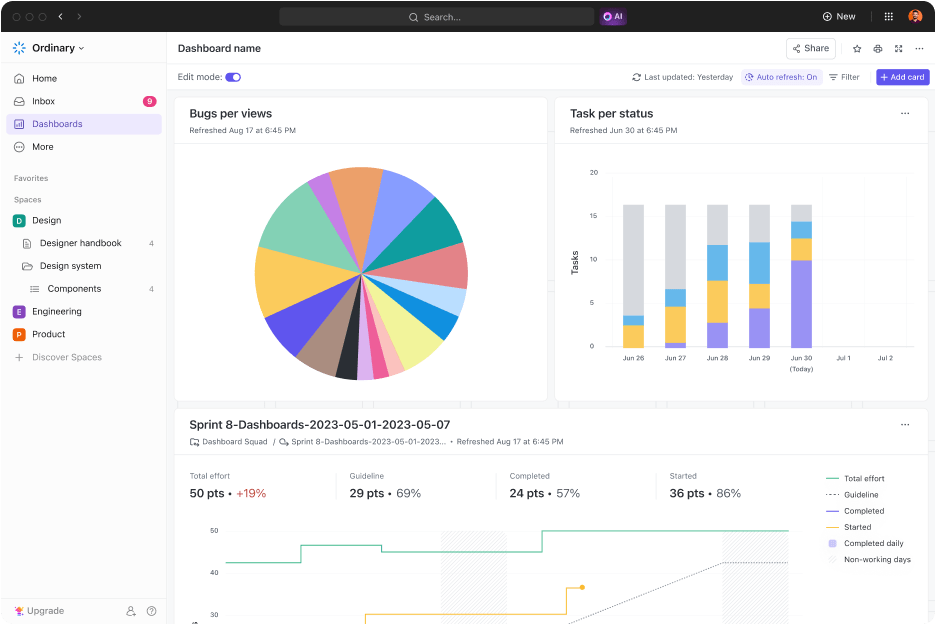
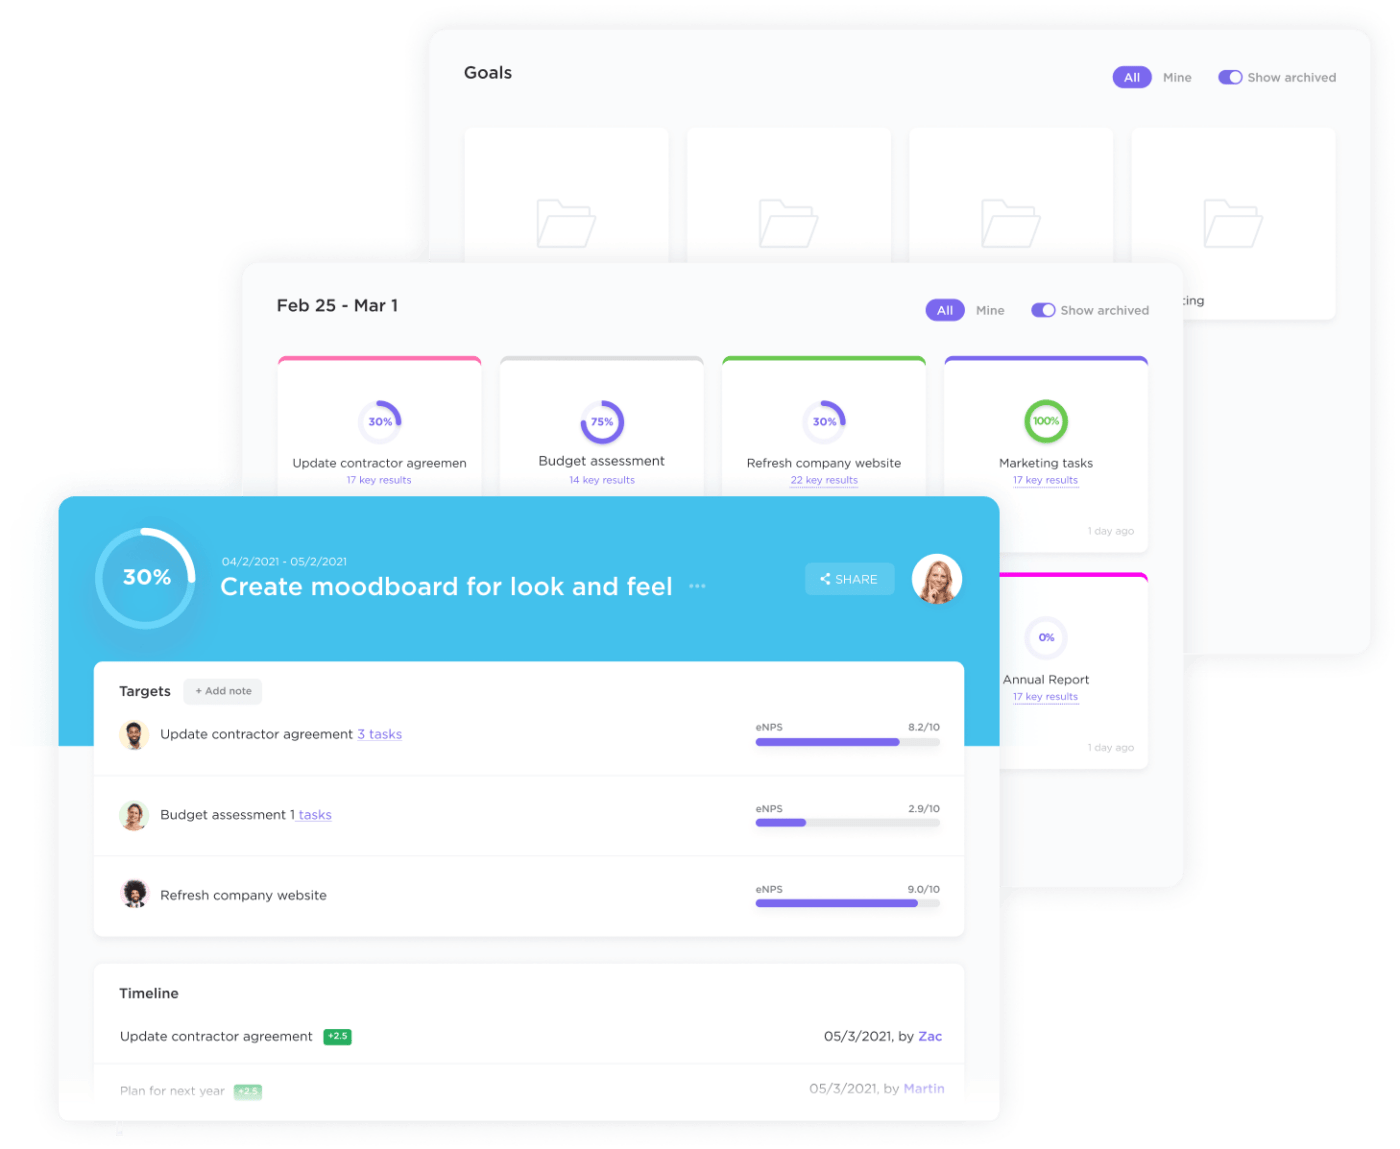
💡Pro Tip: Set specific, measurable objectives for this step using the ClickUp’s Goals feature. For example, to improve the accessibility score of your e-commerce site, create sub-goals comprising tasks like ensuring all images have descriptive alt text, improving keyboard navigation, or optimizing color contrast ratios.
6. Configure your site’s permalink structure
We’ve all accessed URLs that consist of a seemingly endless string of letters and numbers. To be optimally searchable, though, you want to restructure the URLs for your website pages to be clear and descriptive.
For starters, you must include the primary keyword in each page URL. For example, if one of your pages is about healthy recipes, the URL should contain the chosen keyword, “healthy recipes for Thanksgiving,” instead of random strings, such as “pageid=12345” or “post=abcde123.”
Correct URL: www.yourwebsite.com/healthy-recipes-for-thanksgiving
Incorrect URL: www.yourwebsite.com/pageid=12345
7. Generate an XML sitemap
An XML sitemap is a file with all the URLs on your website that you want search engines to index. Several tools, such as XML Sitemaps Generator and SEOptimer, are available online to help you with this.
All XML site map templates clearly show all URLs, so fix spelling errors if you find any.
You should also produce a robots.txt file to indicate how site crawlers should treat external links or block specific agents. This will make your website more search engine-friendly and ensure that only the appropriate pages are indexed.
Another way to share data with search engines is through a schema markup. This helps your site pages show up as rich snippets, which can significantly improve your Click-through Rate (CTR), especially if your page gets shown as a Featured Snippet on Google.
Contrary to popular belief, your website developer can prepare the XML sitemap, robots.txt file, and schema markup during the staging phase itself. They’ll become fully functional once the site is live.
8. Make appropriate redirects
There’s always a chance a visitor might mistype a URL. You can take the following steps to improve their experience and guide them to the correct content:
- Custom a 404-page using simple language—ideally in the same tonality as the rest of your content. It should include:
- A search bar to help them find what they’re looking for
- A friendly message explaining that the page could not be found
- A link to the homepage and other important sections of your site
- Set up 303 redirects for common misspellings or outdated URLs to direct them to the correct page
9. Integrate analytics and set up Google Search Console
Your website launch checklist must include monitoring the site’s performance and understanding how visitors interact with it.
Start by installing an online tool like Google Analytics to gain insights into visitor data, such as the number of visitors, page views, and bounce rate.
Then, you can set up Google Search Console to keep an eye on your site’s search performance and identify any potential SEO issues. Hotjar or Crazy Egg can create heatmaps and session recordings for your website. Such usability testing examples give you a clear picture of user behavior.
Define and set up SEO goals and objectives in Google Analytics to track important actions, such as form submissions or purchases. This will gather valuable data to help you continuously improve your website after it goes live.
10. Check your domain and hosting configuration
To avoid downtime and accessibility issues once the site is launched, assess your domain and hosting configuration. Your domain name should be registered with a reliable domain registrar. Choose a domain that reflects your business and is easy for visitors to remember.
Then, configure your DNS settings to point your domain to the correct hosting server. This usually involves setting up A, CNAME, and MX records for email.
Verify the details of your hosting plan—it should meet your bandwidth and storage needs. Also, check the server’s uptime guarantee and your hosting provider’s support options.
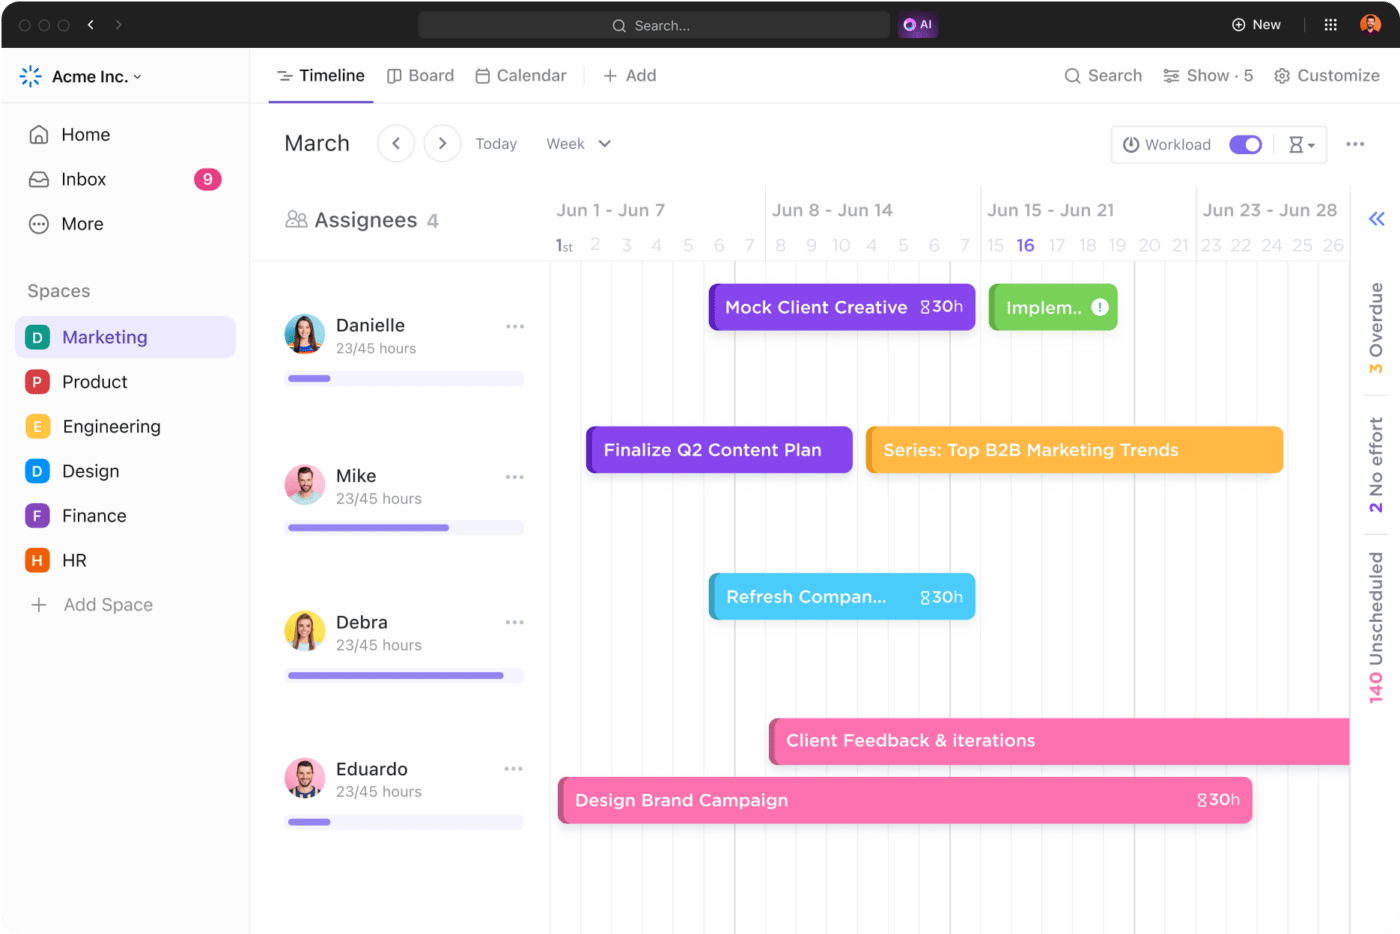
💡Pro Tip: Use ClickUp’s Timeline View to visually rank all the tasks involved in this step chronologically. For instance, you can start by mapping out the task of registering your domain, setting up DNS records, configuring your hosting environment, and linking the domain to the hosting server.
11. Establish security protocols
Airtight security is a bare minimum for websites today, especially with rising cybercrime. You must have secure vaults to store login information and enforce password policies, preferably with two-factor authentication (2FA). You should also be vigilant about assigning user access levels on your CMS.
12. Check for legal compliance
Every country and industry has its data security laws. For example, the UK and Europe have General Data Protection Regulation (GDPR), and the healthcare sector in the US follows the Health Insurance Portability and Accountability Act (HIPAA).
You want to ensure that your website complies with the relevant regulations. We recommend working with an internet lawyer to help you with this.
Some basics include having a Terms of Use page on your website, clearly informing visitors about cookies, and ensuring you’re licensed to use all assets showcased on your website.
13. Ensure your SSL certificate works
Don’t forget to purchase an SSL certificate from a trusted Certificate Authority (CA) or opt for a free option like Let’s Encrypt. Install the SSL certificate on your server by following the specific instructions provided by your hosting provider.
Update your website to redirect all HTTP traffic to HTTPS by modifying the .htaccess file for Apache servers or the configuration files for Nginx servers. Ensure your web content is served over HTTPS to avoid mixed content warnings in browsers.
This will secure data transferred between your website and its visitors, ensuring their information is protected.
14. Update your backend components
Most CMS providers will send you notifications whenever the software is updated. These updates usually include new features, improvements, and critical security patches.
Therefore, update all plugins, themes, and extensions to the latest version of your CMS to avoid compatibility issues and security vulnerabilities. After this, thoroughly test your website to ensure these components are compatible and functioning correctly.
Deactivate and remove any plugins that are no longer in use. Unused plugins can pose security risks and slow down your website.
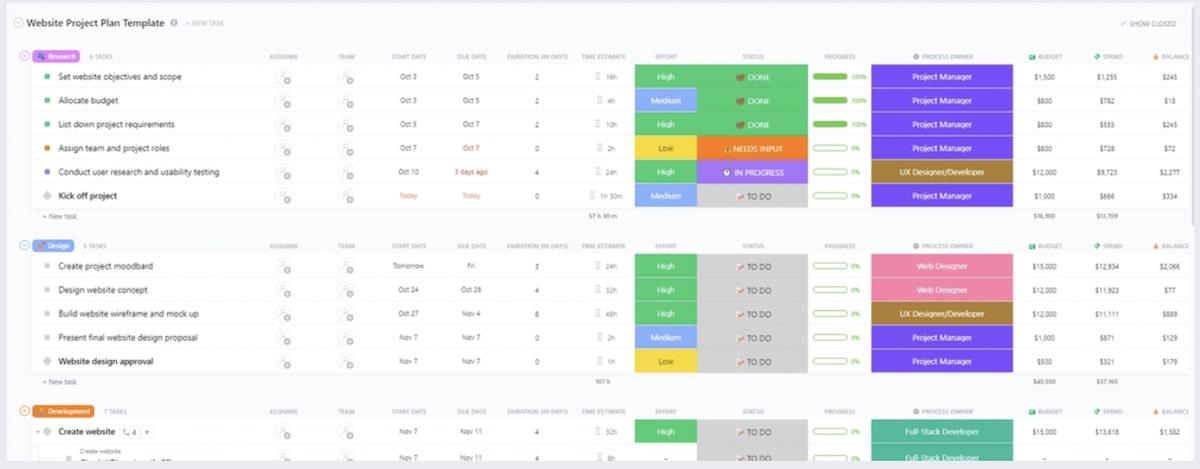
Given the extent of the pre-website launch activities, it’s best to use the ClickUp Website Project Plan Template to manage the entire project from inception to launch.
Think of it as a perfect SEO website launch checklist template with benefits such as:
- A project timeline to keep everyone aligned
- Task lists to ensure every detail is covered
- Convenient checklist templates for completion and sign-off
15. Test your site’s load speed
Today’s customers expect a website to load in under a few seconds, irrespective of which device they’re on or what operating system they’re using.
A good way to test load speed is to submit your website’s staging URL to Google PageSpeed Insights. The company will study your website and share a comprehensive report on its performance.
Be sure to prioritize mobile testing, too—because assets that usually load on a desktop might slow down on mobile devices.
Now comes the things to remember on the day of the website launch. Let’s dive in.
Launch Day Checklist
1. Perform a functionality check
- Start by testing all interactive elements on your site. Click every button, fill out and submit every form, and follow all internal links and menus to ensure they work as expected
- Ensure every interaction produces the correct result and that there are no broken links or malfunctioning buttons. Several website optimization tools help you do this, such as Broken Link Checker, Screaming Frog, and Ahrefs
- On the other hand, the information filled in on the forms must reach the backend correctly and/or be sent to the specified email address
- Next, browse through your website as if you were a new visitor. The navigation must be intuitive and user-friendly, and the overall flow of the site must make sense
- Test all user account features to ensure they work correctly. This includes login and registration processes, password resets, and account management functionalities
- Finally, assess your website’s search feature. Enter various search terms to confirm that the search results are accurate and relevant
Use the ClickUp Website Production Plan Template to manage the website production phase efficiently. It tracks design revisions, multimedia integration, and final checks before the website goes live.
Use this template to:
- Identify tasks required for successful website production
- Provide a timeline for each task and track its progress
- Plan beforehand to prevent unexpected problems
2. Backup all files
And just in case there are any mishaps, always store a recent backup of your website through automated backup services like Dropbox or BackupBuddy. Keep copies of everything—from content, user data, and configurations in various forms, such as HTML, CSS, and JavaScript—that make up your site in a secure location.
Once the site is finally live, keep monitoring it closely. This includes fixing any bugs or content errors spotted, but it also involves periodically reviewing website analytics to see if you can track defined metrics against your goals properly.
The work is not over yet. Website monitoring is an ongoing activity. After the launch, you need to check post-launch metrics, ensure website maintenance, and more. Let’s take a quick look at that.
Website Post Launch Checklist
1. Chalk out a maintenance plan
You must ensure that your website always runs optimally, regardless of traffic volume. To that end, prepare a schedule for maintenance activities like content rewrites, keyword reviews, plugin updates, security checks, and web design workflow updates.
In addition, implement uptime monitoring tools such as UptimeRobot or Pingdom to alert your website if it experiences any downtime. You can then quickly fix these problems in real time.
2. Prepare for post-launch feedback
Over a few weeks, you should have a plan to collect and analyze user feedback on your website. Will you be conducting surveys? Asking your followers to leave reviews online?
This is also a good time to include an opt-in form on your website. This will invite visitors to subscribe to email updates and allow you to solicit direct feedback.
Creating and Implementing a Website Launch Checklist Using ClickUp
Launching a website is a massive undertaking built on the hard work of many specialists, departments, and stakeholders. Therefore, it’s important to have a website project management tool that keeps everything (and everyone) organized and on schedule. And that’s where ClickUp enters the picture.
ClickUp Website Management Software, for example, allows you to document your Standard Operating Procedures (SOPs) for:
- Reviewing web content and design
- Acquiring and installing SSL certificates
- Setting up Google Analytics, search console, and other monitoring tools
- Addressing unexpected problems during or after the launch
ClickUp also has some cool features and templates to enhance your website launch experience.
Let’s explore them together.
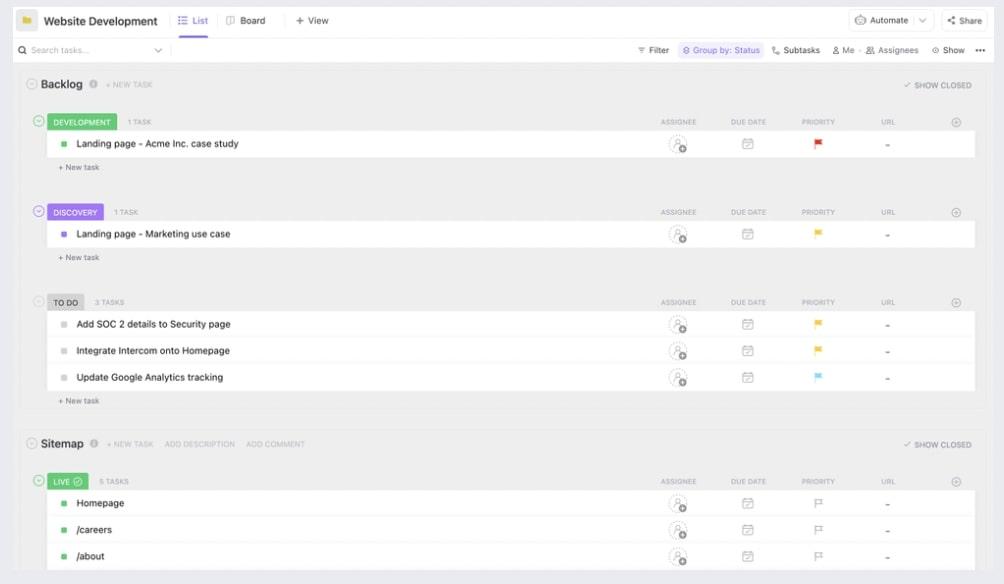
ClickUp Website Development Template

For instance, the ClickUp Website Development Template is a pre-built solution that can be customized to include the above-mentioned key tasks (and more), ensuring a structured approach to launching your website.
This template helps you:
- Save time and development costs by leveraging existing code
- Visualize task progress and collaborate with all stakeholders
- Create and track the progress of tasks related to content, graphics, coding, testing, etc.
ClickUp Docs
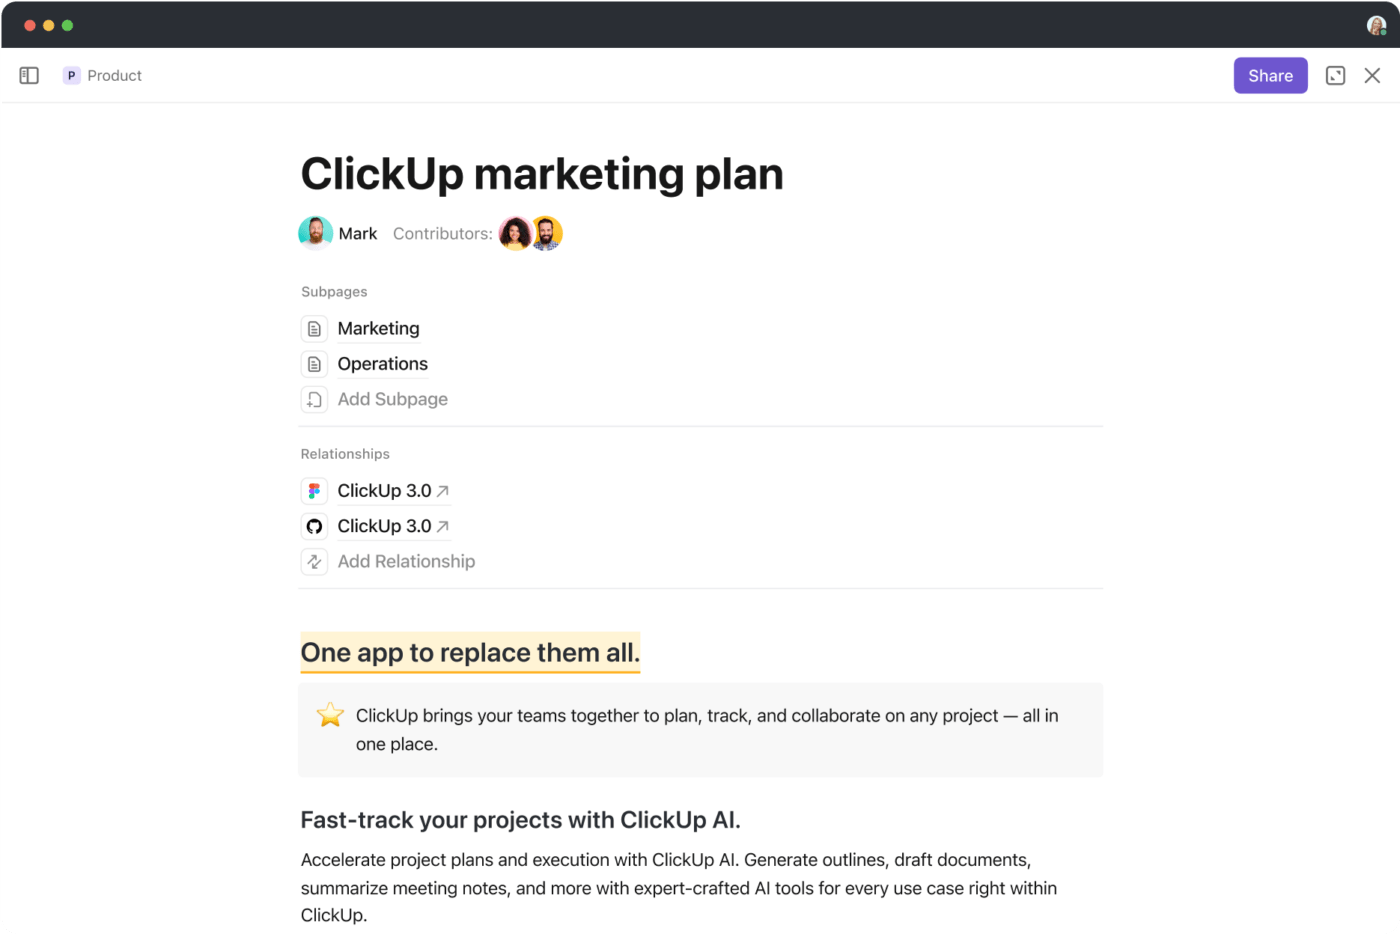
You can use ClickUp Docs to create thorough briefs on all tasks, share them with relevant team members so that everyone can access the information required to do their jobs, and set deadlines to boost accountability.
ClickUp Views
In addition, tailor your website project oversight to your preference with ClickUp Views. Organize specifics in List, monitor team tasks on a Kanban Board, or plan timelines using a Gantt chart—all in a convenient single dashboard accessible across your devices.
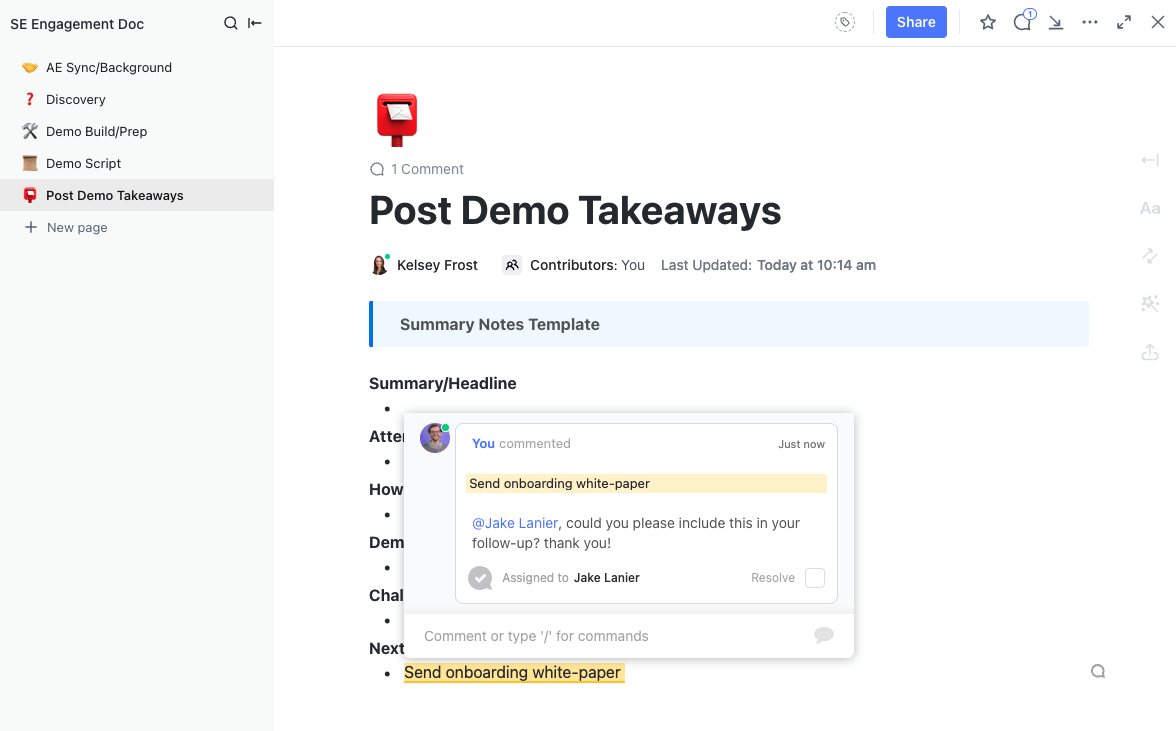
ClickUp Assign Comments
Collaborate seamlessly with real-time document editing features like color coding, link embedding, and code formatting. Use the ClickUp Assign Comments feature to post remarks on tasks, delegate responsibilities, and ensure follow-ups.

You can also create chat channels to discuss the website launch project asynchronously and make ideas happen faster. But if you think the benefits of ClickUp Marketing Project Management Software end here, you’re in for a treat.

Bring everything on the same page with ClickUp Task Checklists. Use it to break down all tasks into manageable steps, ensuring every sub-task of the launch is accounted for.
Whether it’s a list of final checks before the site goes live or a detailed breakdown of launch-day activities, you can easily keep track of everything. This helps maintain clarity and makes sure everything is completed on time.

Read More: How to Manage Multiple Websites Successfully
Up, Up, and Away with ClickUp
A comprehensive website launch checklist can make things stress-free by giving you a sense of control over all the moving parts.
Once you have these items under control, you can focus on supplementary activities, like announcing your new website on social media, creating behind-the-scenes content in the days leading up to the launch or running promotions for your first visitors to generate more buzz.
More importantly, when you use a collaborative software solution like ClickUp, a website launch becomes easier. It keeps track of the smallest tasks, enhances collaboration, and maintains a high level of organization.
Amidst all this, don’t forget to pat yourself on the back for putting your website out into the world.
So what are you waiting for? Sign up for ClickUp for free today and get ready to launch that fantastic website. And good luck!


