


What’s the status of that task? It’s a simple question.
But getting a straight answer can be challenging in a busy team: Updates are scattered across chat threads, emails, and hastily scribbled notes. Deadlines sneak up, tasks get ignored, and before you know it, you’re spending more time tracking work than doing it.
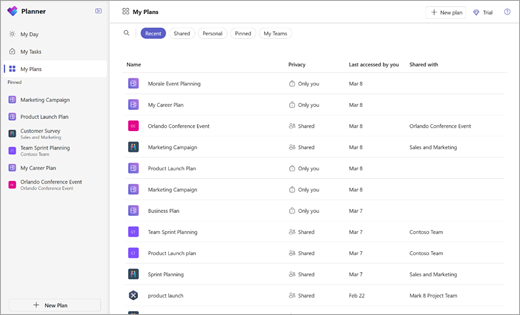
Microsoft Planner in Teams helps you create a structured, shared space where tasks, deadlines, and responsibilities are clear.
In this article, we’ll explore how to use Microsoft Planner in Teams to keep your team organized. 📊
How to Use Microsoft Planner in Teams to Organize Work
- How to Use Microsoft Planner in Teams
- Step #1: Find and add Microsoft Planner in Teams
- Step #2: Create a new plan in a team channel
- Step #3: Add an existing plan to a team channel (optional)
- Step #4: Organize tasks with buckets
- Step #5: Add and assign tasks
- Step #6: Set up notifications
- Step #7: Use filters and grouping to track work
- Step #8: Track progress with visual charts
- Step #9: Edit or move tasks as needed and use advanced features (optional)
- Limitations of Using Microsoft Planner in Teams
- Create a Planner With ClickUp
How to Use Microsoft Planner in Teams
Microsoft Planner can help bring structure to your team’s workflow.
Whether you’re setting it up for the first time or looking for ways to optimize your existing workflow, this step-by-step guide will walk you through the practical side of how to use Planner within Teams.
Let’s get started! 💪
Step #1: Find and add Microsoft Planner in Teams
First, let’s get Planner into Teams.
Open Microsoft Teams and look at the left-hand menu. Click on the Apps icon (the three dots) to access Microsoft Teams integrations. Type Tasks by Planner and To Do (or just Planner) in the search bar.
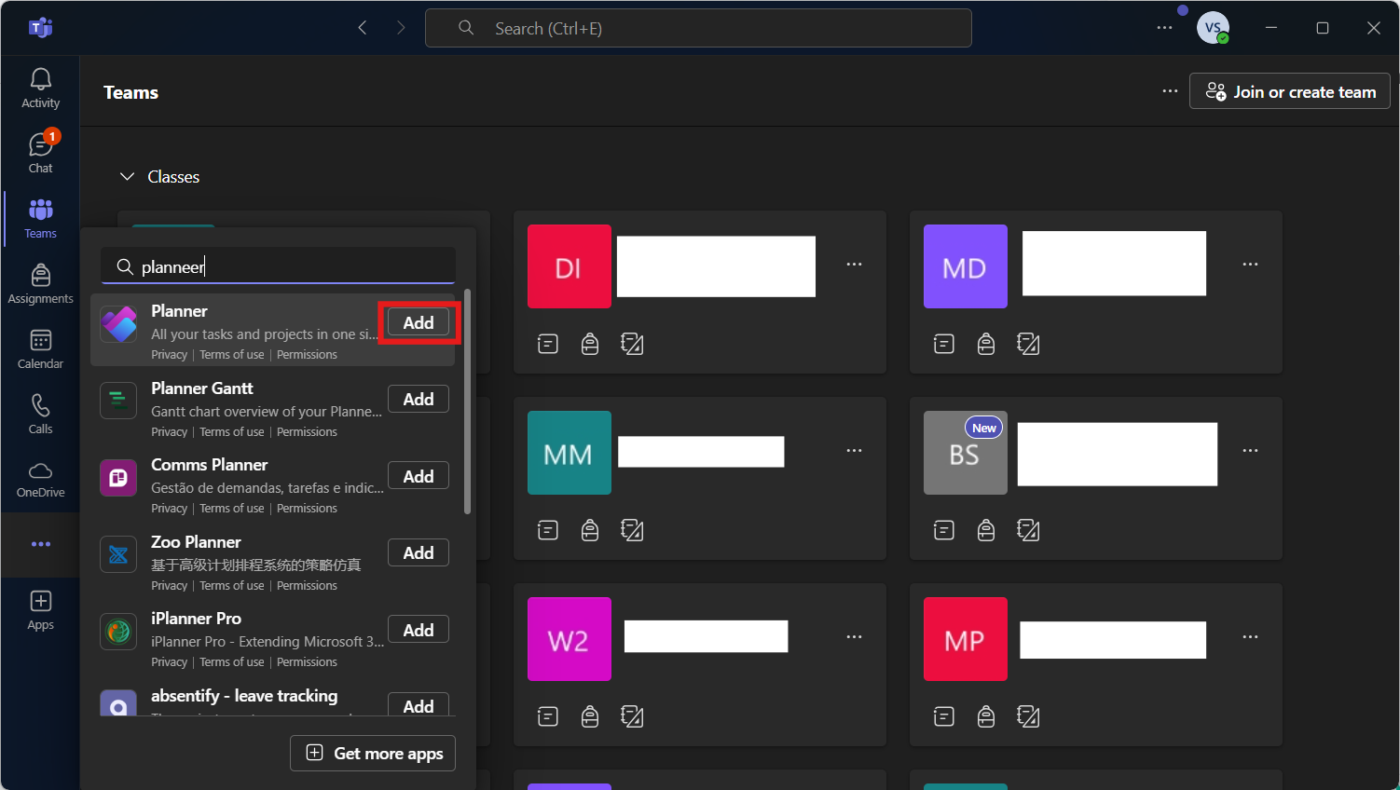
Click Add to integrate it into Teams. Once you’ve done this, Planner will be available right inside Teams, so you won’t have to jump between different apps to manage tasks.
🔍 Did You Know? Microsoft Planner was codenamed ‘Project Work Tracker’ before its official launch in 2016. It was developed as a response to the growing need for lightweight task management within Microsoft 365.
Step #2: Create a new plan in a team channel
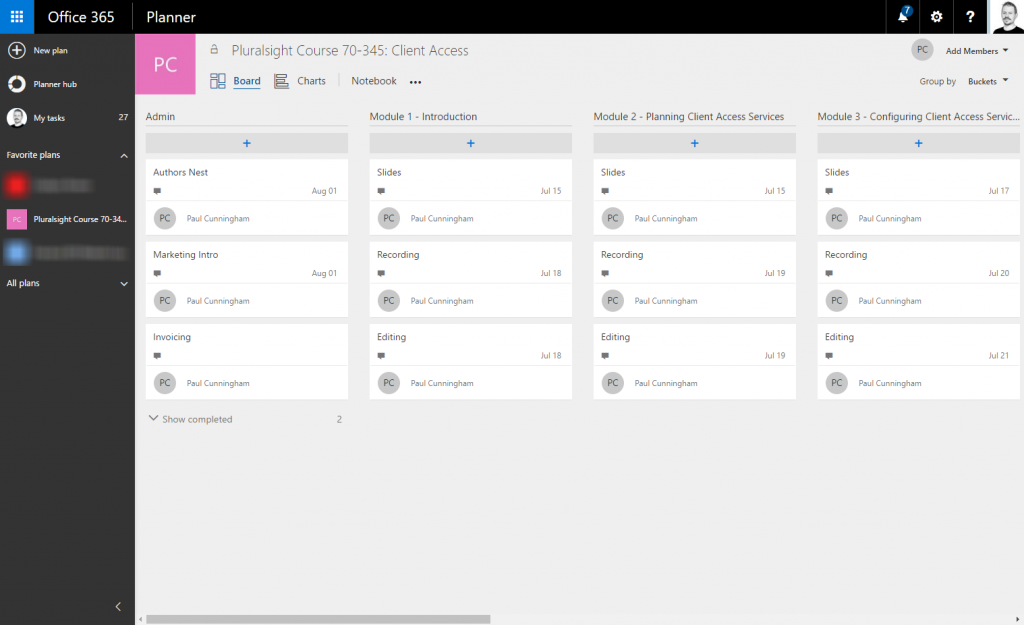
Click on the Teams tab in the left menu and pick the channel where you want to add Planner. At the top of the channel, click the + (plus) icon to add a new tab. Select Planner from the list of apps.
Choose Create a New Plan, give it a name like ‘Marketing Sprint’ or ‘Project Roadmap’, and decide if you want to notify the team by checking ‘Post to the Channel About This Tab.’
Click Save, and just like that, your new plan is ready to go.

via Microsoft
Step #3: Add an existing plan to a team channel (optional)
Already using Microsoft Planner somewhere else? No problem, you can bring it into Teams in just a few steps.
Open your existing Planner board in a web browser or the Planner app, click the … (three dots) at the top, and select Copy Link to Plan. Then, head over to Teams, navigate to the relevant channel, and click the + (plus) icon to add a new tab.
Select the Website tab, give it a name, paste the copied Planner link, and hit Save. And just like that, your existing plan is now seamlessly integrated into Teams for easy access.
Step #4: Organize tasks with buckets
Buckets are like categories that help keep tasks organized. Instead of dumping everything into one long list, you can separate tasks by stage, department, or priority.
Inside your Planner board, click Add New Bucket on the right.
Give it a name, like ‘To Do,’ ‘In Progress,’ or ‘Completed.’ Repeat this to organize your planner into as many buckets as you need. This way, you’ll have a clear structure for managing work.
via Practical365
📮ClickUp Insight: 92% of workers use inconsistent methods to track action items, which results in missed decisions and delayed execution.
Whether you’re sending follow-up notes or using spreadsheets, the process is often scattered and inefficient. ClickUp’s Task Management Solution ensures seamless conversion of conversations into tasks—so your team can act fast and stay aligned.
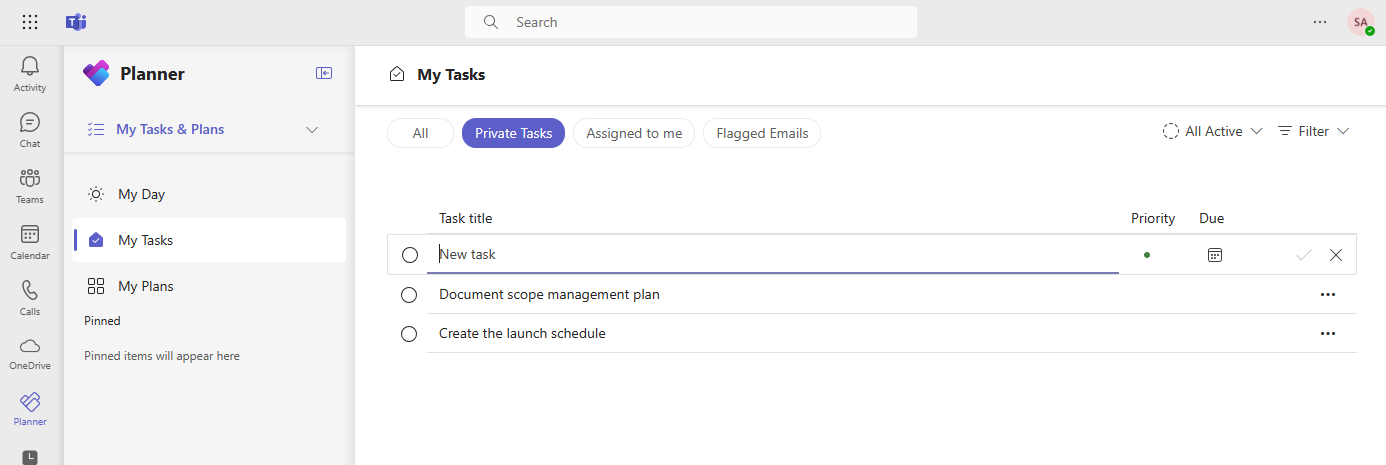
Step #5: Add and assign tasks
Now, it’s time to start adding tasks and assigning them to team members. Click + Add Task under the appropriate bucket. Give the task a name, set a due date, and assign it to someone on your team. Click Add Task, and it’ll appear on the list.
via Microsoft
🧠 Fun Fact: Planner uses a Kanban-style board to help users move tasks through different stages, making it a great tool for Agile teams managing workflows. Tasks can also sync with Microsoft To Do, allowing users to manage personal tasks and team objectives in one place.
Step #6: Set up notifications
Want to keep your team on top of updates? Set up notifications in Planner.
Click Settings (gear icon), go to Notifications, choose the alerts you need (e.g., task assignments and due date changes), and hit Save. No more ‘I didn’t see that task’ excuses.
🧠 Fun Fact: The word ‘plan’ comes from the Latin planum, meaning a flat surface or blueprint, symbolizing a clear path to follow.
Step #7: Use filters and grouping to track work
As your plan fills up, finding tasks quickly becomes essential. That’s where filters and grouping come in. Here’s how to use these Microsoft Teams features:
- At the top of your Planner board, use the Filter button to sort tasks by:
- Due Date (What’s overdue? What’s coming up soon?)
- Priority (What’s urgent? What can wait?)
- Progress (Which tasks are in progress or completed?)
- Assigned Member (Who’s working on what?)
- You can also use the Group By feature to organize tasks by:
- Bucket (To Do, In Progress, Completed)
- Assigned To (Great for seeing who has too much on their plate)
- Due Date (To get a quick look at deadlines)
These tools help you focus on what matters most without scrolling through a long list of tasks.
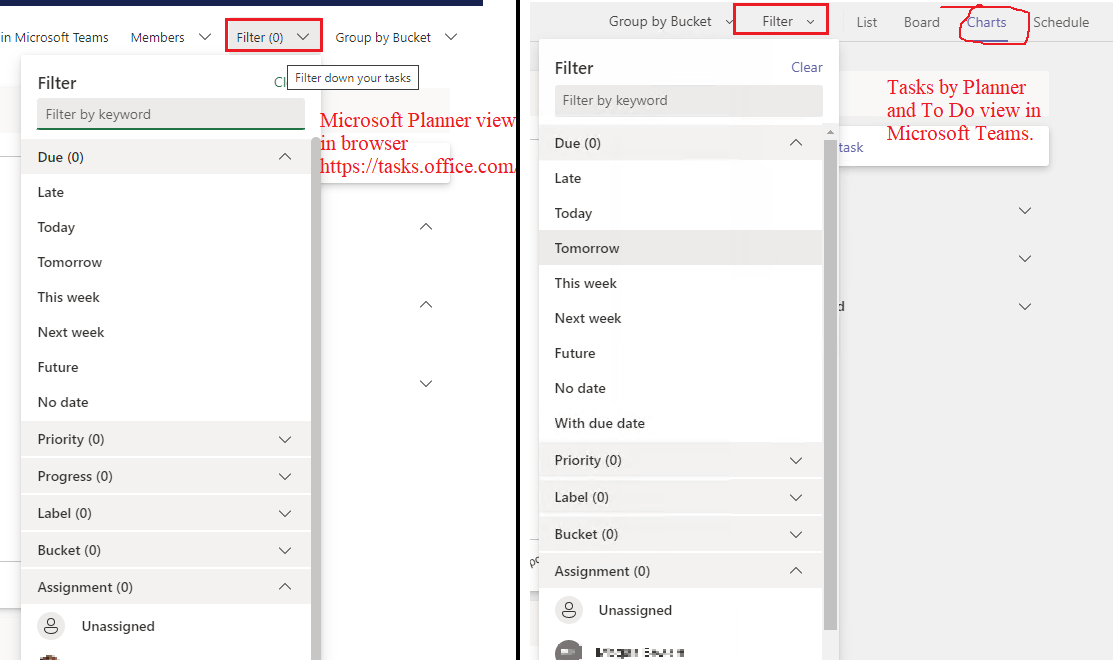
via Microsoft
Step #8: Track progress with visual charts
To get a quick overview of team progress, switch to Charts View. In your Planner tab, click on Charts at the top. You’ll see task breakdown by status and other key insights.
If you like visuals, this is a great way to spot bottlenecks and adjust workloads before things get off track.
via Microsoft
Step #9: Edit or move tasks as needed and use advanced features (optional)
Tasks aren’t set in stone—you can easily update or move them as work progresses. Click on a task to edit details, add notes, attach files, or update its checklist.
To move a task between buckets, just drag and drop it. You can also open the task and manually change its bucket. This makes it easy to adapt as priorities shift.
Want to take your Planner setup a step further? Try these extras:
- Attach files: Upload documents directly to tasks so everything is in one place
- Use labels: Color-code tasks for quick visual organization (e.g., High Priority, Low Priority)
- Copy tasks: Duplicate tasks if they must be repeated across different plans
🔍 Did You Know? Microsoft Teams was built to replace Skype for Business and launched in 2017 as a direct response to Slack.
Limitations of Using Microsoft Planner in Teams
While Microsoft Planner is a reliable tool for managing tasks within Teams, it comes with drawbacks. Depending on your team’s needs, you might encounter limitations affecting workflow, customization, or scalability.
Here are some key challenges to keep in mind:
- Task and plan limitations: A single plan can have only 3,000 active and 9,000 tasks, including completed ones. Users or groups can own up to 400 plans only
- Limited buckets and assignees: Each plan is limited to 200 buckets, and a task can only be assigned to 20 users at most, making it difficult for you to accommodate complex workflows
- Lacks advanced project management tools: Planner doesn’t support Gantt charts, lacks an audit trail, and has no built-in time tracking for time spent on tasks
- No undo option: If you delete a task or plan, it’s gone for good—there’s no recycle bin to recover it
- Microsoft 365 requirements: Planner isn’t a standalone tool. You can only use it with a Microsoft subscription
🔍 Did You Know? The world’s first known planner dates back to 10th-Century China, where officials used wooden tablets to track appointments and schedules.
Create a Planner With ClickUp
Work today is broken. Our projects, knowledge, and communication are scattered across disconnected tools that slow us down.
ClickUp fixes this with the everything app for work that combines project, knowledge, and chat in one place—all powered by AI that helps you work faster and smarter.
Here’s how you can get started with ClickUp! 🤩
Task management
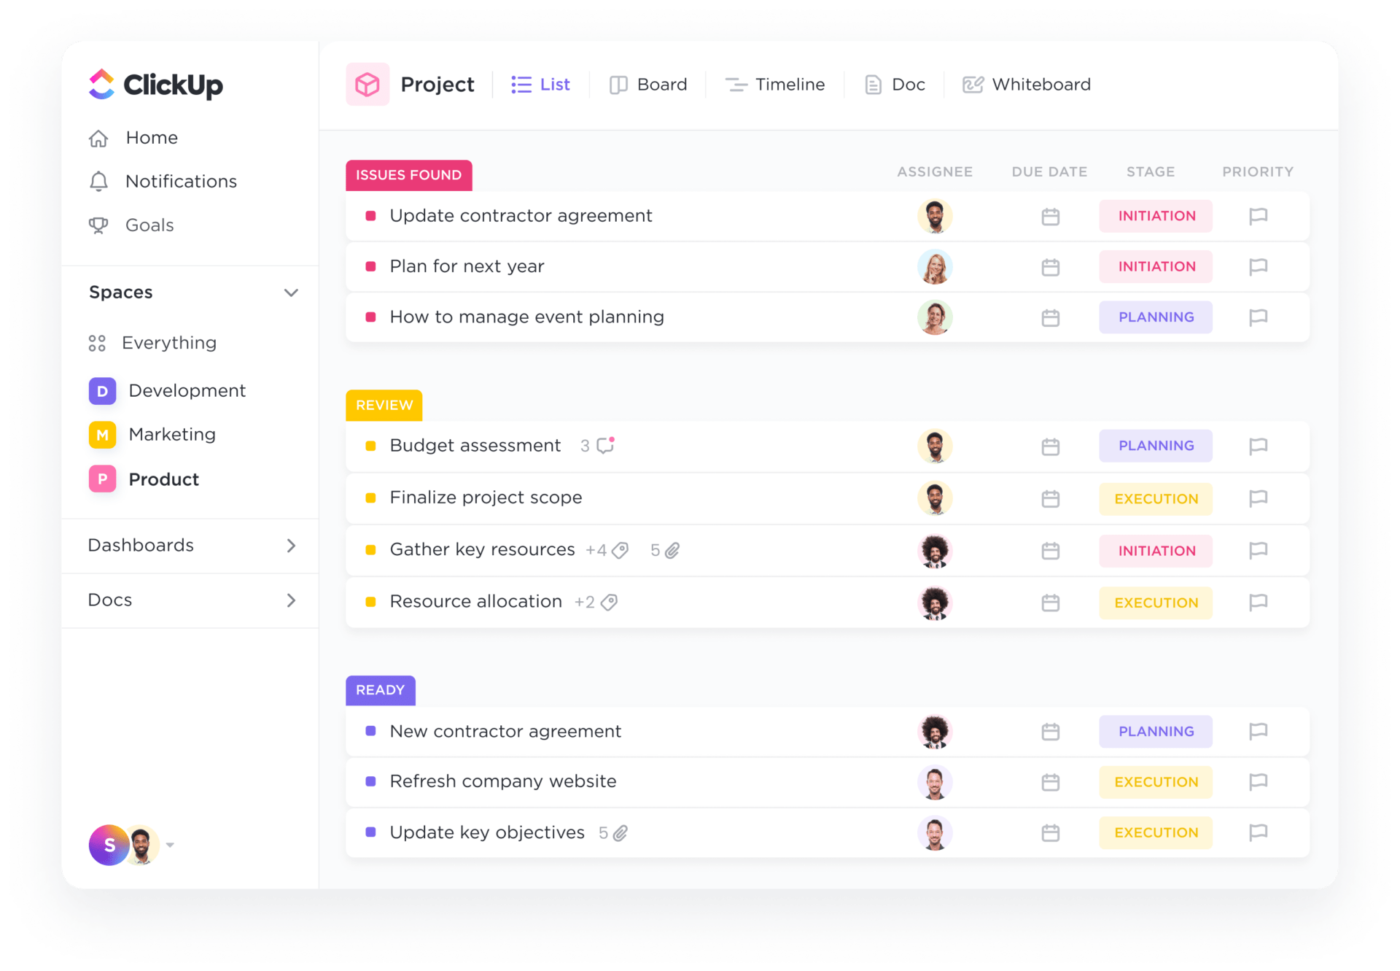
ClickUp Tasks keeps your to-dos structured, so task management never feels overwhelming. You get the flexibility and control to break down work, track progress, and keep everything in one place. Add detailed descriptions, due dates, attachments, priorities, and multiple assignees so you don’t miss anything.
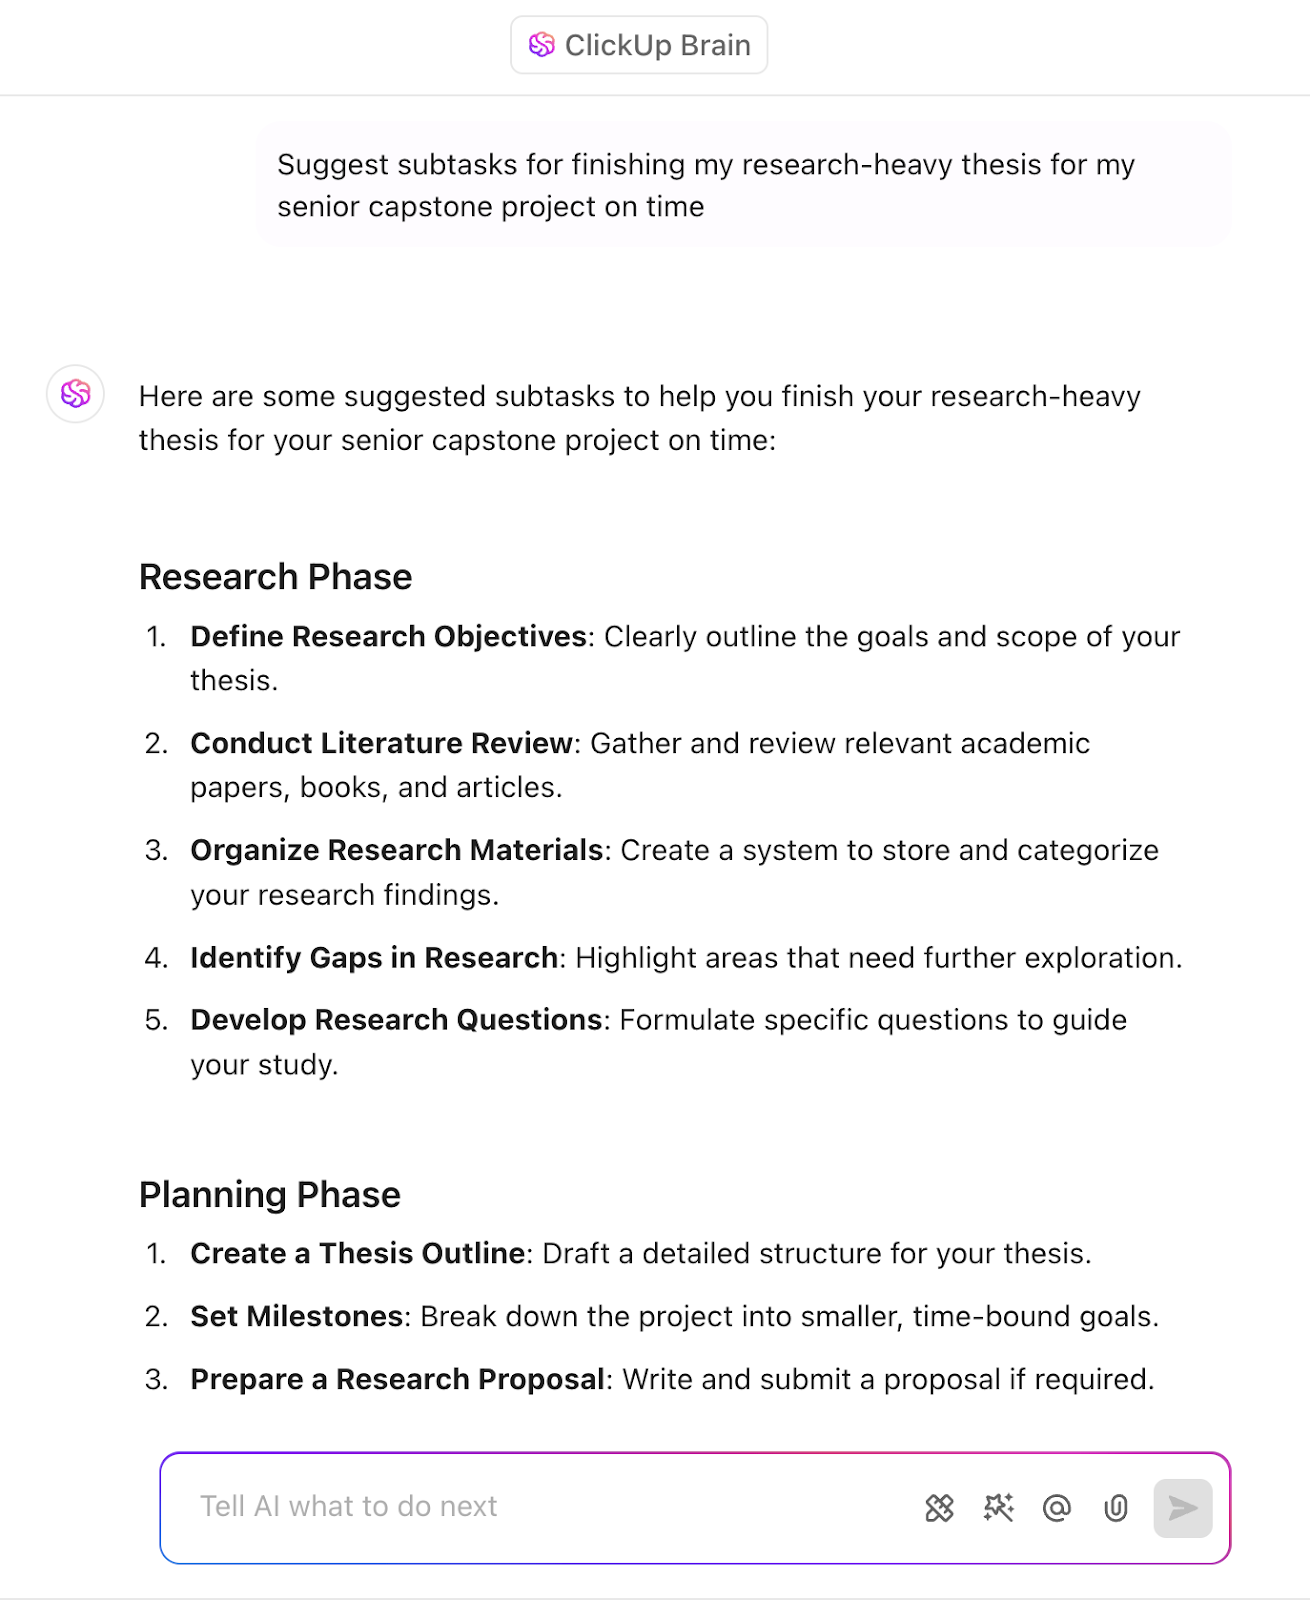
Need to break big projects into bite-sized pieces? Subtasks help you turn overwhelming goals into manageable steps in seconds.
Plus, it goes beyond task management with ClickUp Views and AI-powered ClickUp Automation. Switch between views to see what’s urgent, automate repetitive work, and even use ClickUp Brain, the built-in AI assistant, to generate task updates or subtasks.
For instance, you’re launching a new marketing campaign. In Planner, you’d create a basic task for it, assign a few team members, and…that’s about it.
But with ClickUp, you can put all your task management skills to use! Create a Launch Q2 Marketing Campaign task, add subtasks like Design email templates, and Draft social media posts. Then, you can set deadlines, assign teams, and track.
🔍 Did You Know? Ancient Egyptians planned their entire year around the Nile River’s flooding cycles, creating one of the earliest known calendar systems based on natural events.
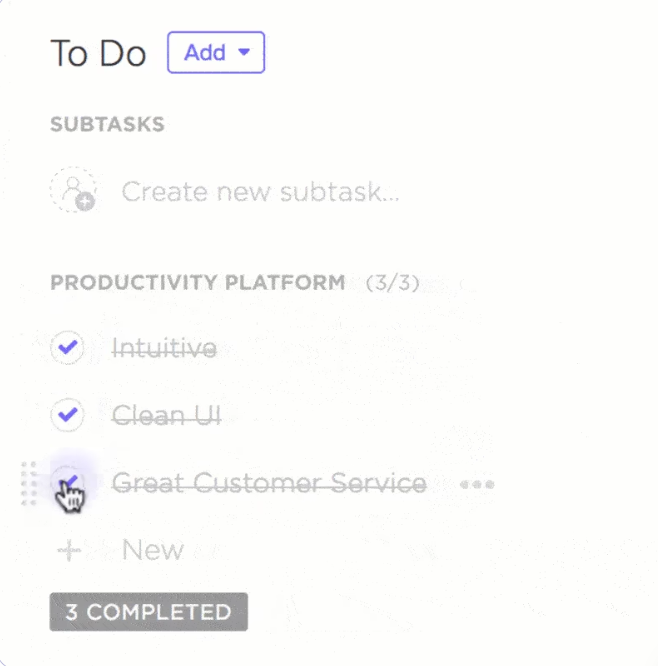
To ensure every detail is covered, rely on ClickUp Task Checklists. This feature helps teams stay organized and ensures nothing gets missed.
Each Task Checklist acts as a built-in to-do list within a task, making it easy to break down work into smaller action items. Need to delegate? You can assign checklist items to different team members, so responsibilities are crystal clear.
Additionally, progress is instantly visible as each item gets checked off, keeping remote teams aligned.
Let’s say you’re managing a blog publishing workflow. Assign checklist items like drafting, design, SEO, and scheduling team members, track progress in real time, and eliminate back-and-forth follow-ups.
⚙️ Bonus: Here’s the ultimate guide to ClickUp! Learn everything you need to know about the platform, from its capabilities as a task management software to integrations and advanced AI-powered features.
Also, watch this video on how to stay on top of your priorities:
Effortless team collaboration
ClickUp Chat enables you to ditch the app-hopping—this feature makes ClickUp unique for effortless team collaboration.
Say you’re working on a product launch, and your checklist covers everything, but last-minute feedback comes in. Instead of cluttering Slack with messages, hop onto Chat, which directly links to your tasks.

Discuss changes in private spaces or conduct quick audio or video calls with SyncUps. With integrated Brain, you can turn messages into actionable tasks with just a click. Need an urgent task update? Ask ClickUp Brain within Chat to summarize long chat threads and identify action items.
📖 Also Read: How Teams Channel Their Productivity With ClickUp
Pre-built planning templates

Staying on top of your daily tasks doesn’t have to be a struggle. The ClickUp Daily Planner Template helps you organize, prioritize, and track everything in one place—so you can focus on what matters.
With this daily planner template, you can categorize tasks into sections like Personal, Work, or Goals, making it easier to see what needs your attention. Prioritization tools help you tackle the most important and urgent tasks first, while visual trackers like graphs and charts let you monitor your progress at a glance.
🔍 Did You Know? The Eisenhower Matrix, a popular time-management method, was inspired by former U.S. President Dwight D. Eisenhower, who famously prioritized tasks based on urgency and importance.
Team Up With ClickUp
Microsoft Planner in Teams is a great way to keep tasks organized, collaborate with your team, and stay on top of deadlines.
But if you need more flexibility, automation, and advanced features, you might look for something more powerful.
ClickUp, the everything app for work, offers robust task management, real-time collaboration, and customizable workflows. You get everything you need to plan, track, and optimize your team’s work in one place.
Why settle? Sign up to ClickUp for free today! ✅

Everything you need to stay organized and get work done.
