Have you ever found yourself repeatedly formatting the same types of documents in Google Docs?
Whether you’re drafting a monthly project report, preparing a syllabus, or setting up a standard meeting agenda, starting from scratch each time can be exhausting.
What if you could skip this repetitive setup?
Google Docs templates are the key!
👋 Say goodbye to tweaking margins and headers over and over with this guide. We’ll show you how to make a template in Google Docs. We’ll also cover how to manage your template repository and introduce you to a better way to save time and ensure consistency across your documents.
How to Create a Template in Google Docs?
To begin creating your template in Google Docs, visit the Google Docs website. Open a new Google Docs file directly or navigate through your Google Drive to find the document you wish to convert into a google Docs template.
Here’s a step-by-step approach to how to create a template with your personal Google account:
Step 1: Start a new document

Open your Google Workspace account. Navigate to your Google Docs home page.
Under “Start a new document,” select the “Blank document” template to start fresh.
Alternatively, if you want to convert existing document into a template file, open it, make any necessary modifications, and then save it under a unique title to differentiate it from the original.
Step 2: Customize your template

Once you’ve opened Google Docs and accessed the document you need, customize it to your needs. This could involve adding specific text, formatting headers, or inserting placeholders for frequently changed content.
For placeholders, consider using markers like [TK name of dog] or [XX date], which are easy to search for and replace later.
Step 3: Save your document
After setting up your document with all the necessary placeholders and content:
- Click on File in the top menu
- Choose Save or Save as
- Ensure you give it a unique title that you’ll easily recognize as your template
Note: If you’re using Google Workspace, your template document will automatically be saved as you make the changes.
Step 4: Submit your template to the template gallery
To make your template accessible to others in your organization:
- Navigate back to the Google Docs home screen
- Click on the “Template gallery” located at the top
- Select [your organization’s name]
- Click on “Submit template”
- Click on “Select a document”, find the document you saved, and click “Open” in the window that appears
- Choose a category for your template and click “Submit”.
Step 5: Access your template

To find and use your newly created template:
- Go to the Template Gallery
- Click on [your organization’s name]
- Your template will be listed there for future use
📖 Bonus Read: Free Knowledge Base Templates in Word & ClickUp
Limitations of Creating a Template in Google Docs
Creating templates in Google Docs can significantly streamline repetitive tasks, but some limitations exist. Here are a few of them:
- Lack of advanced features: Google Docs templates are straightforward to use but lack some advanced features that are available in more robust document management systems or specialized software. For example, there are limited options for dynamic fields that auto-populate based on other data or complex conditional formatting
- Standardization issues: While templates ensure consistency, Google Docs does not enforce strict adherence to the template once used. Users can easily alter the format or omit elements, which leads to inconsistencies in documents that are supposed to be standardized
- Limited integration with external databases: Google Docs cannot directly integrate with external databases or systems like a CRM or a project management tool, which limits its ability to auto-fill specific information like client data or project details directly into a document
- Placeholder limitations: Unlike other document creation tools, Google Docs does not offer built-in support for smart placeholders that automatically fetch and fill in data. Users must manually search for and replace placeholders like TK or XX, which can be error-prone and time-consuming ⏱️
- Template sharing restrictions: For organizations using Google Workspace, sharing and managing access to templates is cumbersome. You might need administrative permissions to submit a template to the organization’s gallery, and controlling who can edit versus who can use the template is not always straightforward
📖 Bonus Read: Top Google Docs Cover Letter Templates for 2024
Create a Template with ClickUp
ClickUp is the perfect Google Docs alternative for overcoming the limitations commonly encountered with content tools. ClickUp Templates also offer a robust, ready-to-use solution for building and deploying templates.
With advanced features like dynamic fields and conditional formatting, ClickUp templates adapt and respond to specific data inputs, enhancing document functionality and interactivity. Our platform enforces template standardization to ensure consistent formatting across all documents.
ClickUp supports custom templates while offering extensive template sharing and control options. This is how you can ensure secure use within and outside an organization.
With ClickUp Templates, you can:
- Save Tasks, Docs, and Views as templates for repeated use
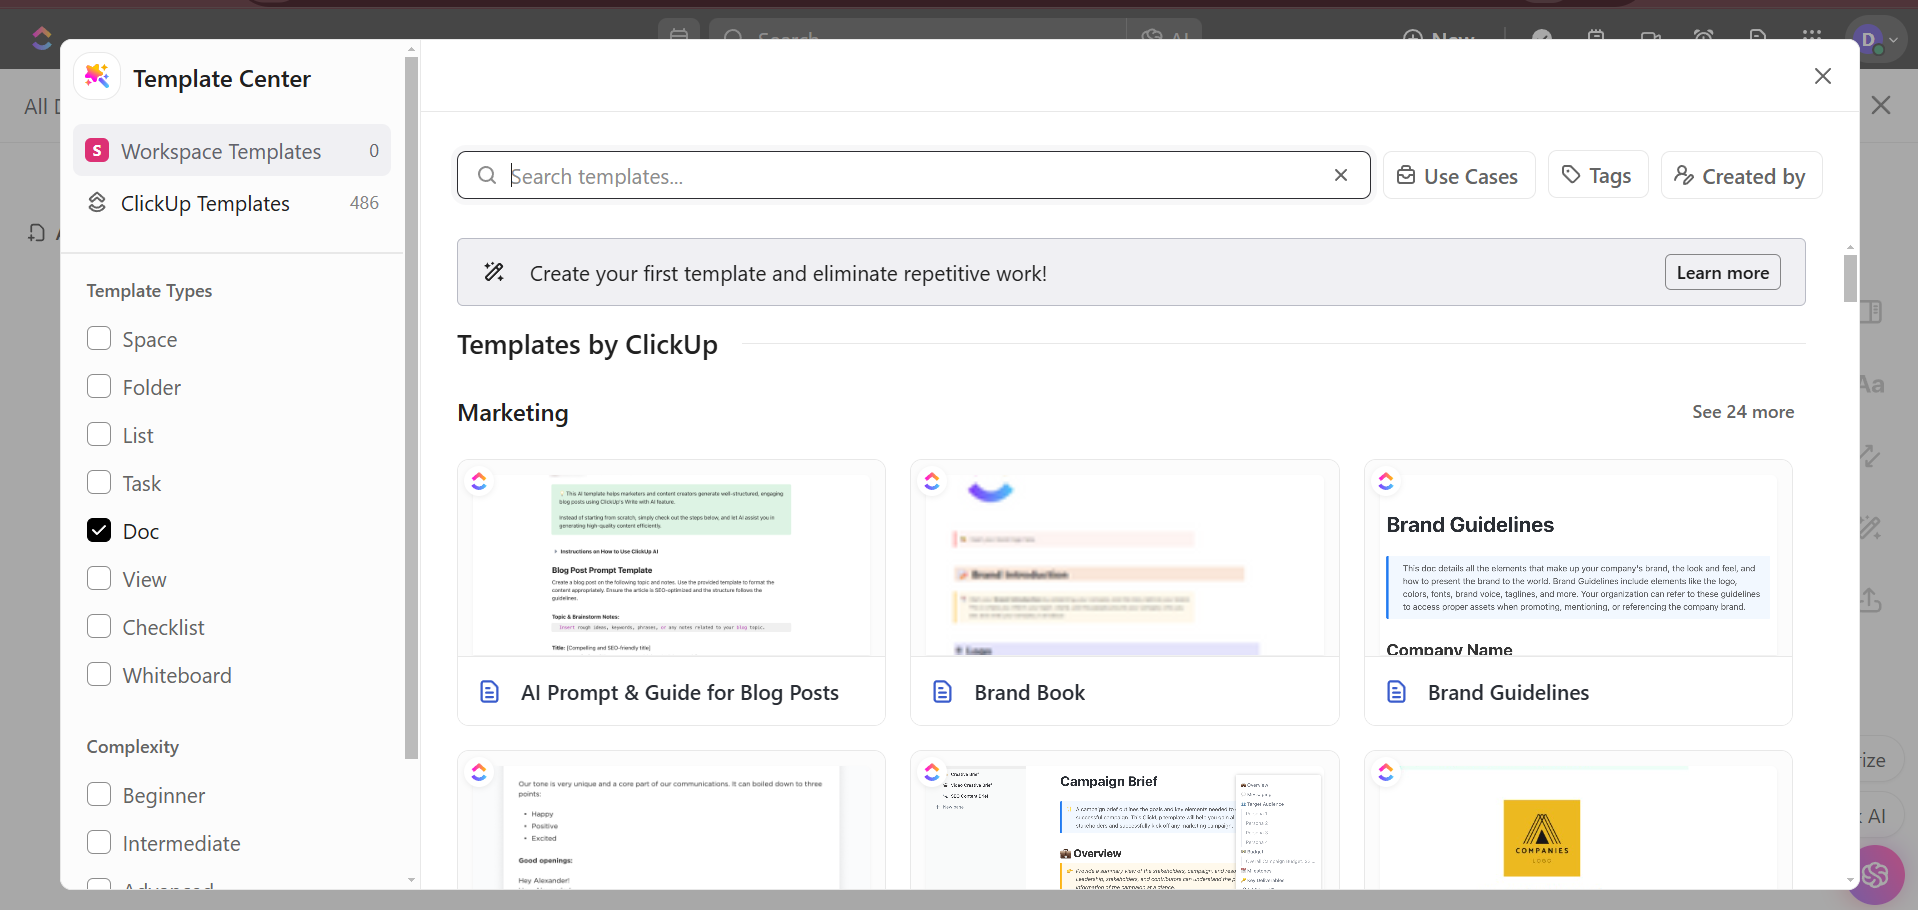
- Access a wide range of the best pre-made Clickup templates in the Template Center
- Visualize project ideas effectively with versatile Whiteboard templates
- Add preview images to templates to represent their purpose visually
- Set default Task templates for Lists to automate new Task setups
- Remap dates on Tasks within templates to align with new project timelines
- Enhance your project oversight with ready-to-use project management templates, which provide structured frameworks for comprehensive project tracking
- Share templates internally or externally to streamline collaboration across teams
- Optimize time management with customizable Google Docs schedule templates
- Track and manage template modifications and usage with the Template Center Activity Log
💡 Pro Tip: Organize complex information and streamline project planning by incorporating Mind Map templates into your workflow
How to create your template in ClickUp
Here’s how to create your custom template using ClickUp Templates:
Step 1: Open your Workspace item
Start by navigating to the item within your ClickUp Workspace that you want to turn into a template. This could be anything from a Task setup to a project plan or a Doc.
Step 2: Access template settings
Click the ellipsis (…) to open the settings menu for the item you’ve selected. From here, choose ‘Templates’, then ‘Save as Template’.

This creates a template from any existing Workspace item, providing a base that includes timelines, assignees, and important details.
Step 3: Customize your template
Customizing your template goes beyond just naming and tagging.
Once you’ve chosen a template from the Template Center, you can customize it according to your needs. Under ‘Update Existing Template’, you can decide exactly which elements of the template you want to apply.
- Selective import: Opt to import everything or customize the items you need. This feature allows you to apply settings selectively, ensuring only the relevant aspects of the template are included in your Workspace

- Advanced settings: Adjust project dates and choose whether to skip weekends, ensuring that Task deadlines fall on business days. You also have the option to import Tasks as Open or Closed and decide if archived tasks should be included or remain archived
Step 4: Organize and manage templates
Utilize the Template Center to organize your templates. Apply Tags, filter by department or creator, and even add preview images to indicate the template’s purpose.
This capability ensures your templates are easily accessible and manageable across your team or organization.
Step 5: Advanced features
ClickUp allows for the remapping of dates when applying templates, a significant upgrade over the static nature of Google Docs templates.
When you apply a Space, Folder, or List template, you can keep the original start and due dates or adjust them to fit the new project timeline.
This feature is particularly useful for project management, ensuring deadlines are always relevant to the project’s timeline.
Step 6: Share and collaborate
Templates in ClickUp can be kept private or shared with others inside or outside your workspace. This flexibility starkly contrasts with Google Docs, where sharing and permissions can be limiting.
📖 Bonus Read: How to Create a Fillable Form in Google Docs
📮ClickUp Insight: Low-performing teams are 4 times more likely to juggle 15+ tools, while high-performing teams maintain efficiency by limiting their toolkit to 9 or fewer platforms. But how about using one platform?
As the everything app for work, ClickUp brings your tasks, projects, docs, wikis, chat, and calls under a single platform, complete with AI-powered workflows. Ready to work smarter? ClickUp works for every team, makes work visible, and allows you to focus on what matters while AI handles the rest.
Enhance your template creation process with ClickUp
ClickUp Workspace offers numerous features to enhance your template creation process. Let’s look at some:
1. ClickUp Docs

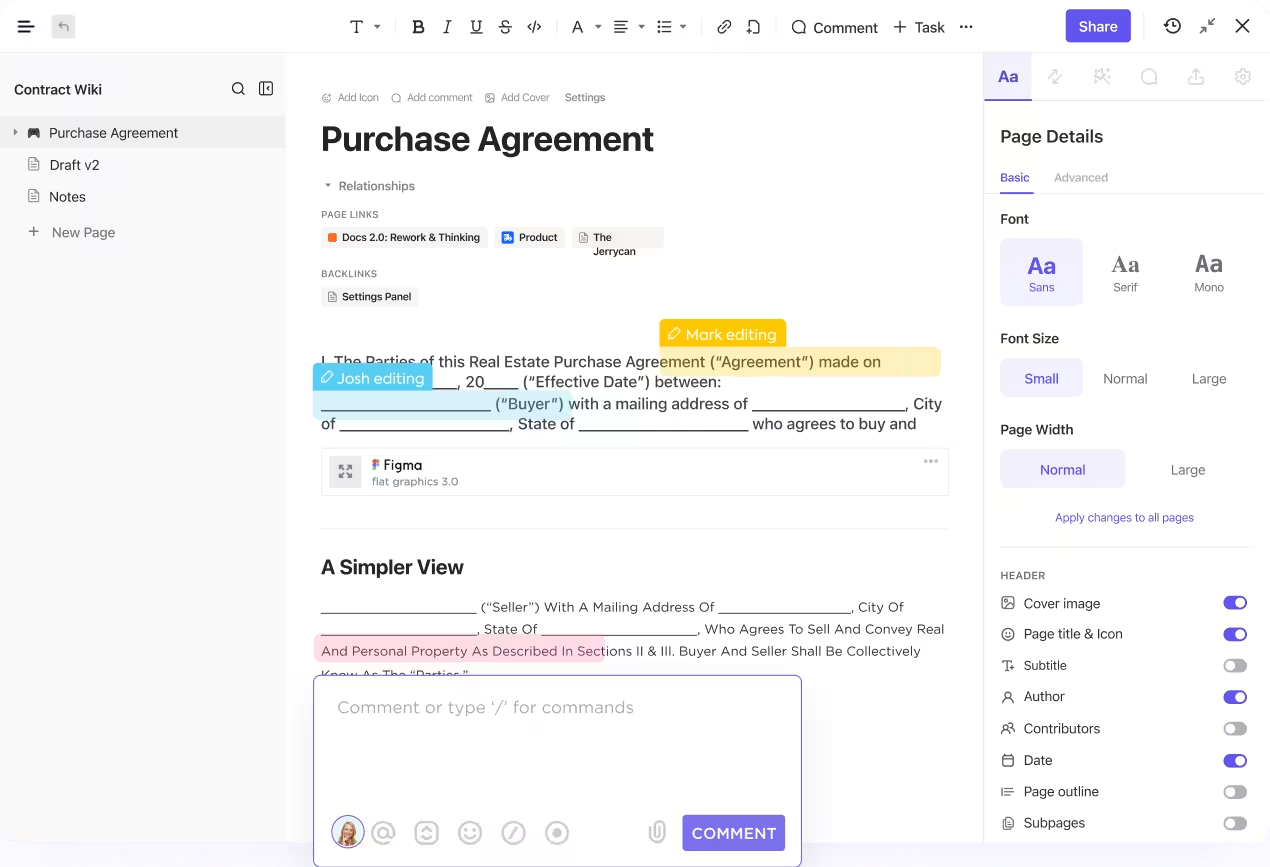
ClickUp Docs offers a seamless environment for creating, managing, and sharing documents, all of which are interconnected with your workflows.
Create and manage all your documents, wikis, and more in one place. Seamlessly integrate your documents into workflows to execute ideas efficiently. With ClickUp Docs, you can:
- Utilize extensive styling options, including nested pages, tables, and bookmarks, to create versatile documents for any need, such as roadmaps, wikis, or knowledge bases
- Work in real time with your team, utilizing comments, tagging, and converting text into trackable tasks to enhance team collaboration and idea execution
- Organize your documents effectively using verified wikis, searchable templates, and customizable sorting options to manage knowledge across your organization
- Secure your documents with comprehensive privacy controls and share them with specific team members and guests or publicly with controlled access settings
2. ClickUp Brain

ClickUp Brain is a robust AI integration designed to automate and enhance task management and templates.
ClickUp Brain leverages advanced machine learning algorithms to understand your workflows and provide predictive analytics, suggesting when to create or modify new templates to keep your processes efficient. It helps you:
- Ask questions and get instant answers from your Tasks, Docs, and even team communications, streamlining how you access and utilize information
- Automate repetitive tasks like project summaries, progress updates, and even stand-ups, freeing up time for more strategic activities
- Enhance your document creation with AI-driven writing assistance, ensuring your content is concise, clear, and contextually appropriate
- Create detailed templates for Tasks and Docs tailored to the specific needs of your projects and workflows
- Generate, fill, and update data across Docs and Tasks, ensuring your templates are always relevant and up-to-date
Bonus: How to Create a Family Tree on Google Docs!
Elevate Your Template Creation Game with ClickUp
It’s crucial to consider the template creation tool’s versatility, integration capabilities, and ease of use. ClickUp excels in all these areas, offering a comprehensive workspace that seamlessly integrates documents, tasks, and external data.
Unlike other platforms, such as Google Docs templates, ClickUp connects with CRMs and other tools, ensuring that all project components are synchronized and easily accessible within a single workspace.
ClickUp goes beyond simple template creation by providing advanced features like dynamic fields, smart placeholders, and robust template management options, which are crucial for maintaining consistency and accuracy in your documents.
Ready to revolutionize how you create and use templates?
Give ClickUp a try and experience a more connected and efficient way to manage your projects and workflows. Sign up with ClickUp today.


