


Sorry, there were no results found for “”
Sorry, there were no results found for “”
Sorry, there were no results found for “”
You’ve just finished recording a tutorial, and then you notice unnecessary toolbars, cluttered backgrounds, and awkward borders taking up valuable screen space.
It’s frustrating, right?
These distractions pull attention away from your content and make even the best videos look unprofessional. The good news is that they’re easy to fix.
With the right cropping techniques, you can clean up your video and give it a polished, professional finish. In this post, we’ll walk you through how to crop a screen recording for a sharper, distraction-free result. 🎯
Screen recordings are full of valuable content, but distractions like notifications or empty spaces can take away from the message. Cropping helps focus your viewer’s attention on what truly matters. Here’s why it’s a must for your recordings. 📃
Cropping screen recordings on Windows is simple—whether you use built-in tools or third-party software, here’s how to make your videos look sharp and professional. 💁
VLC Media Player isn’t just for playback—it’s a free, lightweight tool with handy editing features like cropping. Here’s how to crop your screen recordings:
Step #1: Launch VLC Media Player
Start by opening VLC on your computer. Ensure the application is updated to the latest version to access all the necessary features.

Step #2: Load your screen recording
Click on the Media menu in the top navigation bar and select Open File. Browse your system to locate and open the screen recording you want to crop.

Step #3: Access Effects and Filters
Navigate to the Tools menu and select Effects and Filters. This menu contains options to modify the appearance of your video.

Step #4: Go to the Video Effects Tab
In the Effects and Filters window, switch to the Video Effects tab and click the Crop sub-tab. This section allows you to enter specific values for cropping.

Step #5: Enter crop values
Enter the pixel values for the areas you want to crop from the Top, Bottom, Left, and Right.

⚠️ Heads Up: VLC doesn’t show a real-time preview for cropping, so adjust the pixel values slowly. For a balanced look, use the same value for opposite sides—Top and Bottom or Left and Right.
Step #6: Save the cropped video
Happy with the crop? Go to Media > Convert/Save, add your video, choose MP4, click the wrench for settings, enable cropping, select a folder, and hit Start to save.

Dedicated screen recording tools software for Windows often comes with built-in editing features that simplify cropping. Applications like OBS Studio, Camtasia, or Bandicam provide flexibility and visual controls.
Let’s walk through how you can use them:
Step #1: Select the right software
Choose a screen and webcam recording tool with cropping functionality. OBS Studio and Camtasia are good options for advanced users, while Bandicam offers a beginner-friendly interface.

Step #2: Open the software tool and import your recording
Launch your chosen software and load your screen recording. This option is typically located in a menu like File > Open or Import Media.

Step #3: Locate the cropping tool
Explore the screen recorder tool’s editing options to find the snipping tool. Look for tabs or menus labeled Edit, Trim, or Crop. Most tools provide an easy-to-identify cropping icon or button.

Step #4: Define the area
Use the selection tool to highlight the specific area of the video you want to retain. Depending on the tool’s capabilities, you can drag the edges or enter the exact dimensions to adjust the cropping box.

Step #5: Apply and preview changes
Confirm the crop and preview the edited video to ensure it meets your expectations. Some tools offer a split-screen view to compare the cropped version with the original.

Step #6: Export the cropped video
Once cropped, save the video with Export or Save As. Pick a file format and quality, like MP4, which offers good quality and smaller file sizes.
macOS offers intuitive video editing tools, making it simple to crop screen recordings. Whether you’re using iMovie, online editors, or screen recording Chrome extensions, you can easily create a polished final product.
Here’s a step-by-step guide to cropping a video on macOS. 💫
iMovie is a great video editing tool pre-installed on macOS. It provides solid cropping capabilities, making it a video editor ideal for focused screen recordings.
Let’s look at the steps:
Step #1: Create a new project
Launch iMovie from your Applications folder or Spotlight Search. Click Create New and select Movie to begin a new project. This will open a blank workspace for editing.

Step #2: Import your screen recording
Click the Import Media button. Navigate to your screen recording file, select it, and click Import Selected. Drag the imported video from the media library into the timeline at the bottom of the screen.

Step #3: Select the clip for editing and access cropping tools
Click the video clip in the timeline to activate the editing tools, and a border will appear around it. In the preview panel, click the Crop to Fill button, and an adjustable frame will appear over your full video clip.

Step #4: Adjust the cropping frame and preview
Drag the edges of the frame to focus on the area you want, keeping the aspect ratio consistent for a balanced look. Preview the crop using playback, and once you’re happy, click Apply to finalize.

Step #5: Export the cropped video
Click the Share button in the top-right corner of iMovie. Choose File or another export option like YouTube, adjust the resolution and quality, and then save and upload the file to your chosen location.

💡FYI: If your video has standard dimensions, use the default aspect ratios for faster editing.
QuickTime is a simple media player with basic editing functions like trimming. While it doesn’t have cropping tools, it works well alongside other Mac screen recorders for a smooth workflow.
Let’s see how you can use it:
Step #1: Load the screen recording
You can find QuickTime Player in your Applications folder or search for it with Spotlight Search. Click File > Open File… and select New Screen Recording.

Step #2: Record the video
To remove unwanted sections from the start or end of your video, click Edit > Trim. Adjust the yellow trimming handles in the playback bar to isolate the desired portion. Press Trim to apply changes.


You can even adjust the playback speed of the recording.

Step #3: Save the edited video
Click File > Export As to export the trimmed video and choose a resolution like 1080p or 720p. Since QuickTime doesn’t crop videos, open the exported file in iMovie or third-party software to crop further as needed.

🔍Did You Know? QuickTime was originally developed by Apple in 1991 and was one of the first media players to support streaming video over the Internet. It paved the way for modern video players and editing tools!
When editing on a laptop isn’t convenient, like when you’re traveling, short on time, or without access to your computer, your phone becomes the perfect alternative online video editor.
iPhone and Android devices offer built-in tools to crop screen recordings or remove distractions. Let’s look at how! 💪
iPhones have standard editing tools to help you refine a tutorial or enhance a presentation. The built-in Photos app offers an intuitive way to adjust your recordings. Let’s understand how you can use it:
Step #1: Go to the Recents folder
Launch the Photos app from your home screen and navigate through your albums or the Recents folder. Here, you’ll find the screen recording you want to crop.

Step #2: Select the video and access editing tools
Tap the video thumbnail to open it in full-screen, then click the Edit button in the top-right corner to access the editing tools, including the crop tool.

Step #3: Use the Crop tool
Tap the Crop icon, which resembles a square with overlapping lines, at the bottom of the screen. A grid overlay will appear on your video.
Drag the grid’s corners or edges to focus on the area you want to keep. Tap the Aspect Ratio button in the right corner to select predefined aspect ratios such as 16:9 or square.

💡Pro Tip: Zoom in and out with two fingers for precise cropping. For social media, keep a consistent aspect ratio for a polished look.
Step #4: Save changes
Once satisfied, tap Done to save your edits. The cropped version will replace the original, but you can select Revert to Original in the edit menu to restore the previous version.

💡Pro Tip: Save a copy of the original video before editing to keep an untouched version for future use.
Android devices commonly use the Google Photos app to edit screen recordings. Let’s explore how you can use it:
Step #1: Enter Edit mode
Once you open the Google Photos app from your app drawer, browse your gallery to locate the screen recording. Tap on the video thumbnail and select the Edit icon at the bottom of the screen. This will take you to the app’s editing interface.

📌 Quick Tip: Download videos from Google Drive to your device before editing, and keep your app updated to access all the latest editing features.
Step #2: Open the cropping tool
Tap on the Crop option. A grid overlay will appear, allowing you to crop the video. If the cropping tool doesn’t appear, check your app permissions or try a third-party app like KineMaster or CapCut.

Step #3: Crop your video
Drag the white circles or lines at the grid’s edges to adjust your video’s frame. To maintain a specific aspect ratio, tap the aspect ratio icon, which looks like a rectangle with arrows, and choose your desired ratio.

⚡Quick Tip: Stick to the 16:9 aspect ratio for YouTube and 1:1 for Instagram to ensure your videos look great on both platforms.
Step #4: Preview edits and save the video
Tap the Play button within the editor to view the cropped video. Check for any unintended cuts or areas you missed. A great tip is to watch the video in full-screen mode to ensure the cropped section aligns with your intended focus.
Tap Save Copy at the bottom of the screen. This creates a new file with the cropped edits, preserving the original version. Rename the cropped file to differentiate it from the original, especially if you’re managing multiple versions of the same recording.
📖Read More: Project Management for Video Production
For a more polished look and better platform fit, try these advanced cropping techniques:
More tips for creative cropping⚒️:
Tired of the mess that comes with managing screen recordings? We’ve all been there—scrolling through countless files, trying to figure out where everything is. It’s a productivity nightmare.
That’s where ClickUp comes in. As the everything app for work, it brings your tasks, documents, conversations, and—you guessed it—screen recordings together in an AI-powered platform. Organize, manage, and streamline your screen recording workflow without any extra hassle. Whether you’re making tutorials, documenting processes, or collecting feedback, ClickUp helps you keep everything in one place.
Here’s how ClickUp can make your life a whole lot easier. 👇

The constant back-and-forth and awkward scheduling for live video calls can be frustrating. ClickUp Clips eliminates this hassle with seamless async video communication.
Instead of waiting for everyone to be free or typing out long explanations, just hit the next Record Clip button and send your message whenever it works for you. Whether you’re sharing updates, giving instructions, or providing feedback, Clips lets you communicate clearly without the need for real-time conversations.
And the best part? Clips is fully integrated into ClickUp, so your videos are attached to tasks, comments, or documents, making it easy to keep everything in context. You can record audio narrations as well as your webcam and screen at the same time.
Plus, the Clips Hub collects all your recordings under one umbrella, so you can find the right one in seconds.

If you’ve ever found yourself rewinding a video over and over just to catch that one key detail, ClickUp Brain is here to make your life easier.
Integrated directly into ClickUp, this AI-powered assistant transcribes your Clips automatically, creating a searchable text version with timestamps. No more scrambling to find that specific moment in a video as it indexes every spoken word for easy reference.
You can even ask Brain questions about the transcripts, making it feel like you have a personal assistant to help you take notes from a video.

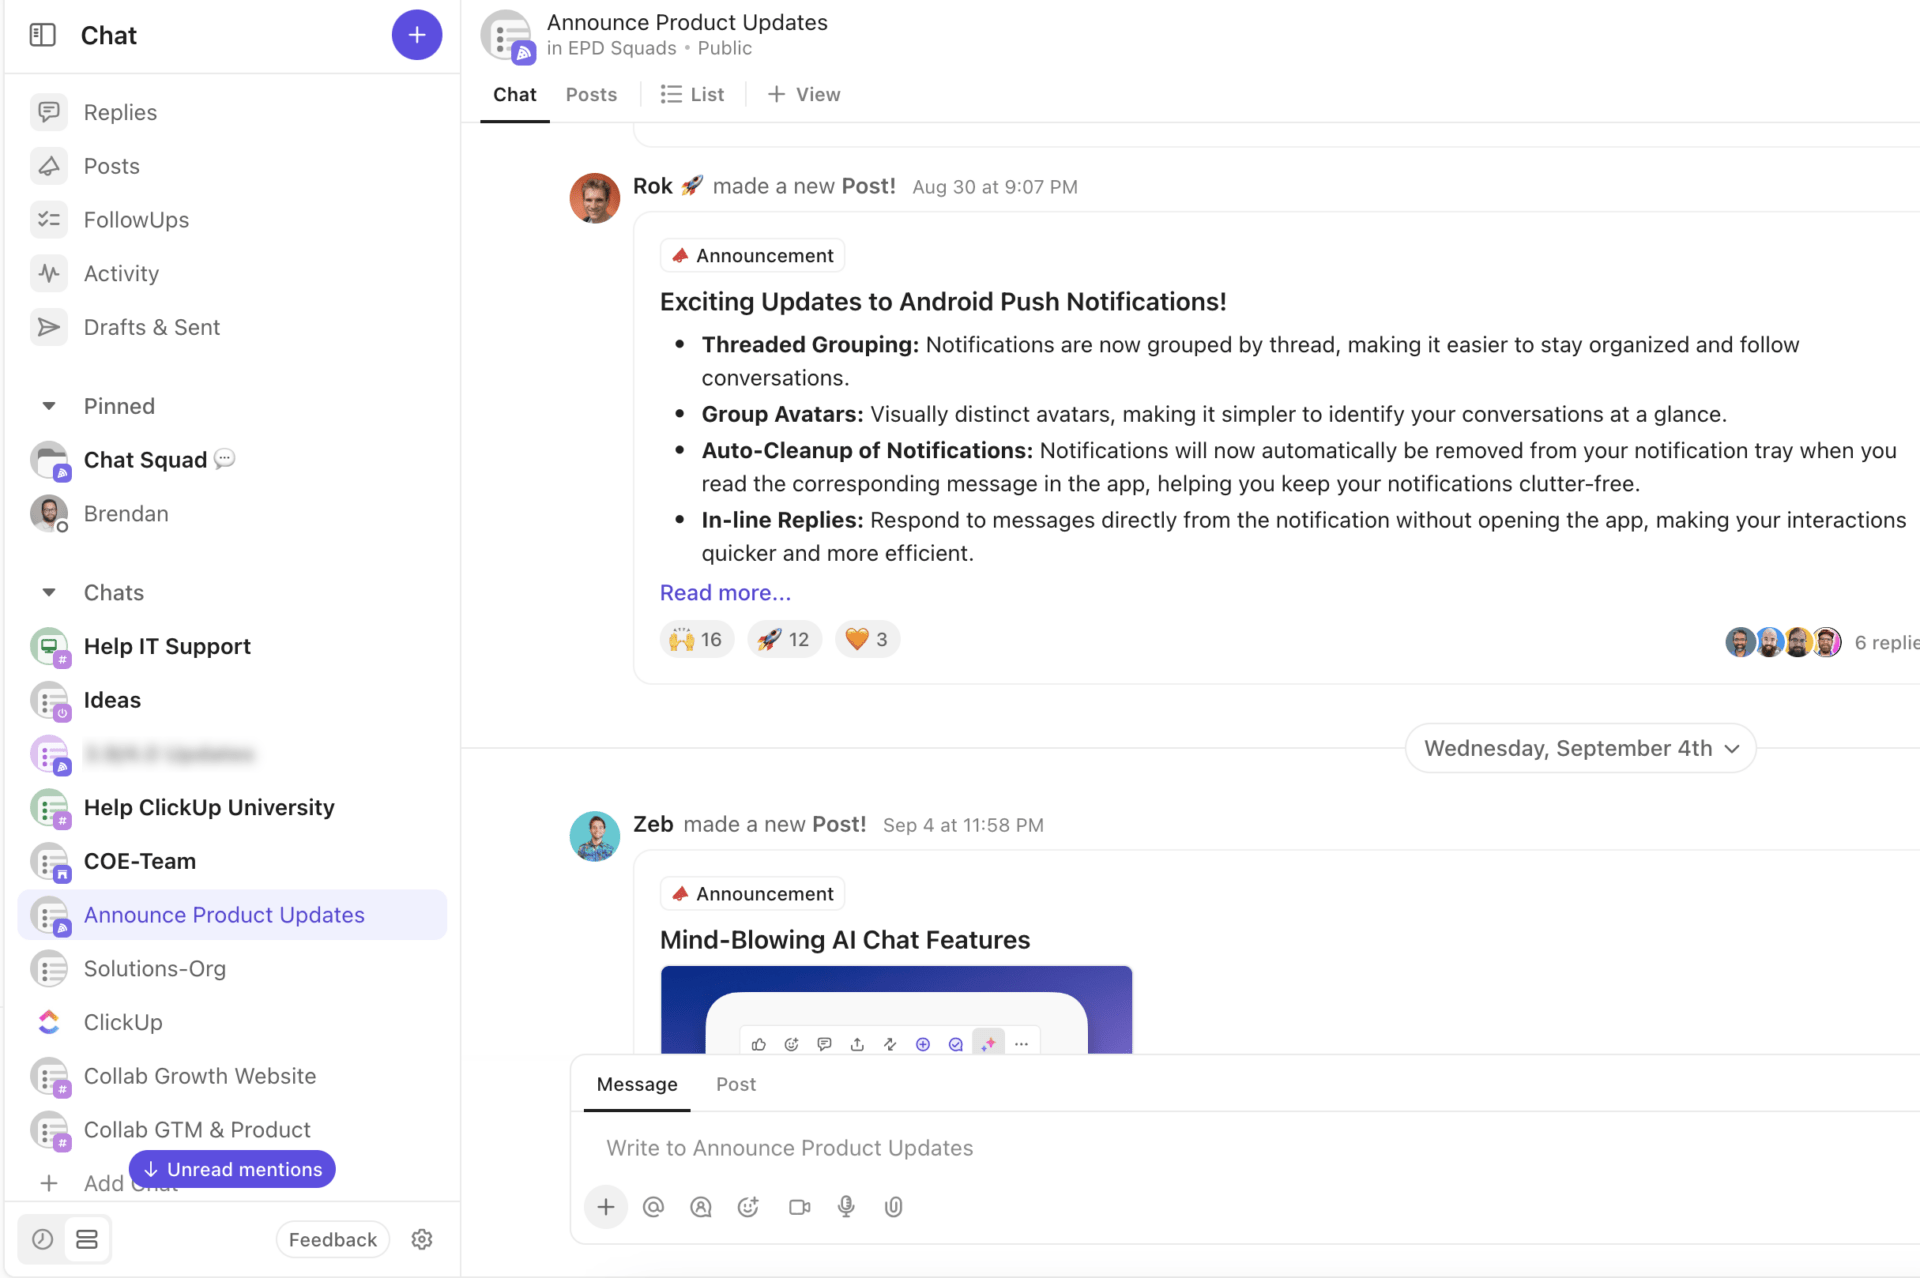
Keeping track of feedback and updates across multiple platforms can be a nightmare, especially for screen recording projects where communication and tasks need to stay in sync. That’s where ClickUp Chat comes in to save the day.
📮ClickUp Insight: About 41% of professionals prefer instant messaging for team communication. Although it offers quick and efficient exchanges, messages are often spread across multiple channels, threads, or direct messages, making it harder to retrieve information later.
With an integrated solution like ClickUp Chat, your chat threads are mapped to specific projects and tasks, keeping your conversations in context and workplace collaboration on track.
Example➡️ In a screen recording project, a team member might share feedback on a Clip in the Chat. The message gets turned into a task, so the person responsible for updating the video can easily take action, all without leaving the chat.

Additionally, Announcements make it easy to share updates, like finalizing new recording schedules or introducing new editing guidelines, keeping everyone in the loop.
AI Task Creation in Chat automatically turns conversations into actionable tasks, simplifying the process of capturing the next steps during screen recording edits or content alignment discussions.
And, with AI CatchUp, team members can get quick, concise summaries of ongoing chats without scrolling through long chat histories to catch up.
Editing a screen recording is easy with the right tools. With iMovie and QuickTime, you can easily crop, trim, and refine your videos to ensure they focus on what matters most. From tutorials and presentations to creative content, your polished videos will leave a lasting impression.
Beyond basic editing, tools like ClickUp Clips bring added efficiency to your workflow. From transcribing with ClickUp Brain to collaborating with your team using Chat, the ‘everything app for work’ ensures that every part of your project stays connected and streamlined.
Sign up to ClickUp for free today!
© 2025 ClickUp

