

In an ideal world, all your projects would unfold exactly according to plan—but in reality, even the best-planned projects sometimes require changes. As a project manager, your job is to manage any change request so your team can continue working seamlessly toward meeting your project objectives. 🎯
With that in mind, let’s explore why it’s so important to stay on top of the change management process. We’ll also learn how to create and manage change request forms to ensure the successful delivery of your project, on time and within budget.
What is a Change Request?
A change request is a proposal to modify a system, a product, or—as we’ll focus on today—a project plan that’s already in place. It’s usually initiated by project stakeholders, for example, a client or team member.
The alteration can be to any aspect of the project, from major changes like a shift in the agreed-upon deliverables or the business processes involved to more minor adjustments like the project schedule itself.
A change request is often necessary when a client’s needs change due to internal or external shifts affecting their business, resources become unavailable, or phases of a project take longer than expected. 🐌
Importance of Change Requests in Project Management
While small changes can often be made quite easily, large changes that affect the project’s scope are another matter. If they’re not managed carefully—and sometimes even if they are—a project change request can cause major disruption. 🚧
Depending on the scope of the change, they may:
- Require extra resources in the form of personnel or equipment, which can have a ripple effect on the availability of those resources for other projects
- Substantially add to the planned budget, which you’ll need to justify to clients or exec-level management
- Push out timelines way beyond your original due date, which may affect the project launch or other projects that resources are committed to
- Start a pattern of ongoing scope creep, which can soon get out of hand
- Impact the workflow and morale of your project team, especially if the change is not well-communicated
These are just some of the reasons why it’s so important to have a formal process in place to manage and monitor change requests.
Benefits of Formal Change Request Processes
A change request process formally documents change requests and ensures the correct procedure is followed every time. It makes it easier to assess the potential impact of the change on your project deliverables as well as your resources, budget, and timelines.
Then you can decide whether to approve the change request or not. Or if someone else is responsible for approval, it gives them the information they’ll need to see and helps you track the approval process. ✅
But it doesn’t end there. Once it’s time to implement an approved change, change request forms provide the information you need to adjust your project management plan.
And last but by no means least, a good change request process keeps all your stakeholders in the loop, so everyone understands what the change is, why it’s happening, and how it will affect them.
Examples of Change Requests
project managers need to deal with several different types of change requests. Proposed changes might include:
- Amendments to the original deliverables or scope of the project to keep up with market changes, product availability, or request additional resources
- Enhancements or upgrades to improve the user experience as new technology becomes available
- Reworked systems or design elements as a business’s brand or product offering evolves
- Improvements that streamline internal processes and save time or money
- Corrections of errors or system faults that have been discovered
- Preventative measures to reduce the impact of risks that have been identified late in the process
- Adjustments to systems to align with the latest Information Technology Infrastructure Library (ITIL) best practice
How to Create a Change Request
When it comes to creating a change request, there are two main steps: brainstorming and submitting your change request. Let’s take a look at each one.
1. Brainstorm the scope of the change
Begin by brainstorming everything you need to consider around your new feature and the scope of the change. When you brainstorm first, you’ll have all the details you’ll need to submit a complete change request. 🤔
Use this prep time to make sure you’re clear on exactly what the new feature is and how it works. Then go into detail about the value it will add and how important this is.
To maximize your chances of getting your change request approved, it can be helpful to put yourself in the shoes of the change approver during this step. Think about what would motivate them to say yes to your proposal. For example, will this change improve functionality, attract new customers, streamline internal processes, or save or make money?
Create an overview of the implementation process and timing of the change as well as the additional resources you’ll need and how much this change will cost. Also, consider how it might affect other elements of your website.
You might need to consult colleagues with specific expertise—for example, your IT department—to get more detailed information here.
Helpful tools for the brainstorming step
You could do your brainstorming the old-school way with a piece of paper and a pen or work electronically on a Word document. Or you could save yourself a whole lot of time and effort and use ClickUp.

This online project management and productivity platform offers several handy tools for this step:
- Docs: ClickUp Docs provide a space to gather your thoughts and wrangle them into a structure that makes sense
- Whiteboards: If you think better with visual tools, try a ClickUp Whiteboard to generate ideas and connect them so you can see the big picture
- Collaboration: ClickUp makes it easy to collaborate with teammates. You can work on documents together in real time, even if you’re not in the same room (or country). Tag your colleagues so they can add their thoughts when they log on later
- Tasks: To save even more time, ClickUp allows you to take text from any of these tools, turn it directly into a trackable ClickUp Task, and assign it to a team member
- Connection: All of your Docs, Whiteboards, and Tasks are linked to your project, so you can always find them again
2. Create and submit your change request form
Now you’re ready to create your actual change request. 📝
Use all the information you’ve gathered to fill in a formal change request form. You’ll most likely need to provide information like this:
- Project name
- Project location
- Names of team members (include roles like the project manager, contractor, or engineer)
- A comprehensive description of the change being requested (Include any features and functionality involved)
- Reasons for the scope change, giving enough detail here to encourage the request approver to sign off
- Priority level of the change (how urgent and important you believe the change is—or if it would simply be nice to have)
- Impact on the scope of work and how it will affect the wider project
- The cost of the change and its impact on the project budget
- Impact on the project timeline, such as whether it will affect any dependencies and/or the project completion date
- Impact on the project resources, such as if extra resources are required and the specifics about what exactly will be needed
- Impact on the team members who are stakeholders in the project
- Any other impacts or important information
When you’re ready, submit your change request.
Helpful tools for creating and submitting your change request
Once again, ClickUp can help here, with two ways to create a change request:
- Change request generator: The ClickUp Project Change Request Generator uses advanced AI functionality to help you generate and manage change requests. Pre-built templates and customizable fields ensure you capture all the information that’s needed
- Change request template: Alternatively, you could go directly to the ClickUp Change Request Template, and add it to your workspace. This ready-made change request form is free and easy to use. Simply fill it in and submit it
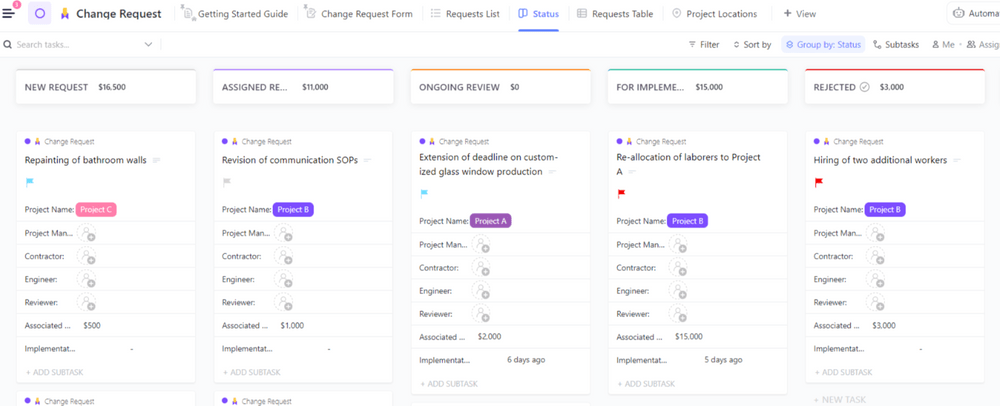
When a change request is submitted on the ClickUp platform using either of these methods, the request gets added to your workspace and filed according to the project you’ve specified. Each section of the change request form creates a custom field containing the relevant information, so you can always view the request details. 🔎
3 Tips for Creating a Change Request
Now that you’ve got the basics down, let’s look at some ways to take your change request process to the next level.
1. Write like a pro

The ClickUp AI writing assistant helps you write more clearly and concisely, so go ahead and use that to fine-tune the content of your submission.
2. Customize and share the change request form
The ClickUp Change Request Template is fully customizable. 🪄
You can edit fields, remove them from the form if you don’t need them, or add extra fields you’d like to see. For example, you may want to include fields for the requestor’s department, role, or phone number.
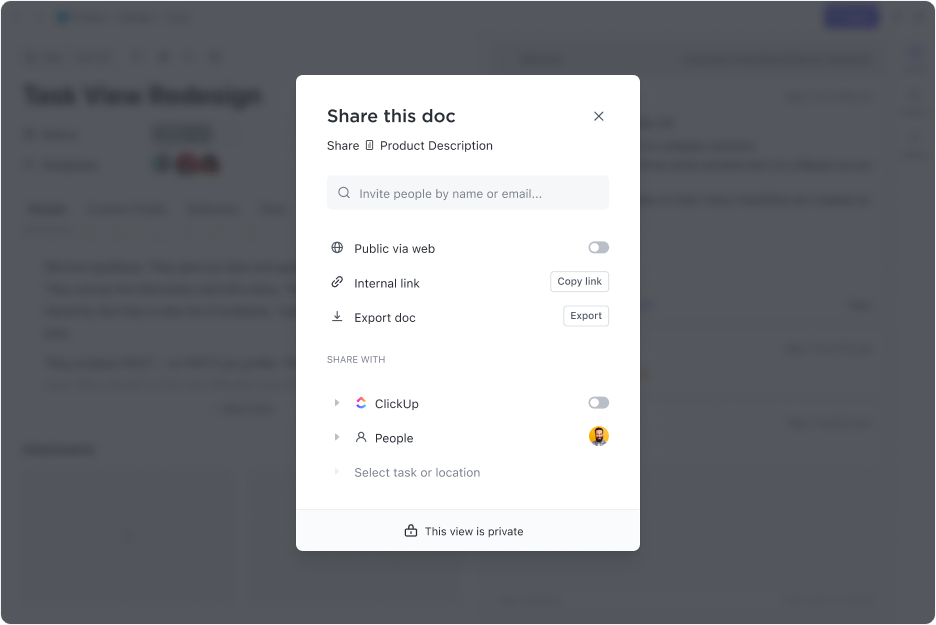
Once you’re happy with the form, you can share it with your team or upload it to your website for anyone to access.
3. Continually fine-tune your process
Every time you complete a change request, look for ways to improve the process even further. Your goal is to create a standard format and process that you and your team can follow every time you’re considering making a change.
How to Manage Change Requests
Staying on top of your change request forms takes some effort—and if you’re juggling multiple change requests, it can become overwhelming. 👀
You could try to manage them using a Word or Excel document. However, if your project or the proposed change is significant, manual methods soon become unworkable.
Luckily project management software and process automation tools streamline every aspect of the change request process, no matter how big or small your project is.
Once again ClickUp comes into its own here, giving you a clear view of all your change requests. It also helps you track where each one is in the process and communicate that to your team.
A choice of view formats
With ClickUp, you can see and manage all the change requests you or your team have submitted. You even get to choose the format you see it in.

For example:
- The Change Request Form view allows you to submit new requests
- The Request List view shows you all the change requests in process, arranged by project
- The Status Board view gives you the real-time progress of each request, arranged by status
- The Request Table view displays all your change requests by priority and gives you access to detailed request information
- The Project Location view indicates the project locations of each request 🌎
Statuses to track progress
Once your change request has been submitted, it’s important to keep track of its progress as it moves through the stages of the approval process. You can do this by updating its status in the view format of your choice.
Status options in ClickUp include:
- New Request
- Assigned Reviewer
- Ongoing Review
- Rejected
- For Implementation
- Implemented
You can also create custom statuses to fit your process.
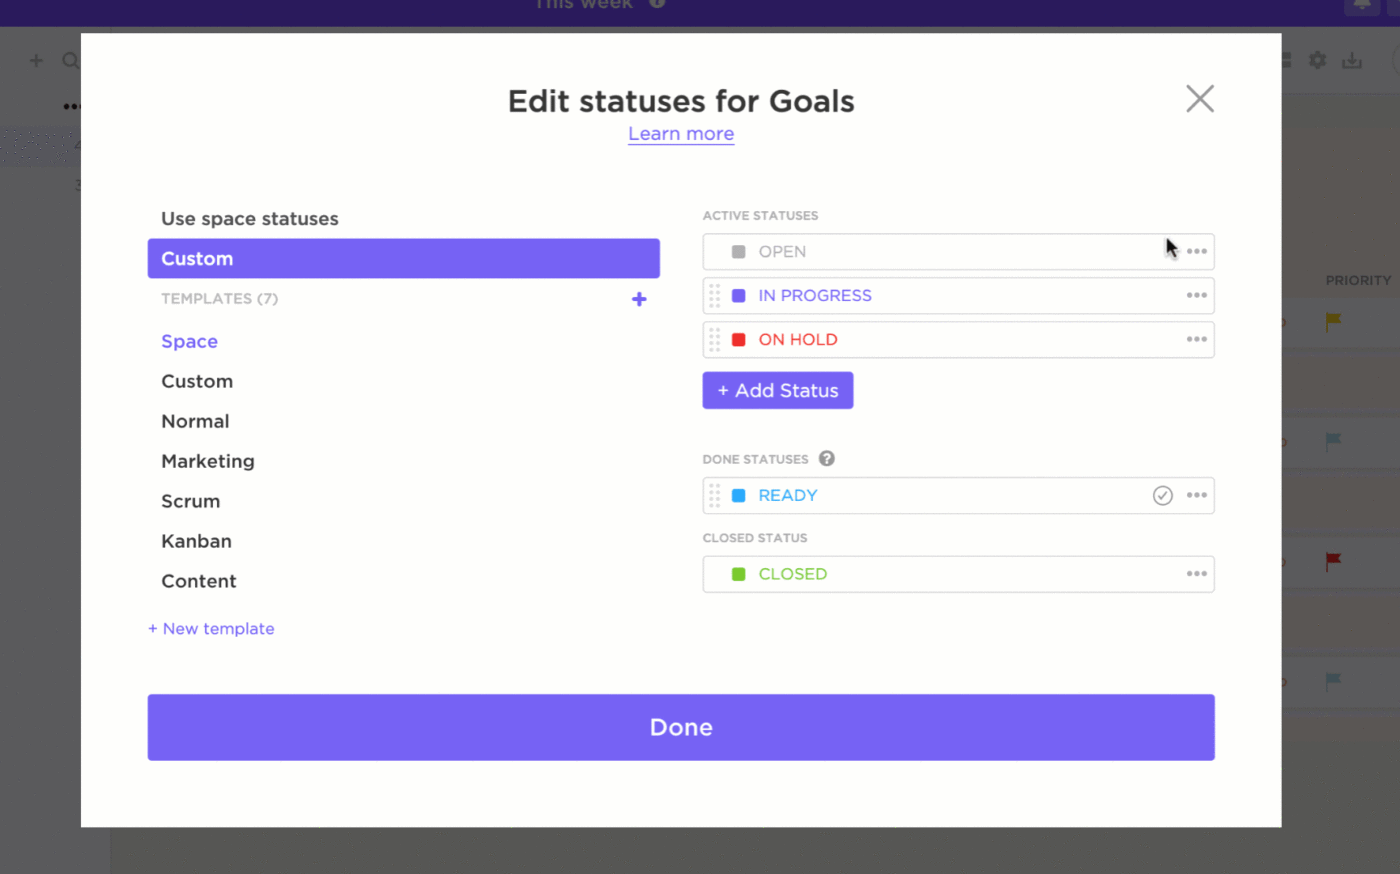
When a change request is finally approved, simply use the information already on the system to create ClickUp Tasks for implementation. Then track their progress to completion.
Clear communication
ClickUp simplifies project communication, doing away with emails and other easily lost documents so your team can stay on the same page.
The view and status options we’ve discussed above can keep your team and other stakeholders up to date on change requests at a glance. You can also set up automated notifications that trigger when statuses change.
And with User Roles and Permissions, you get to choose who sees what. For example, you may give your team members access to all the change requests you’re working on, while clients only get access to the projects they’re involved in.
What Else can ClickUp do?
ClickUp’s capability doesn’t end there. As a top-rated productivity and project management tool, it streamlines every aspect of your business, saving you energy, time, and money. 💸
For example:
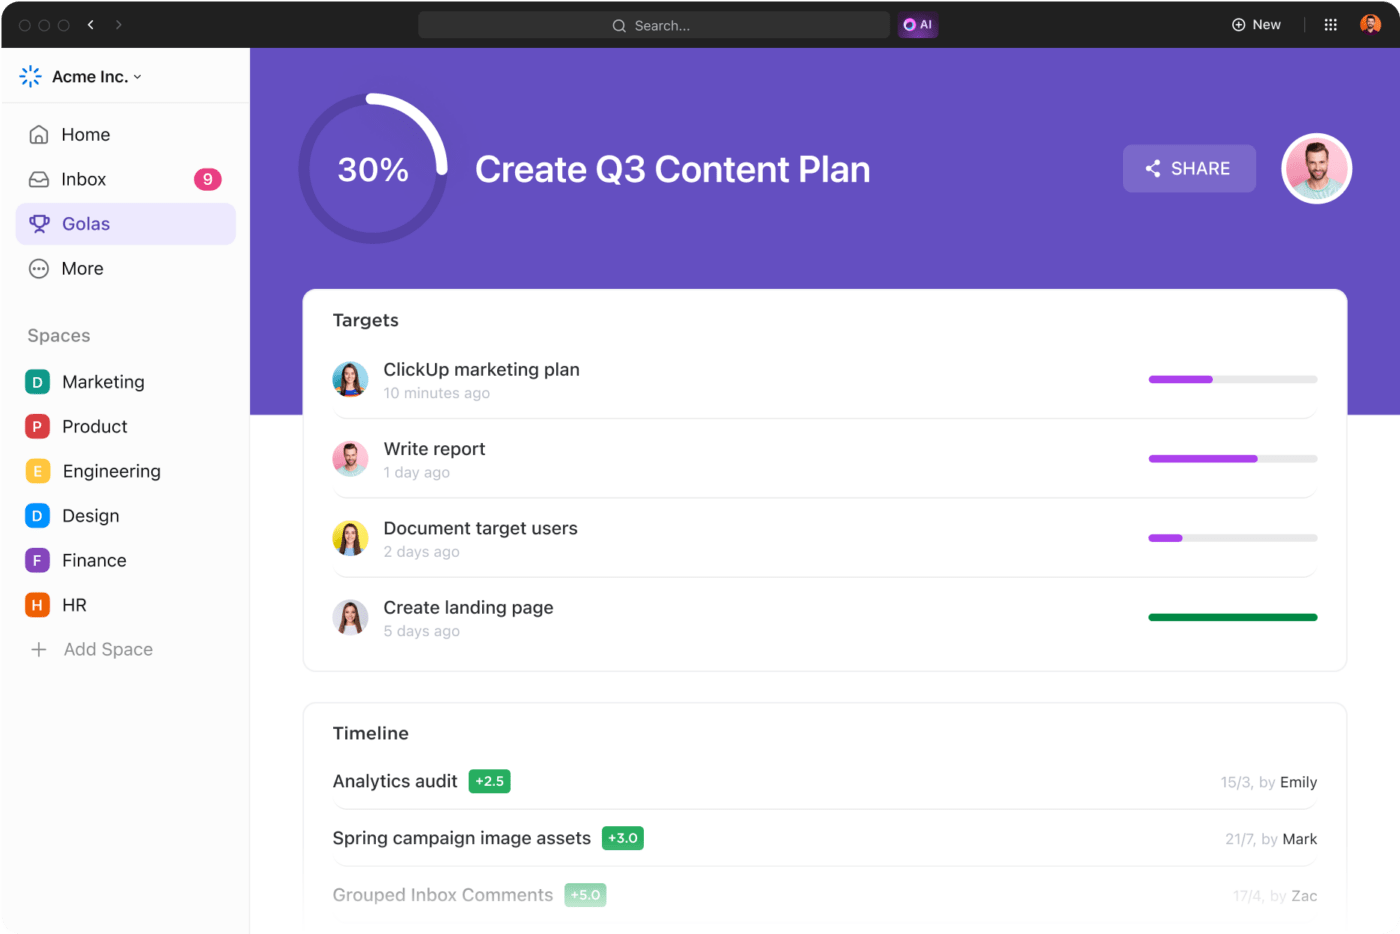
- Set ClickUp Goals and use those to develop your strategy and project plan, then track your progress against them
- Take advantage of the extensive template library to write your project scope, plan your communication or your budget, or update your stakeholders on project progress
- Use ClickUp’s AI writing assistant to draft and manage your proposals or craft targeted social media content
- Automate all your projects with project management templates that help you plan, prioritize, implement, and track progress
- Chat with your team in real time or asynchronously, no matter where they are
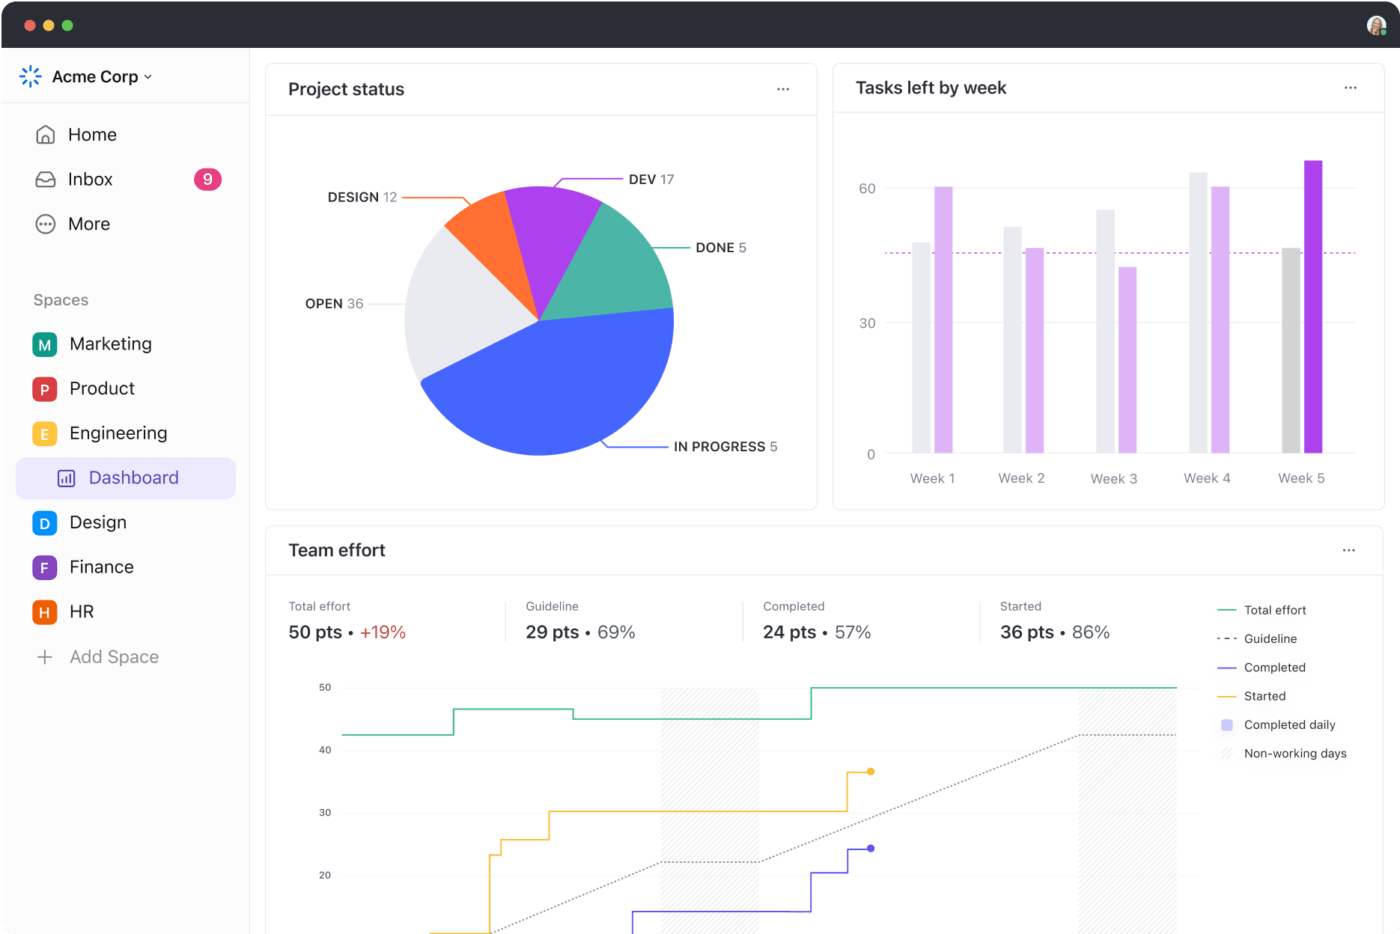
- Stay on top of all your projects and tasks with the customizable ClickUp Dashboard
- Connect ClickUp to other elements of your tech stack with a wide range of integrations, including Asana, Google Drive, Slack, Teams, HubSpot, or Microsoft Outlook
Streamline Change Requests With the Right Tools
Change requests are proposals to modify a project plan, product, or system. They’re almost inevitable in any project or business, and they can impact project scope, budgets, and time frames.
To make sure those impacts are positive rather than disruptive, you need a well-managed change request system. A system that makes it easy to submit requests, track their progress, and maintain clear accountability and transparency throughout.
ClickUp does all this and more. From a customizable change request form through to approval and implementation, ClickUp streamlines the change management workflow, saving you time, money, and hassle. 🤩


Questions? Comments? Visit our Help Center for support.