Sorry, there were no results found for “”
Sorry, there were no results found for “”
Sorry, there were no results found for “”
Ever watched a vlog and thought, ‘I could totally do that’—then immediately got overwhelmed by the idea of cameras, editing, and what on earth you’d even talk about?
Vlogging looks easy when binge-watching creators from your couch, but starting your own video blog channel? That’s a whole different beast.
The good news? You don’t need fancy gear, a viral idea, or 100k followers to get going. You just need a good camera, a story to tell, and the courage to hit record.
And to make it a little easier, this beginner’s guide breaks it all down for you. From choosing your niche and setting up your channel to filming your first vlog without cringing, we’ll walk you through it step by step. So if you’ve been waiting for the perfect moment to start a vlog, this is it.
Let’s roll 🎥.
Start your vlogging journey with the ClickUp Content Calendar Template. Get a clear, customizable system to plan, script, shoot, and publish every video—so you never miss a deadline or idea. With drag-and-drop scheduling, status tags (like “Scripting,” “Editing,” “Published”), and built-in collaboration tools, it keeps your entire content pipeline organized in one place.
Vlogging, short for video blogging, is creating and sharing regular video content that documents a person’s daily life, thoughts, interests, or activities, much like a traditional blog but in a video file.
These videos are typically shared on YouTube, TikTok, Facebook, or Instagram.
Types of vlogs 👇
Here’s a quick example of one of ClickUp’s vlogs, posted on our YouTube channel👇🏽
Now that you know what vlogging is, let’s talk about why you should even bother picking up a camera in the first place:
🧠 Fun Fact: The first vlog was posted on January 2, 2000, five years before YouTube even existed! Shout-out to Adam Kontras for unknowingly kickstarting a whole new internet era.
Convinced to give it a shot? Great.
But before you start filming your first masterpiece, let’s go over the essential gear you’ll need to kick off your vlogging journey:
💡 Pro Tip: Use a collapsible 5-in-1 reflector instead of buying multiple lights. You can create professional-looking lighting in any environment by positioning this single tool to bounce natural light.
Before you start vlogging, it’s worth laying a solid foundation because consistency beats perfection every time. So, let’s walk through exactly how to vlog, from creating a media plan to hitting upload, with a step-by-step guide ⬇️
One of the biggest mistakes new vloggers make is hitting the record button without a content strategy. Without a structure, you risk running out of ideas, missing uploads, or repeating the same topic differently.
Here are a few underrated (but powerful) ways to plan your vlog content:
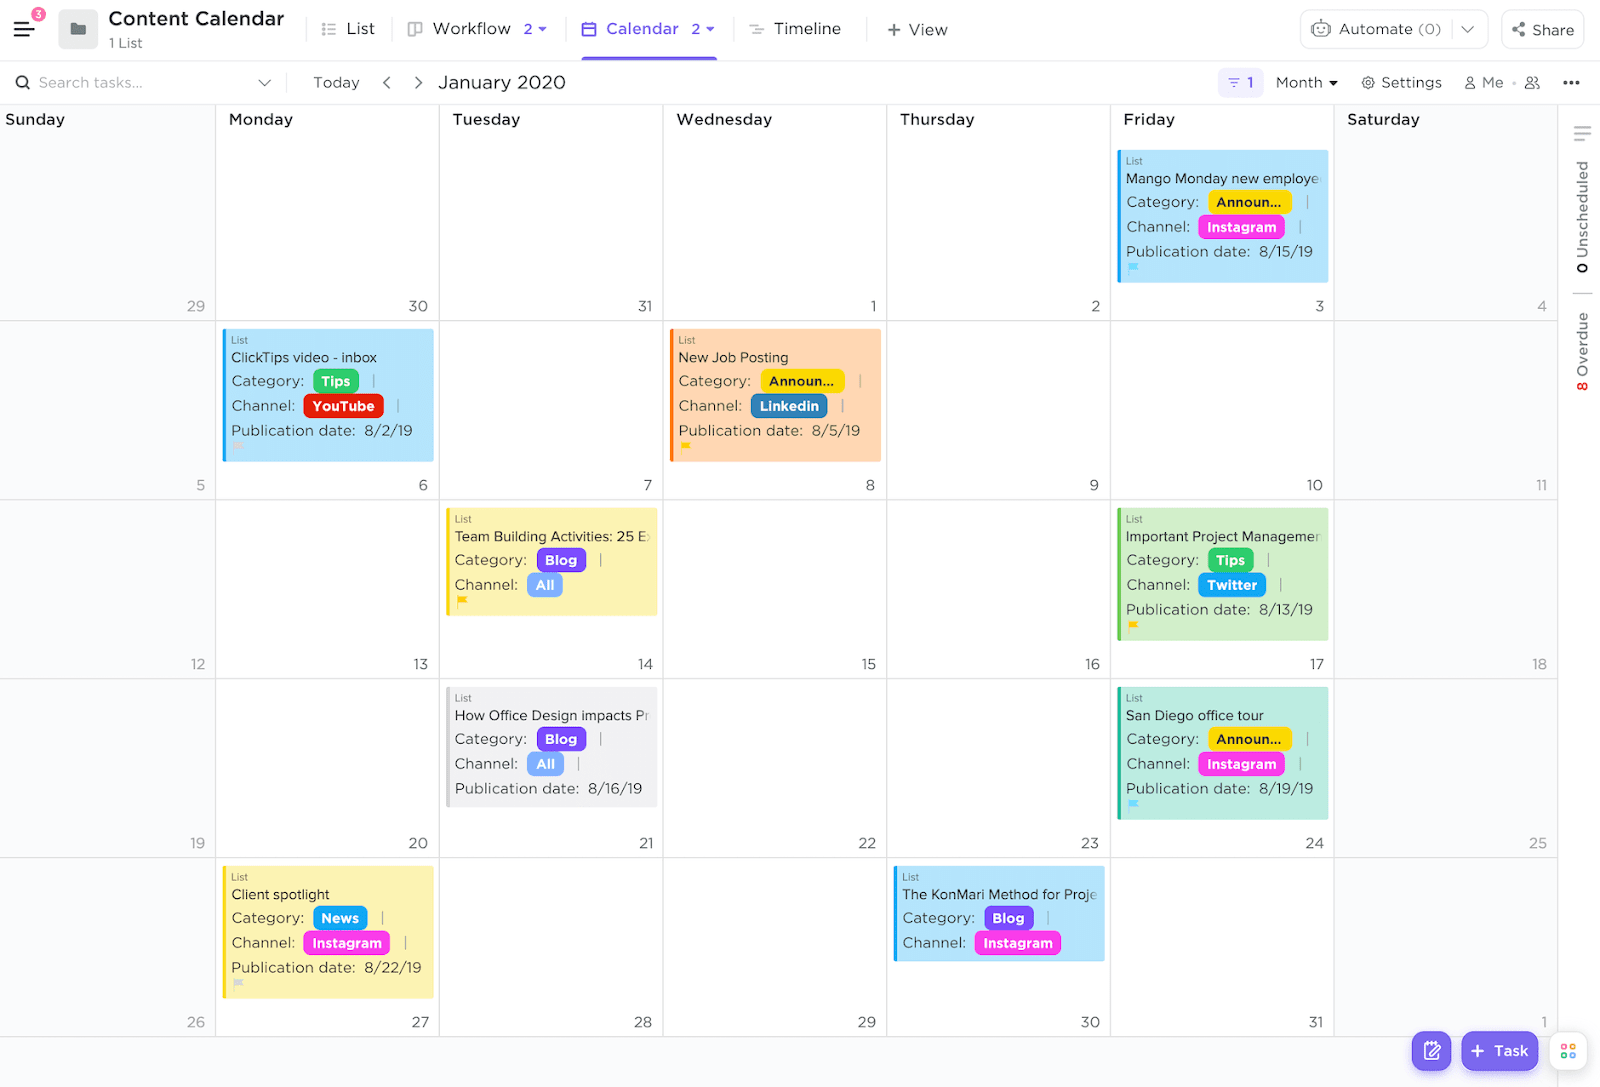
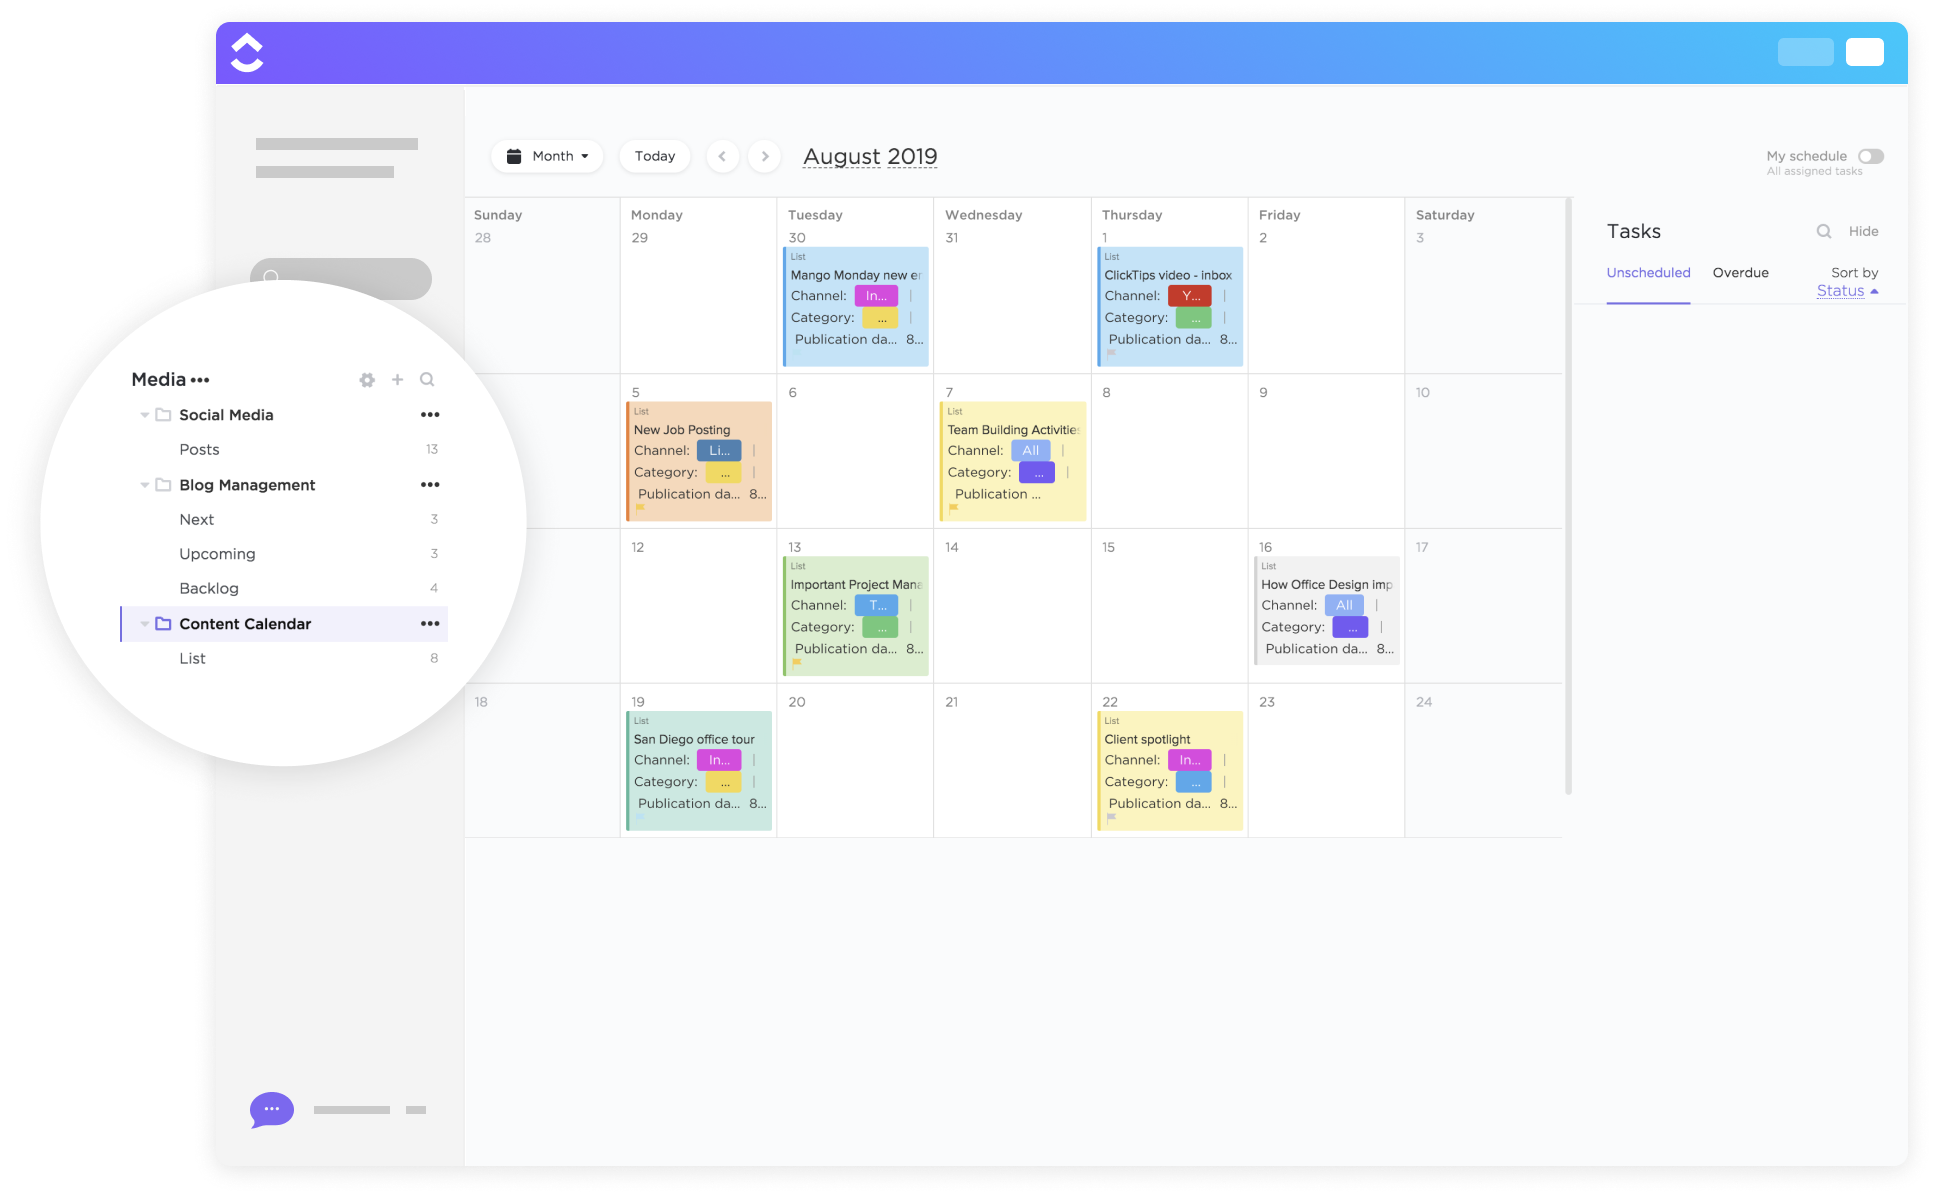
To stay organized through all this, use the ClickUp Content Calendar Template. Map out your themes, slot in upload dates, and avoid repeating ideas by centralizing your planning.
This beginner-friendly content calendar template helps tremendously in planning, tracking, and managing every piece of content across your workflow. Each task card is packed with details like assignee, due date, and priority level, so your team always knows what’s moving and what’s stuck.
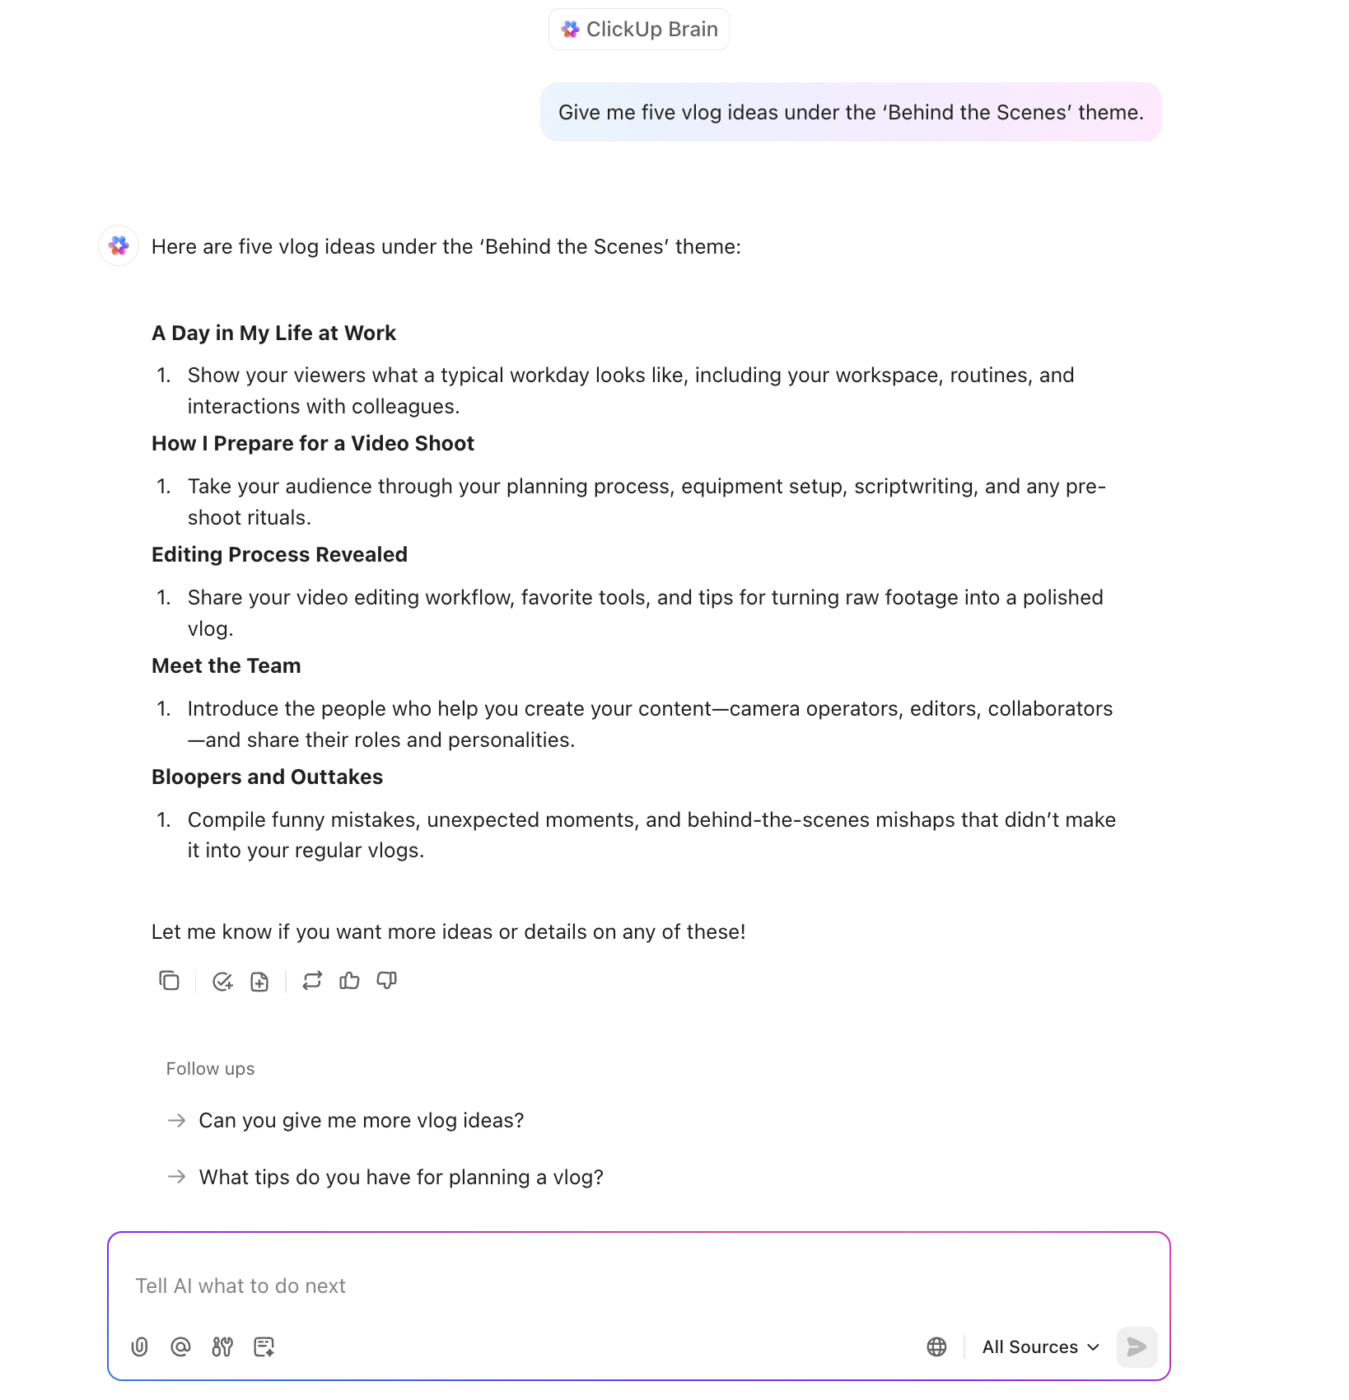
And if you’re feeling stuck or short on time, ClickUp Brain can help you go from rough notes to ready-to-film scripts. This AI assistant can suggest content improvements, generate script outlines, or surface old ideas you’ve already jotted down elsewhere in your workspace.
Your recording space doesn’t need to be fancy, but it does need to be consistent. A cluttered background, bad lighting, or echoey audio can turn viewers away, no matter how good your content.
Here are a few essentials most beginners overlook:
Make your setup repeatable by documenting the details in ClickUp Docs. Note down your ideal lighting setup, camera settings, background music, mic check, etc. That way, whether you’re filming solo or handing it off to someone else, you’ll always know what ‘ready-to-shoot’ looks like.
For each shoot, you can also use ClickUp Tasks to assign setup prep—such as charging batteries or adjusting lighting—to relevant members of your team.
Speaking into the camera, especially for talking head videos, can feel oddly overwhelming. Not to mention, it gets worse when you’re alone in a room without feedback, facial cues, or energy to bounce off.
Here’s how to train past that looming disconnect:
At this stage, use ClickUp Whiteboards to organize your message visually. You can build a flow using sticky-style cards for each point, rearrange sections, and spot where your story feels disjointed before you ever press record.
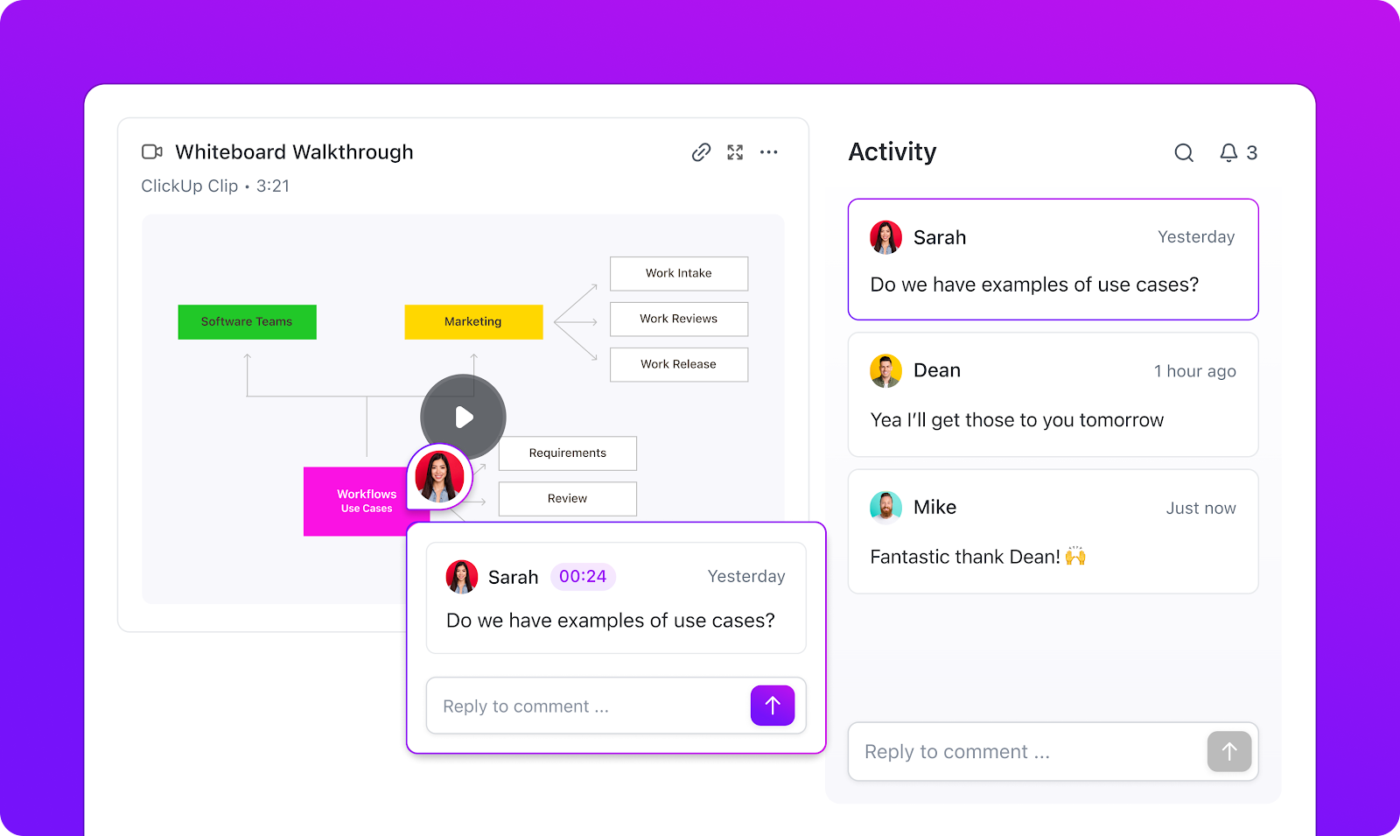
Once you’ve recorded a test clip or an early draft of your vlog, use ClickUp Clips to get video feedback from your team or collaborators directly on specific video clips.
Record a short video and let your mates leave timestamped comments directly on your clip timeline. That way, you’re not just getting ‘Looks good’—you’re getting precise, actionable feedback like ‘This part feels rushed at 1:17.’
Filming is about capturing the right story, moments, and enough supporting footage to make editing easier later. And that requires prep, mindset, and structure.
In a nutshell:
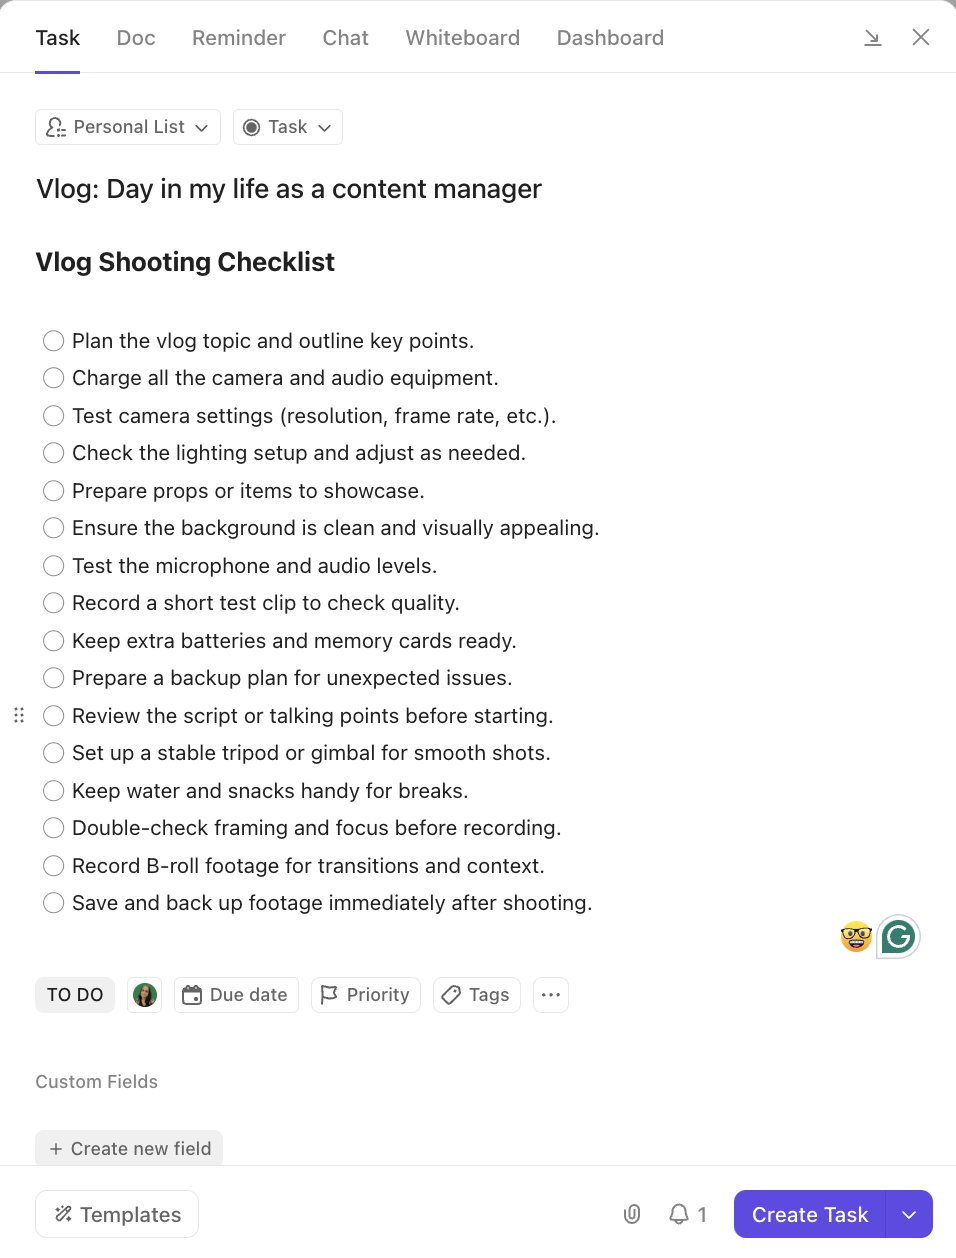
Use ClickUp Tasks to plan and track each shot you need. Create a reusable shoot template checklist with subtasks like ‘Film intro,’ ‘Capture B-roll of workspace,’ or ‘Get closing thoughts.’ Each task can include camera notes, shot angles, or references.
Then, plug everything into the AI-powered ClickUp Calendar to schedule shoot days, reserve time for retakes, and block slots for when different parts of your shoot should happen.
You can even ask ClickUp Brain to scan your calendar and suggest the best windows for filming, based on team availability. It can even block time for you (crazy, right?).

📌 Friendly Reminder: Every successful vlogging career starts with hitting “record.” Don’t wait for perfection—just start recording, and polish it in the editing process.
Editing is where your vlog comes to life. It’s also where many creators get stuck. You might be sitting on hours of footage, not knowing where to start or how to cut it into a clean, to-the-point story.
First things first, start with the right video editing software. For beginners, iMovie (Mac) and CapCut (mobile/desktop) are simple and powerful. If you have editing experience, you can also try Adobe Premiere Pro, Final Cut Pro, or DaVinci Resolve.
Here are some tips we’ve curated for you to make editing smoother:
If you want a tight-knit view of your entire pipeline, use ClickUp Dashboards. Track which vlogs are edited, what’s pending review, and which are ready to publish. This is especially useful if you’re juggling multiple projects, collaborating with others, or just need a quick snapshot of all your videos.
📚 Also Read: Best AI Tools for Video Editing
📮 ClickUp Insight: Can’t find the answer? Just ask a colleague—but at what cost? Nearly half of employees regularly interrupt teammates for information. And every time they do? It takes up to 23 minutes to refocus. That’s hours of lost productivity every week.
This is where you need a centralized brain for your organization. An AI-powered colleague, aka ClickUp Brain can bring you everything you need in one place—answers, insights, files, context, you name it!
Here’s a rundown of popular social media platforms where you can share your vlogs, along with what makes each one unique:
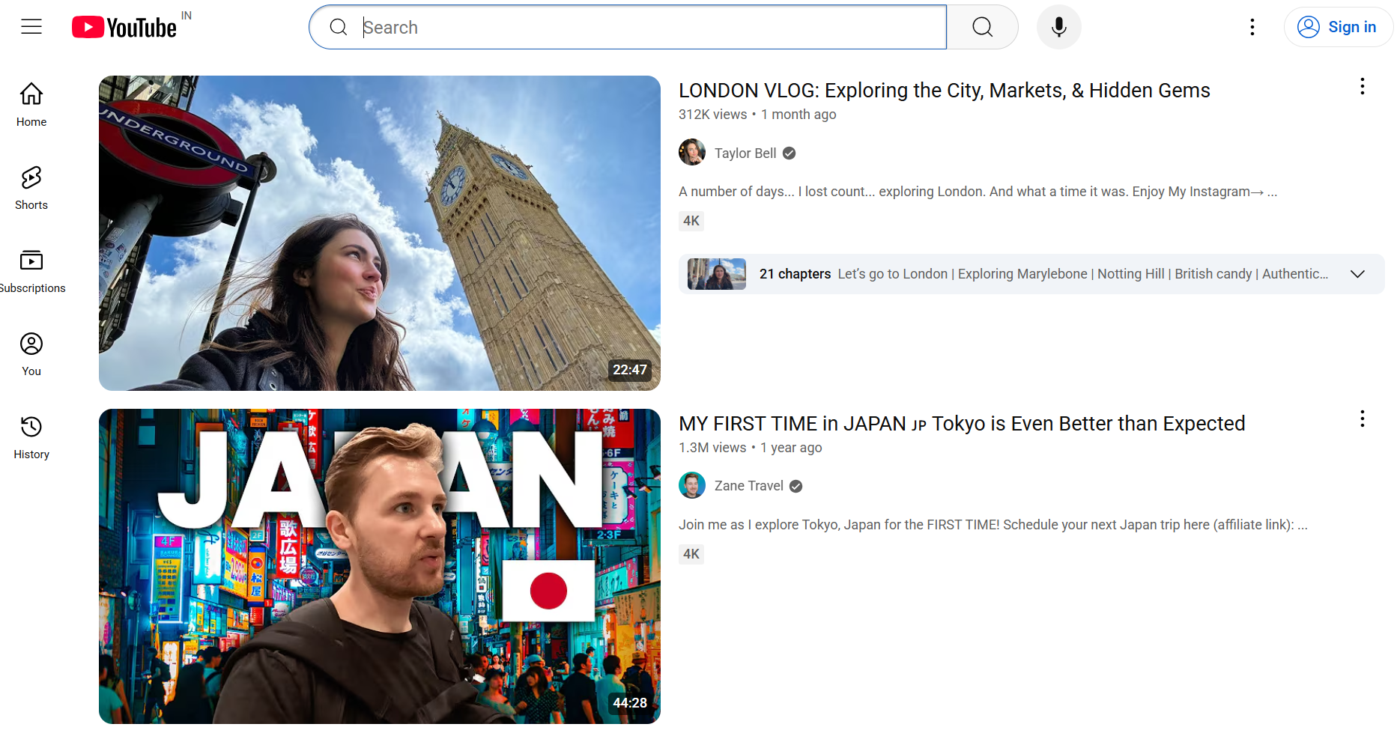
YouTube is the world’s biggest video-sharing platform, with 2.49 billion logged-in users. It’s perfect if you aim to build a long-term audience, show up in Google search results, and eventually monetize your content through ads or memberships.
YouTube videos also have a longer shelf life, continuing to attract views months or even years after publishing. If you’re serious about growing a vlog channel, YouTube offers the best discoverability available today.
🎯 Growth Tips: Use relevant keywords naturally in your vlog scripts and video descriptions—this boosts your video SEO and helps your content rank higher on search engines and YouTube.
Always encourage viewers to like, comment, and subscribe. Small CTAs build a stronger connection and grow your audience faster.
🧠 Fun Fact: The first-ever vlog uploaded on YouTube was an 18-second clip of a zoo visit by Jawed Karim, one of YouTube’s co-founders.
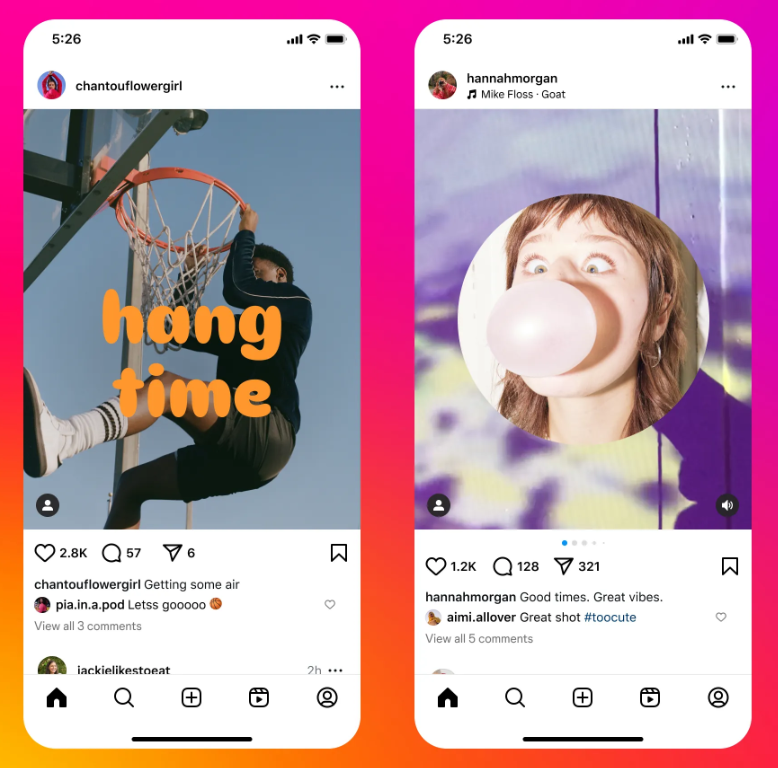
Instagram is ideal if your content is visual, fast-paced, or lifestyle-driven. Use Reels to tap into algorithmic discovery, Stories for more casual and spontaneous moments, and Highlights to organize evergreen content. It’s amazing for staying top-of-mind and engaging with a mobile-first audience.
🎯 Growth Tip: Watch other vloggers you admire. Analyze what they’re doing well and aim to produce the same quality, but add your own unique vlogging style.
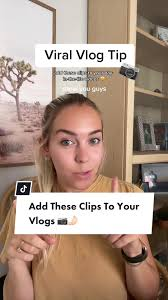
TikTok thrives on trends, creativity, and short-form storytelling. If you can hook viewers in the first few seconds, it’s one of the best platforms for rapid growth, even for brand-new creators. The built-in editing tools, music library, and stitched responses make experimenting and connecting with a younger, highly engaged audience easy.
🎯 Growth Tip: Invest in quality equipment. Clear visuals and crisp audio make your life vlogs far more visually appealing, which increases watch time and shares.
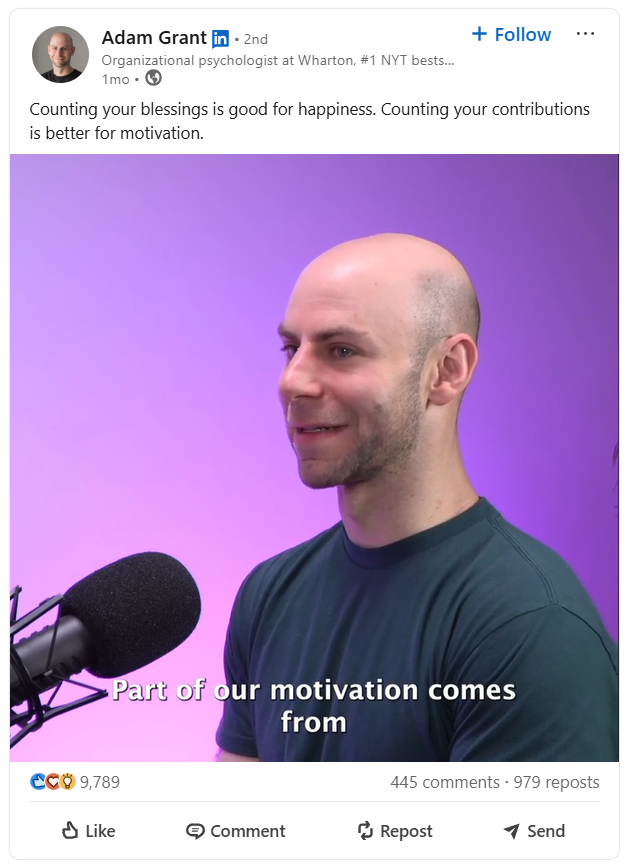
Yes, vlogging on LinkedIn is a thing, especially if you create content around your industry, career journey, or thought leadership. It’s great for reaching a professional audience and sparking meaningful discussions. Vlog formats here could include day-in-the-life content, event recaps, or behind-the-scenes business updates.
🎯 Growth Tip: Use AI tools to transcribe your videos, generate captions, or even get content ideas based on trending topics or online events.
Now that you know how to vlog, let’s talk about how to vlog well. These best practices will help you avoid rookie mistakes and keep your viewers engaged from the very first video 👇
✅ Shoot extra footage: Always record a few seconds before and after the main action. These buffers make it easier to edit around awkward cuts or transitions
✅ Record room tone: After filming in any location, capture 10–15 seconds of ambient sound. This helps smooth out audio edits and keeps scenes feeling natural
✅ Mark mistakes live: If you mess up a line, pause and repeat it without stopping the recording. Say ‘take two’ or clap—your future self will thank you in the edit
✅ Shoot B-roll intentionally: Record shots that support what you’re talking about (e.g., pouring coffee or journalling or working out when talking about your morning routine)
✅ Film for multiple uses: Capture wide, medium, and close-up shots of the same scene if possible. These variations give you flexibility when editing
✅ Batch film similar content: If you’re already set up and camera-ready, shoot multiple videos or segments in one go to stay ahead on your posting schedule
📚 Also Read: Video Feedback Examples to Improve Engagement
Once you create a content calendar for YouTube or any other vlogging platform you’ve chosen, publish videos regularly, and have got your channel up and running, the next big question is: How do you make money from vlogging?
Let’s break down the most popular (and practical) ways to turn your videos into income:
Wait, don’t hit ‘record’ yet! First, know what pitfalls to avoid so you don’t lose viewers before you’ve had a chance to grow ⤵️
📢 Poor audio quality: Relying on your camera’s built-in microphone often captures background noise and echo.
✅ Solution: Use an external microphone like a shotgun or lapel mic for crisp, focused audio.
🫨 Shaky or unstable footage: Walking around with a handheld camera without any stabilization leads to jittery, hard-to-watch videos.
✅ Solution: Use a gimbal, tripod, or camera with built-in stabilization for smoother footage.
📆 Inconsistent upload schedule: Whether it’s your first video or fiftieth, posting sporadically or disappearing for long periods in between can make it challenging to build viewer loyalty.
✅ Solution: Commit to a realistic and consistent upload schedule that your audience can depend on.
💬 Ignoring viewer interaction: Failing to respond to comments, questions, or suggestions is one of the most common mistakes that lead to audiences feeling unappreciated.
✅ Solution: Take time to reply to comments, give shoutouts, or ask viewers what they want to see next.
👆🏼 Clickbait titles or thumbnails: Misleading titles or exaggerated thumbnails may get clicks, but will hurt trust and retention in the long run (beware!).
✅ Solution: Create attractive but honest titles and thumbnails that accurately reflect the vlog’s content.
If you want to build a loyal following, focus on making your content more watchable, not just more frequent. Start strong in every video with a hook or a relevant question because those first few seconds decide whether someone sticks around or clicks away.
It also helps to treat your viewers like part of the journey. Share your thought process, show your mistakes, or talk directly to them like you would with a friend. People come back for connection as much as content.
Lastly, experiment once in a while. Try a new video format, edit videos around a new theme, film in a different setting, or bring in a guest.
But growth will come once you’ve picked the right genre. To help you get started, we’ve curated a list of vlogging ideas to store and choose from.
Vlogging ideas that work really well with a vast majority of audience segments:
💡 Pro Tip: Develop your personal style authentically, but always keep your audience’s preferences in mind—your unique voice will shine brightest when it speaks directly to what your viewers care!
What used to be a simple record-and-upload process now involves many more thoughtful steps—content planning, schedules, scripting, editing, and team coordination.
And as your channel grows, so does the need for a smarter system. Maybe you want a single place to brainstorm, track shoot progress, organize edits, or delegate tasks without losing the creative spark that started it all.
If that sounds familiar, ClickUp might be the right tool for you. It’s the everything app for work where you can manage every part of your vlogging process—from planning and scripting to collaboration and publishing. With features like Docs, Calendar, Whiteboards, AI, and Dashboards, ClickUp helps you turn scattered ideas into a consistent, high-quality vlog schedule.

Sudarshan Somanathan
Max 16min read
Sudarshan Somanathan
Max 14min read
Sudarshan Somanathan
Max 14min read

© 2026 ClickUp