
Sorry, there were no results found for “”
Sorry, there were no results found for “”
Sorry, there were no results found for “”
Most AI tools stop at the suggestion stage. They hand you a command, then leave you to run it yourself.
That’s partly why Stack Overflow’s Developer Survey found that 52% of developers either don’t use AI agents or stick to simpler tools. In practice, you still end up doing half the work.
This guide covers everything you need to know about the Gemini CLI bash tool: what it is, how to install and authenticate it, and how to configure it to run shell commands safely. We’ll also break down the built-in security guardrails it uses to protect your environment.
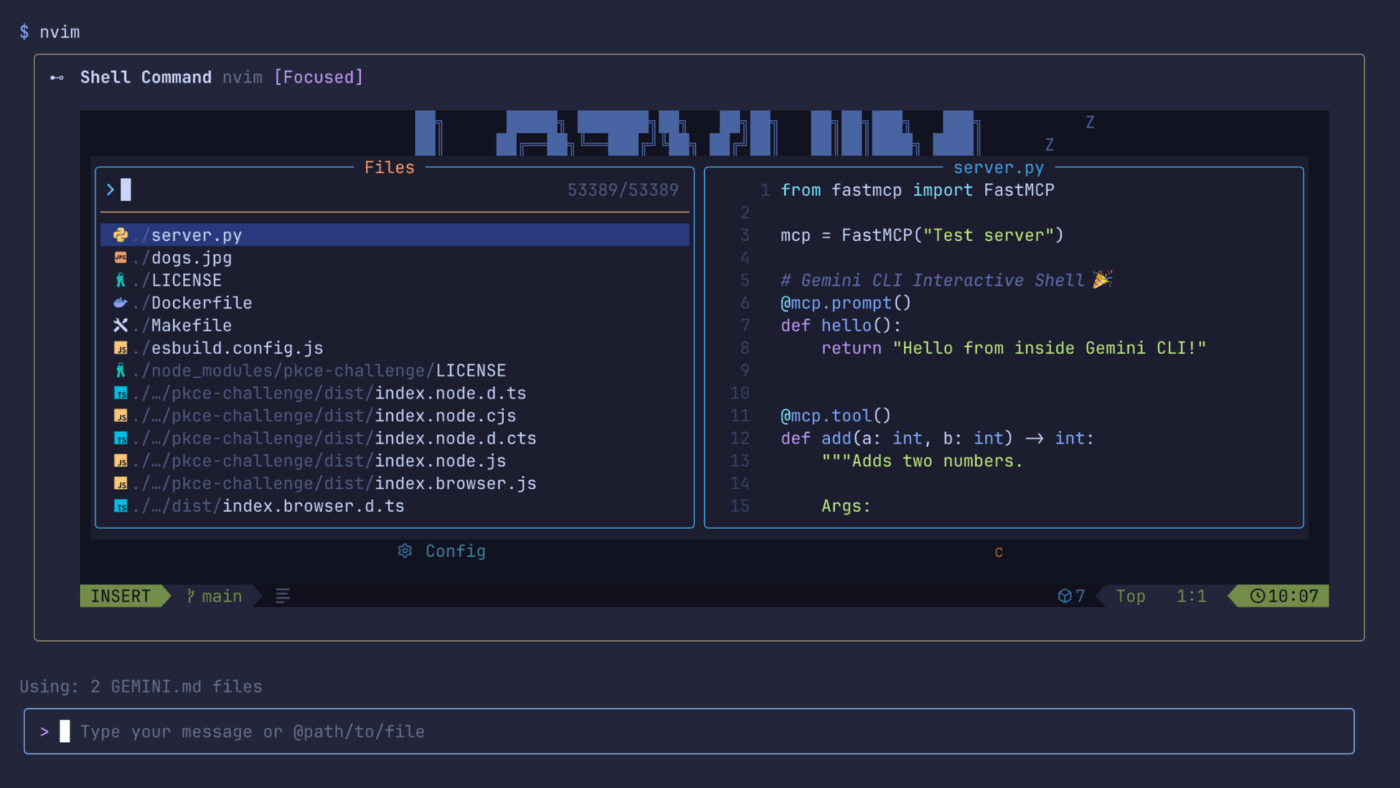
The Gemini CLI Bash tool is Gemini CLI’s built-in Shell tool, named run_shell_command. Gemini CLI is Google’s open-source AI agent for the terminal, and it’s the part that lets Gemini execute shell commands on your machine.
On macOS and Linux, those commands run through bash -c; on Windows, they run through PowerShell.
Most AI coding assistants generate suggestions you still have to manually run and debug. This tool turns your setup into an agentic workflow. It’s designed specifically for developers and technical teams who already live in the terminal. These users want an AI assistant that can actually do things (much beyond just suggesting code snippets).
💡 Pro Tip: Log every shell command Gemini CLI executes to a timestamped file with script or tee. When debugging why a build broke or a deployment failed, you’ll have a complete audit trail of what the AI ran versus what you thought it would run.
👀 Did You Know? Gemini can now turn a text prompt or even a photo into a 30-second music track using Lyria 3, and Google says those tracks are embedded with SynthID so they can be identified as AI-generated.
The Gemini CLI Shell Tool works best when a task spans multiple commands and each step depends on the previous one.
That is what makes it useful for compound workflows. Instead of manually running commands, checking outputs, and deciding what to do next, you can let the agent handle the sequence for you.
Some common use cases include:
The real advantage is speed across multi-step work. These are tasks where you would normally run three to five commands in sequence. The CLI Shell Tool reduces that manual overhead by chaining commands and adapting to intermediate output.
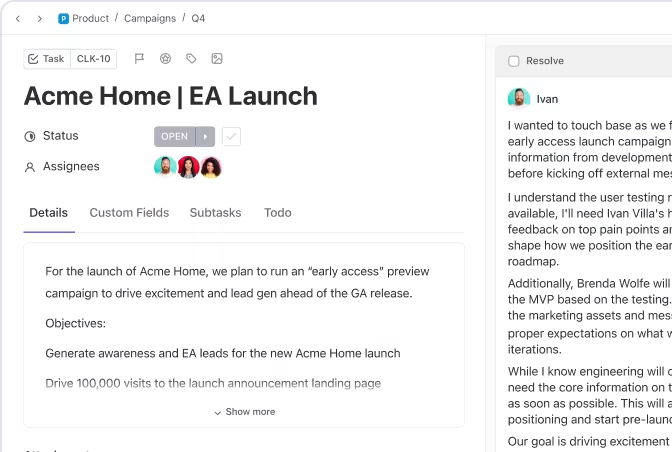
💡 Pro Tip: Once that work starts moving, it helps to manage it in a more structured environment than the terminal. ClickUp Tasks gives you that layer. You can turn command-heavy work into trackable tasks, break it into subtasks, and keep a running record of decisions, outputs, and follow-ups in one place.
📮ClickUp Insight: 30% of workers believe automation could save them 1–2 hours per week, while 19% estimate it could unlock 3–5 hours for deep, focused work.
Even those small time savings add up: just two hours reclaimed weekly equals over 100 hours annually—time that could be dedicated to creativity, strategic thinking, or personal growth.💯
With ClickUp’s AI Agents and ClickUp Brain, you can automate workflows, generate project updates, and transform your meeting notes into actionable next steps—all within the same platform. No need for extra tools or integrations—ClickUp brings everything you need to automate and optimize your workday in one place.💫 Real Results: RevPartners slashed 50% of their SaaS costs by consolidating three tools into ClickUp—getting a unified platform with more features, tighter collaboration, and a single source of truth that’s easier to manage and scale.
Installing Gemini CLI takes just a few terminal commands. The main prerequisite is Node.js, since the CLI runs through npm.
Gemini CLI requires Node.js 18 or higher to run properly. You can install it from the official Node.js website or use a version manager if you want more flexibility across projects.
npm is included automatically with Node.js, so you do not need to install it separately. Once setup is complete, verify both are available in your terminal by running node -v and npm -v.
Run npm install -g @google/gemini-cli to install the tool. The global flag makes the gemini command available from any directory on your machine.
The package is publicly available, and its source code is hosted on GitHub.
Run gemini --version to confirm the install worked correctly. If your terminal cannot find the command, the issue is usually related to your system PATH.
📚 Also Read: Best Software Development Tools
The system supports three different authentication methods. Pick the one that best matches your current development setup.
This is the simplest option for local use. Start the CLI, choose Sign in with Google, and complete the browser flow. Gemini CLI then caches your credentials locally for future sessions.
If you use a company, school, or Google Workspace account, or certain Gemini Code Assist licenses, you may also need to set a Google Cloud project first.
export GOOGLE_CLOUD_PROJECT="YOUR_PROJECT_ID"
geminiGenerate an API key from Google AI Studio for headless environments. Set it as an environment variable or pass it via a configuration file. This method skips the browser entirely for continuous integration pipelines.
Teams using Google Cloud can route requests through Vertex AI infrastructure. This requires a project ID and the appropriate identity and access management permissions. It’s the best choice for enterprise compliance and data residency requirements.
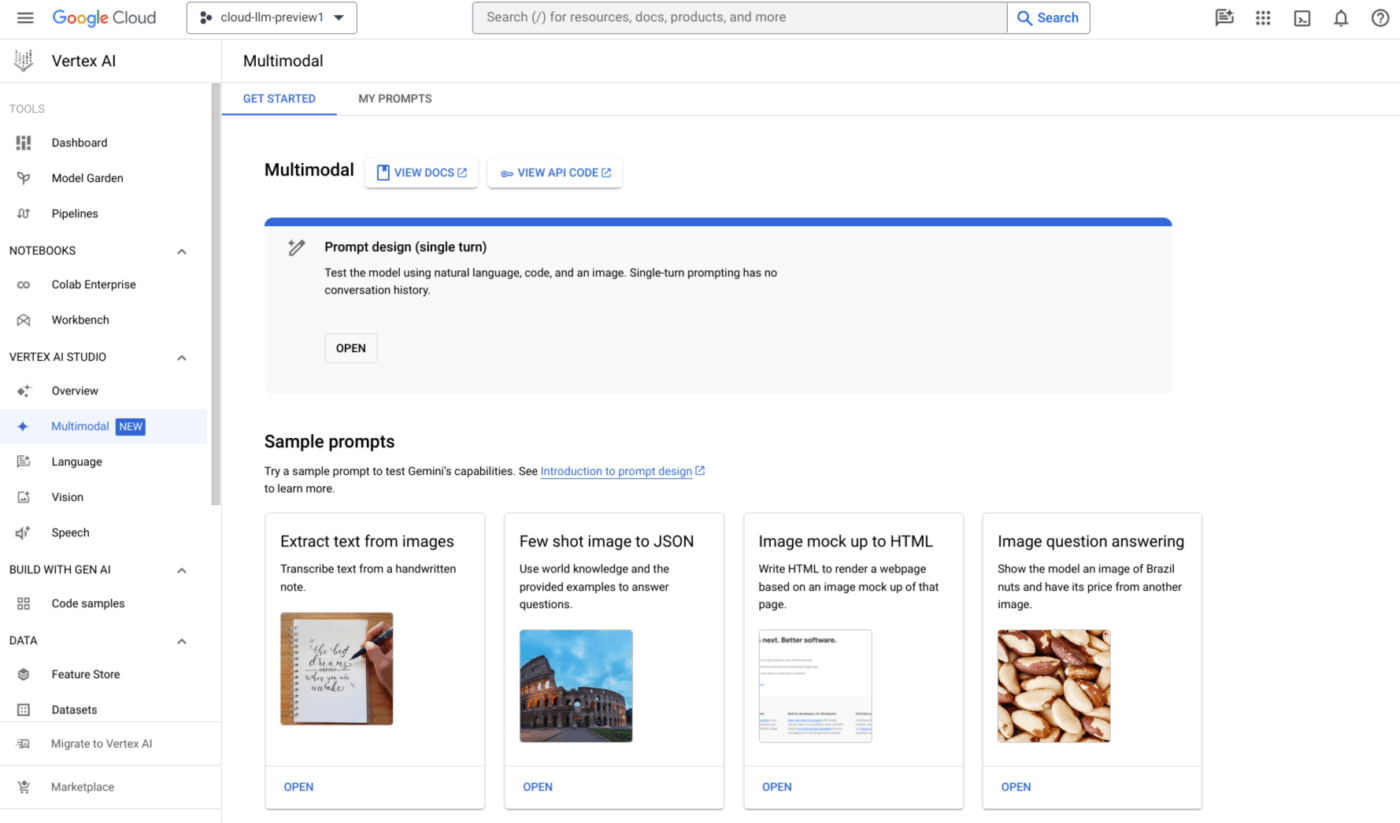
The Bash Tool in Gemini CLI works well out of the box. But a few settings can make it safer, cleaner, and better suited to your workflow.
Configuration is crucial when you need more control over command execution, output appearance, and the context the agent maintains between tasks.
Key configuration options include:
🔮 ClickUp Advantage: Configuring your local Gemini CLI environment is perfect for isolated execution—like tailoring how your terminal handles a local build or deployment script. But when that script finishes, the CLI’s job ends. It cannot communicate that success (or failure) to the rest of the business.
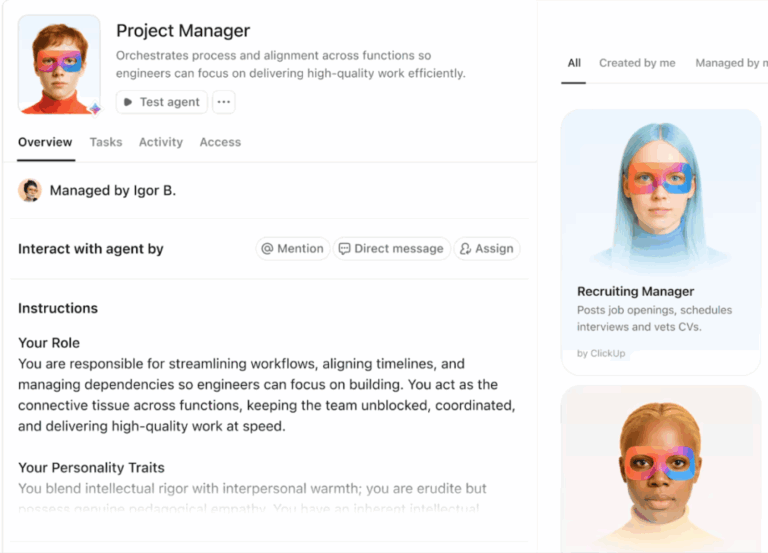
This is where you graduate from a local terminal configuration to ClickUp Super Agents. They live inside ClickUp, where you can assign them to tasks, message them directly, or @mention them in your workspace. From there, they can run workflows, update priorities, and act within the same context your team already uses.
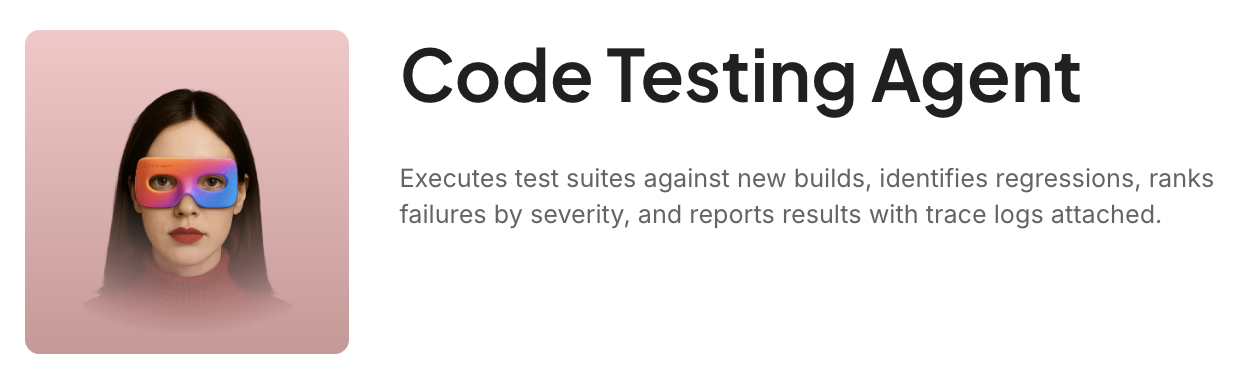
For instance, take ClickUp’s Code Tester Agent. Once you use your configured Gemini CLI to execute your local commands and push a build, the Code Tester Agent can handle the overarching QA workflow. It can run a test suite on that build or branch, identify new and flaky failures, rank them by impact, and immediately post the results to a ClickUp Task with the correct severity labels.
🎥 Want to learn more about what Super Agents can do to power your workflows? Well, we have a video for you:
Gemini CLI lets you run shell commands in two ways. You can enter commands directly with the ! prefix, or ask Gemini to run them as part of a larger task.
For quick commands, just type ! followed by the command:
!ls -la
!git status
You can also type ! by itself to enter Shell Mode. In this mode, everything you type is treated as a shell command until you exit.
For more complex workflows, use natural language. For example, you can ask Gemini to run tests, inspect failures, and suggest fixes. Gemini will execute the needed commands and continue based on the output.
Gemini CLI can also run long-lived commands in the background, which is useful for dev servers or watchers. You can view active shell sessions with /shells.
While Gemini CLI is incredibly powerful for isolated, local tasks—like writing rapid bash scripts—it inherently operates in a silo. A local terminal doesn’t know about your product roadmaps, acceptance criteria, or cross-functional team dependencies.
When you need AI to execute work tied to actual business logic, relying on a standalone CLI tool creates a “context bottleneck.” This is where ClickUp’s native AI ecosystem acts as the ultimate counterweight to a local CLI tool.
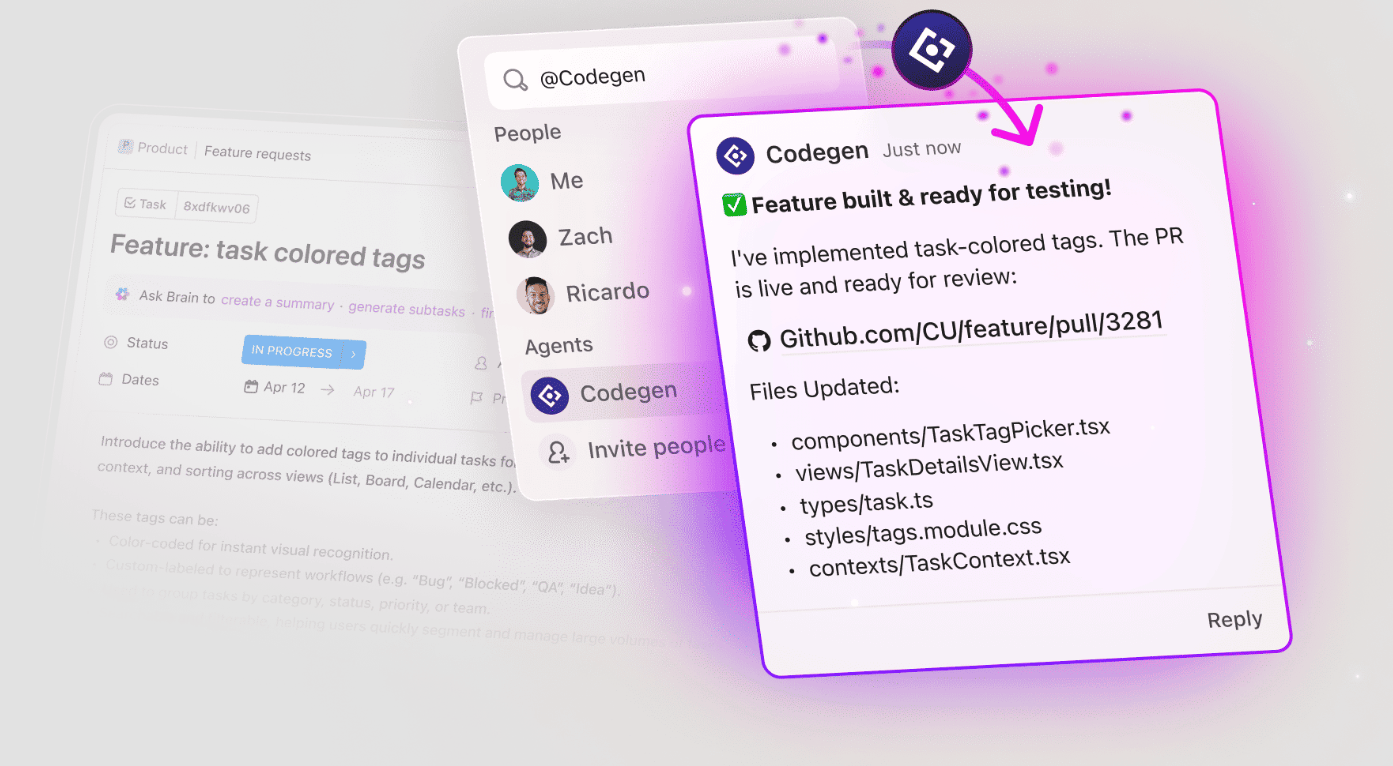
For example, instead of executing !git status and manually providing bug details to a CLI tool, use ClickUp Codegen. That’s because it integrates directly into your workflow. When tagged in a ticket, Codegen autonomously reads the linked Product Requirements Document (PRD), understands the codebase, generates code, and opens a pull request.
⭐️ Bonus: Shift Left Testing
Giving an AI agent shell access creates a massive fear of destructive actions. A lack of oversight can lead to catastrophic system failures. One wrong command could wipe out a database or maliciously escalate privileges, causing severe business impact.
To mitigate these risks, the Gemini CLI uses a multi-layered defense:
ask_user, meaning the AI can’t run risky code or edit files without your manual “OK”run_shell_command) in your settings to ensure they are never used, even by accidentGemini CLI is great for getting from intent to execution fast. The part that usually breaks is everything around the command: who owns the change, what got updated, and what needs to happen next.
ClickUp helps you run that work. Tie every change to a Task with an owner and a checklist, then use ClickUp’s agentic workflows to make autonomous decisions.
Get started with ClickUp for free and make AI command work accountable.
The tool is open source under the Apache license. Enterprise teams routing through Vertex AI may have usage tied to their cloud billing.
Interactive commands, such as text editors, are blocked by default to prevent the session from hanging. You can easily enable interactive mode in the configuration file if your specific workflow requires it.
Commands that could cause irreversible system damage are restricted by default. The agent flags these dangerous operations and won’t execute them unless explicitly configured.
You describe the task in plain language, and the agent figures out the right commands to run in sequence. You are still in control of approvals, but the repetitive parts are handled entirely for you.

Manasi Nair
Max 14min read
Manasi Nair
Max 9min read

Arya P Dinesh
Max 17min read
© 2026 ClickUp