
.png)
Timelines are a cornerstone of effective project management, but creating them and keeping them up to date can take a lot of time away from your other duties. That's why ClickUp's Fillable Timeline Template was created—so you can quickly and easily map out projects, events, and more.
The Fillable Timeline Template gives you everything you need to:
- Visualize complex timelines with ease
- Track progress at a glance
- Share timelines with teams to keep everyone on the same page
No matter what kind of timeline you’re creating, this template will help you get it done faster so that you can devote more time to the rest of your responsibilities.
Benefits of a Fillable Timeline Template
Fillable timeline templates offer many advantages to project managers, including:
- The ability to quickly and accurately track tasks and milestones
- The ability to add or remove tasks as needed
- The ability to create a timeline with a consistent look and feel
- The ability to easily share timelines with stakeholders for review and feedback
Main Elements of a Fillable Timeline Template
ClickUp's Fillable Timeline Template is designed to help you create a timeline of tasks, and track time and cost estimates. This List template includes:
- Custom Statuses: Create tasks with custom statuses such as Open and Complete to keep track of the progress of each task
- Custom Fields: Categorize and add attributes to manage your tasks such as Days Suggested Formula, Allocated Days, Task Completion, Actual Cost, and Project Phase
- Custom Views: Start with this List template and build out your ClickUp workflow which includes List, Gantt, Workload, Calendar, and more
- Project Management: Improve timeline tracking with comment reactions, multiple assignees, and priority labels
How to Use a Fillable Timeline Template
Creating a fillable timeline can be a great way to track dates, tasks, and progress towards a goal. Here's how to make one using ClickUp:
1. Identify your timeline goal
Before creating a timeline, it’s important to identify your timeline goal. What project do you want to track or what timeline are you trying to create? This will help you decide what tasks and milestones to include in your timeline.
Use a Doc in ClickUp to brainstorm ideas and discuss your timeline goal with your team.
2. Plan out your timeline
Now that you have a goal in mind, you can begin to plan out your timeline. Create a list of tasks and milestones and determine when each one should take place. You can also assign tasks to different team members to indicate who should be responsible for each item.
Use the Board view in ClickUp to create a visual timeline with tasks and assignees.
3. Create the timeline template
Once you’ve planned out your timeline, it’s time to create the actual template. You can use a spreadsheet program or other suitable software, such as ClickUp’s Table view, to design your timeline. Start by entering the tasks and milestones in the appropriate columns.
4. Add dates and any other relevant information
Once the tasks and milestones are included, add the dates and any other relevant information into the document. This could include due dates, estimated completion dates, or any notes you’d like to include.
Set Milestones in ClickUp to keep track of estimated completion dates and due dates.
5. Share the timeline with your team
Once your timeline is complete, share it with your team so that everyone is on the same page. This will ensure that everyone is aware of what needs to be done and when.
Use Email in ClickUp to send your timeline to your team.
6. Monitor progress and adjust as needed
It’s important to keep an eye on your timeline to make sure everything is on track. When changes occur, make sure to update the timeline accordingly.
Use Dashboards in ClickUp to monitor progress and Automations to get notified when tasks are behind schedule.
Get Started with ClickUp's Fillable Timeline Template
Project planners can use this Fillable Timeline Template to help everyone stay on the same page when it comes to visualizing project timelines and staying on track.
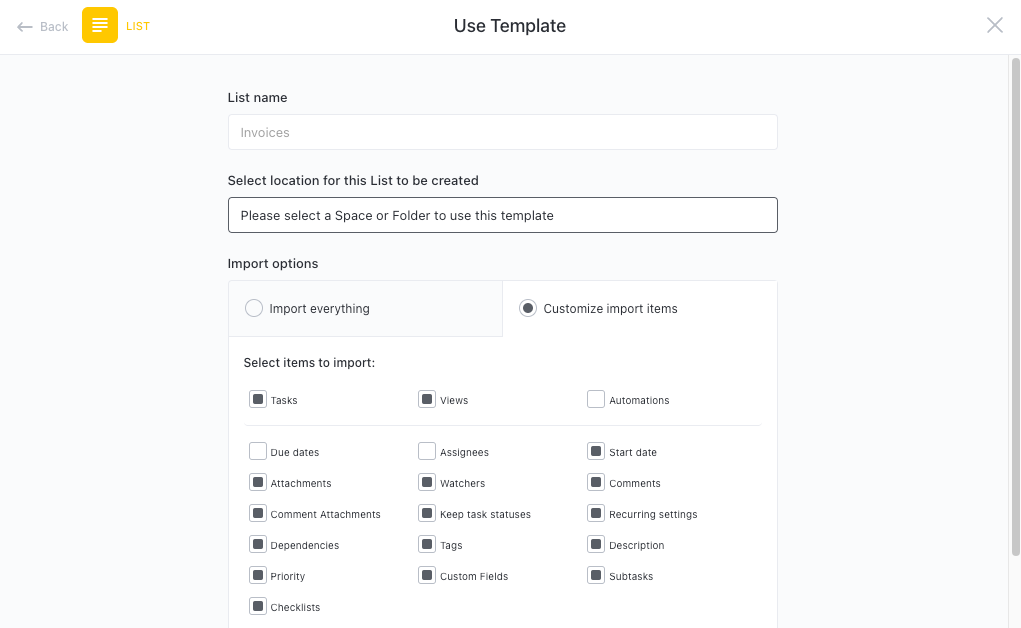
First, hit “Add Template” to sign up for ClickUp and add the template to your Workspace. Make sure you designate which Space or location in your Workspace you’d like this template applied.
Next, invite relevant members or guests to your Workspace to start collaborating.
Now you can take advantage of the full potential of this template to create a timeline:
- Create tasks for each step of the timeline and assign a timeline to each
- Organize tasks into two different statuses: Open and Complete, to keep track of progress
- Update statuses as you progress through tasks to keep stakeholders informed of progress
- Set up notifications to stay up-to-date on progress
- Hold regular meetings to discuss progress and any issues
- Monitor and analyze tasks to ensure maximum productivity
Get Started with Our Fillable Timeline Template Today


