


Standard Operating Procedures (SOPs) are the backbone of any successful business. By implementing them, you ensure consistency and efficiency when it comes to processes and procedures.
ClickUp's SOP Template makes it easy to create, manage, and organize standard operating procedures in one secure place. With this template, you can:
- Automate processes with Checklists
- Improve collaboration with team members
- Create uniformity across your organization
No matter the size or scope of your business, ClickUp's SOP Template will help you keep everything organized and running smoothly. Get started today!
Benefits of a SOP Template Template
A well-written SOP template can help reduce the amount of time and effort required to take your business to the next level. Here are just a few of the benefits of using a SOP template:
- Reduced training and development costs
- Streamlined processes and reduced errors
- Easier management of multiple programs or projects
- More consistent and standardized performance
Main Elements of a SOP Template Template
ClickUp's SOP Template is designed to help you create, document, and manage standard operating procedures. This Doc template includes:
- Custom Statuses: Create tasks with various custom statuses to keep track of the progress of each SOP
- Custom Fields: Categorize and add attributes to manage your SOPs and easily visualize the steps of a process
- Custom Views: Start with this Doc template and build out your ClickUp workflow which includes List, Gantt, Workload, Calendar, and more
- Project Management: Improve SOP tracking with comment reactions, nested subtasks, multiple assignees, and priorities
How to Use a SOP Template Template
Creating a standard operating procedure (SOP) document is essential for any business. It allows you to document processes and procedures, ensuring that tasks are carried out consistently and efficiently. Use this guide to get started:
1. Identify your processes
The first step in creating a SOP is to identify the processes that need to be documented. Think about daily tasks, customer service processes, and any other activities that need to be completed on a regular basis.
Use a Doc in ClickUp to brainstorm ideas and create a list of processes that need to be documented.
2. Outline the steps for each process
Once you have identified the processes that need to be documented, the next step is to outline the steps for each one. This includes breaking down the task into small, manageable steps that are easy to understand.
Use the Board view in ClickUp to organize each process into a sequence of steps.
3. Prioritize tasks
After outlining the steps for each process, it's important to prioritize the tasks that need to be completed. This will ensure that the most important tasks are completed first, and can help keep your team focused on the most important tasks.
Use the Gantt chart in ClickUp to prioritize tasks and assign deadlines.
4. Create the SOP document
Now it's time to create the SOP document. Begin by creating a document outlining the processes and steps that need to be completed. Make sure to include detailed instructions, including any special tools or resources that are needed to complete the task.
Use the Table view in ClickUp to organize the SOP document and all its components.
5. Test and review
Once the document is complete, it's important to test the procedure and review it for accuracy. Ask your team to test the procedure and provide feedback. This will help ensure that the SOP is effective and up-to-date.
Set a recurring task in ClickUp to regularly review and update the SOP document.
Get Started with ClickUp's SOP Template Template
Organizations can use this SOP Template Template to help everyone stay on the same page when it comes to establishing consistent processes and procedures.
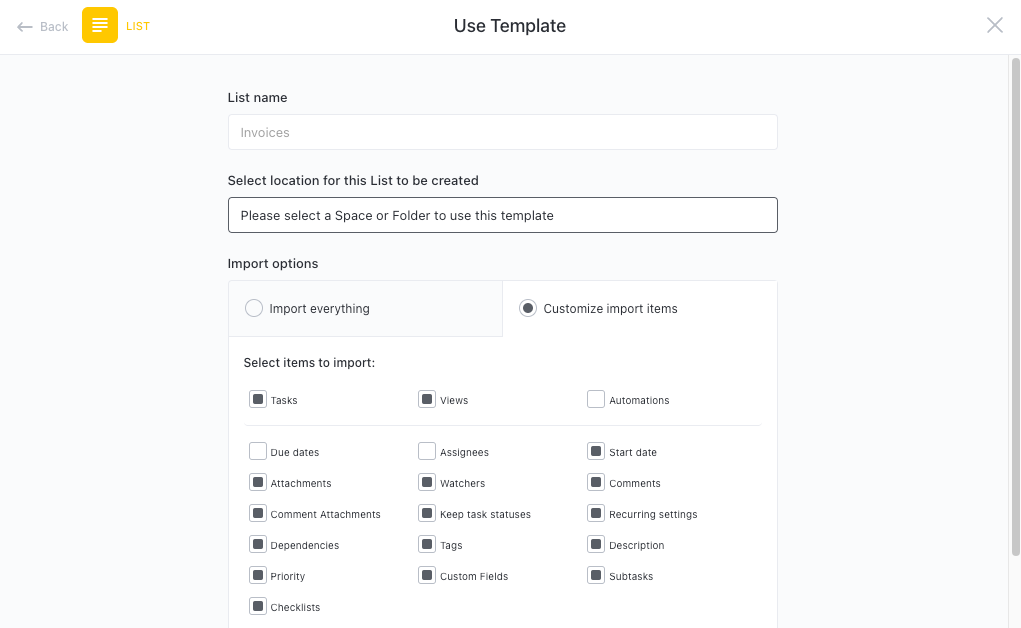
First, hit “Add Template” to sign up for ClickUp and add the template to your Workspace. Make sure you designate which Space or location in your Workspace you’d like this template applied.
Next, invite relevant members or guests to your Workspace to start collaborating.
Now you can take advantage of the full potential of this template to create standard operating procedures:
- Create a project for each SOP
- Assign tasks to team members and designate a timeline
- Collaborate with stakeholders to brainstorm ideas and create content
- Organize tasks into categories to keep track of progress
- Set up notifications to stay up-to-date on progress
- Hold regular meetings to discuss progress and any issues
- Monitor and analyze tasks to ensure maximum productivity
Get Started with Our SOP Template Template Today


