

Risk assessment is essential for any project. Identifying, assessing, and managing risks helps you stay on top of your project and ensure its success. And a risk register template is the best way to organize it all!
The ClickUp Risk Register Template makes it easy to:
- Identify potential risks before they become issues
- Organize risk assessments in an easy-to-understand format
- Track risk status, ownership, and impacts in one place
Whether starting a new project or managing existing projects, this template will help you create detailed risk registers with ease!
Benefits of a Risk Register Template
Risk Register templates are essential for any organization to help track and manage potential risks. Benefits of using a Risk Register template include:
- Providing a standardized system for evaluating and tracking risks
- Improving communication between stakeholders and departments
- Helping to identify potential risks and plan strategies to mitigate them
- Increasing the accuracy and efficiency of risk management processes
Main Elements of a Risk Register Template
ClickUp's Risk Register Template is designed to help you manage and track potential risks associated with a project. This Folder template includes:
- Custom Statuses: Mark task status such as Occurred, Mitigated, and Active to keep track of the progress of each risk in the project
- Custom Fields: Use 7 different custom attributes such as Consequence, Description, Expected Cost of Risk, Mitigation Cost, Probability, and more to keep track of potential risks and their associated costs
- Custom Views: Open 6 different views in different ClickUp configurations, such as Costs of Risks, List of Risks, Risks by Status, Risks by Response, Risks by Level, and more so that all the information is easy to access and organized
- Project Management: Improve risk management with task dependencies, automated reminders, collaborative editing, and more
How to Use a Risk Register Template
Creating a risk register can be an effective way to identify and manage potential risks associated with a particular project. Follow these steps to help you create your own risk register:
1. Brainstorm risks
Your first step is to brainstorm all the potential risks associated with your project. This step can include anything from technological issues to political or environmental factors.
Use a Whiteboard in ClickUp to brainstorm potential risks.
2. Assess the risks
Once you have your list of risks, the next step is to assess each one. This involves rating each risk according to its likelihood of occurring and the potential impact it would have on the project.
Create custom fields in ClickUp to categorize and rate the risks.
3. Create the table
Using a spreadsheet program or other suitable software, create a table with columns for each of the risk categories (likelihood, impact, etc.).
Use the Table view in ClickUp to quickly create a custom risk register table.
4. Enter the data
Start by entering all the risks you brainstormed into the table, along with the ratings you assigned them.
Create tasks in ClickUp to track each risk and assign ratings.
5. Identify mitigation strategies
Once all the risks have been entered into the table, you can then identify possible mitigation strategies. This should be done for each risk, and can include anything from putting extra safeguards in place to avoiding the risk altogether.
Create custom fields in ClickUp to identify mitigation strategies for each risk.
6. Monitor and update
It's important to regularly monitor your risk register and make adjustments as needed. If new risks arise or the likelihood or impact of existing risks changes, make sure to update the register accordingly.
Set a recurring task in ClickUp to review and update your risk register.
Get Started with ClickUp's Risk Register Template
Risk managers can use this Risk Register Template to help everyone stay on the same page when it comes to identifying and assessing potential risks.
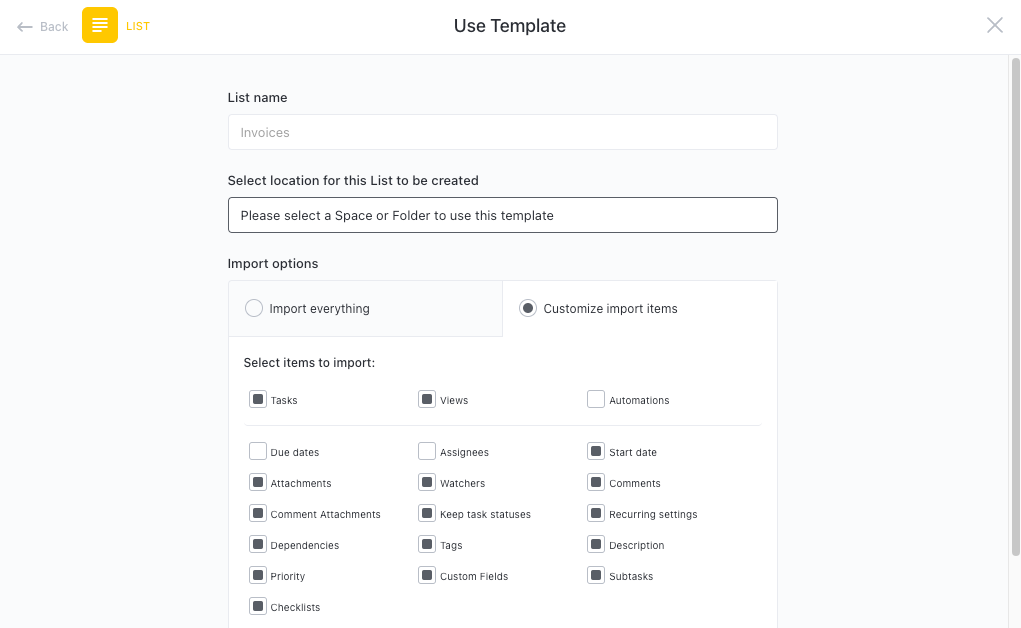
First, hit “Add Template” to sign up for ClickUp and add the template to your Workspace. Make sure you designate which Space or location in your Workspace you’d like this template applied.
Next, invite relevant members or guests to your Workspace to start collaborating.
Now you can take advantage of the full potential of this template to manage risks:
- Use the Costs of Risks View to calculate the cost of any risks that have occurred or may occur in the future
- The List of Risks View will help you keep track of all the risks associated with your project
- The Risks by Status View will provide insight into the current status of each risk
- The Risks by Response View will provide insight into the response plans for each risk
- The Risks by Level View will provide insight into the severity of each risk
- Organize risks into nine different statuses: Occurred, Mitigated, Occurred, Active, Active, to keep track of progress
- Update statuses as risks occur and are mitigated to keep stakeholders informed of progress
- Monitor and analyze risks to ensure maximum productivity
Get Started with Our Risk Register Template Today


