

Projects come in all shapes and sizes, and keeping up with them can be a challenge. That's why it's important to have the right tools to keep track of tasks, resources, and progress. ClickUp's Project Report Template is that perfect tool!
This project report template helps you:
- Visualize the scope of your projects instantly
- Track progress and measure success at each stage
- Easily spot bottlenecks or delays before they become a problem
All your project information collected in one place helps teams stay organized, identify risks quickly, and make sure no detail slips through the cracks. With ClickUp's Project Report Template, you'll be able to keep your projects on track—all while having more time for what really matters!
Benefits of a Project Report Template
Project reports are essential for tracking progress and communicating it to key stakeholders. A project report template can make this easier to do by:
- Helping you capture all relevant project information in one place
- Providing a consistent framework with which to quickly create project reports
- Enabling stakeholders to easily review and understand project progress
- Allowing you to easily identify areas of potential risk or improvement
Main Elements of a Project Report Template
ClickUp's Project Report Template is designed to help you capture and organize project data in one place. This Doc template includes:
- Custom Statuses: Create tasks with various custom statuses to keep track of the progress of each project or task
- Custom Fields: Categorize and add attributes to manage your project reports and easily visualize progress
- Custom Views: Start with this Doc template and build out your ClickUp workflow which includes List, Gantt, Workload, Calendar, and more
- Project Management: Improve project tracking with comment reactions, nested subtasks, multiple assignees, and priorities
How to Use a Project Report Template
Creating a project report is a great way to track the progress of your project and communicate your findings to stakeholders. Following these steps will help ensure that your report is accurate and effective:
1. Gather data
You need to collect all relevant data to create an accurate project report. This includes project milestones, task completion, budget, timeline, and any other relevant information.
Create custom fields in ClickUp to track the data needed for your project report.
2. Analyze the data
Once you have all the data you need, it’s time to analyze it. Look for patterns and trends, and identify any areas of improvement.
Use Gantt chart view to get an overview of your project and track progress.
3. Create the document
Now you can start creating the project report. Start by laying out the structure of the document, including sections, headings, and subheadings..
Use Docs in ClickUp to create the document and write up your report.
4. Fill in the details
Fill in the details of the report, including the data you gathered and your analysis of it. Make sure to include visuals such as graphs and charts to help illustrate your points.
Use Table view and .com/features/kanban-board">Board view in ClickUp to create visuals to include in your report.
5. Review and distribute
Once your report is complete, review it for accuracy and to make sure it is clear and easy to understand. Then, distribute it to stakeholders.
Create Milestones in ClickUp to mark when your report is due and keep track of progress.
Get Started with ClickUp's Project Report Template
Project teams can use this Project Report Template to help everyone stay on the same page when it comes to documenting progress and tracking project milestones.
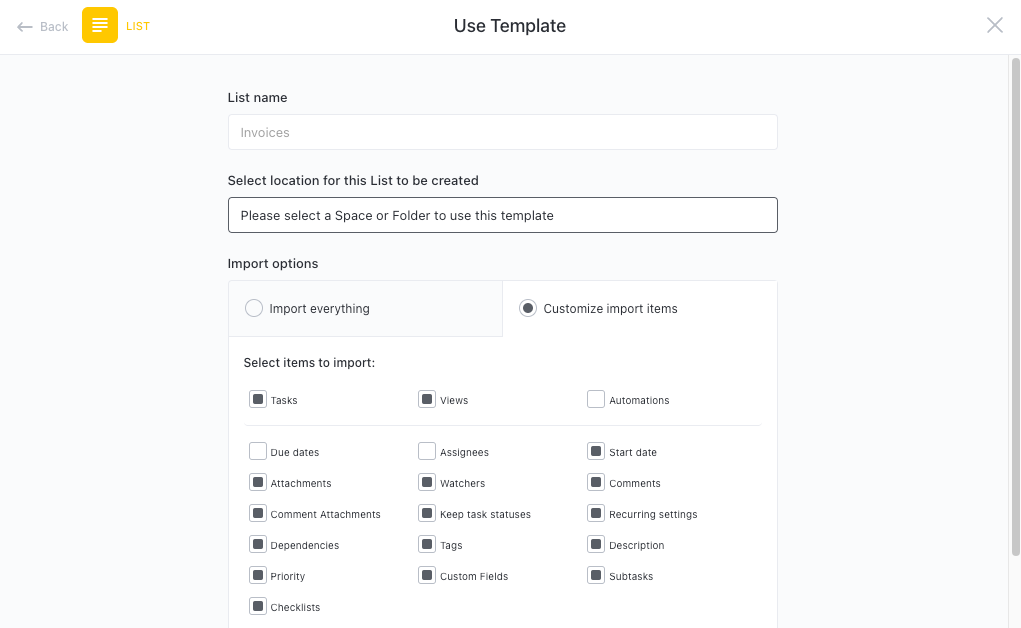
First, hit “Add Template” to sign up for ClickUp and add the template to your Workspace. Make sure you designate which Space or location in your Workspace you’d like this template applied.
Next, invite relevant members or guests to your Workspace to start collaborating.
Now you can take advantage of the full potential of this template to create project reports:
- Identify key project goals and create tasks to achieve them
- Assign tasks to team members and designate a timeline
- Collaborate with stakeholders to provide feedback and create content
- Organize tasks into categories to keep track of progress
- Set up notifications to stay up-to-date on progress
- Hold regular meetings to discuss progress and any issues
- Monitor and analyze tasks to ensure maximum productivity
- Generate reports to provide stakeholders with an overview of progress
Get Started with Our Project Report Template Today


