

Onboarding new employees is one of the most important steps for any successful organization. It sets the tone for their entire experience with your company. With ClickUp's Employee Onboarding Template, you can ensure that every employee has a smooth, streamlined onboarding process.
This template helps you:
- Create and organize your employee onboarding checklist
- Set up meetings and tasks to introduce employees to their role
- Schedule training sessions and encourage collaboration with coworkers
With ClickUp's Employee Onboarding Template, you can guarantee that each new hire has the best possible start with your company!
Benefits of an Employee Onboarding Template
A well-designed employee onboarding template can help ensure that your new hires feel welcome, informed, and productive from day one. Here are just some of the benefits of an onboarding template:
- Ensuring a smooth transition process to help new employees adjust to their roles quickly
- Providing an efficient way to set up new hires with the tools they need to be successful
- Increasing employee engagement and job satisfaction by providing a consistent onboarding experience
- Helping to reduce the time it takes to get new hires up to speed
Main Elements of an Employee Onboarding Template
ClickUp's Employee Onboarding Template is designed to help you manage an employee's onboarding process. This Folder template includes:
- Custom Statuses: Mark task status such as To Do, In Progress, and Complete to keep track of the progress of each step in the onboarding process
- Custom Fields: Use 25 different custom attributes such as 201 File, Accountability Forms, Annual Salary, Completion Rate, Department, to save vital information about each employee and easily visualize onboarding data
- Custom Views: Open 7 different views in different ClickUp configurations, such as Full List, Getting Started Guide, Onboarding Calendar, Onboarding Process, New Hires Table, and more so that all the information is easy to access and organized
- Project Management: Improve employee onboarding process with time tracking capabilities, tags, dependency warnings, emails, and more
How to Use an Employee Onboarding Template
Follow these helpful steps to make an effective employee onboarding plan:
1. Establish a goal
Before you can create an effective onboarding plan, you need to have a goal in mind. What do you want to accomplish with your plan? Do you want to help new hires acclimate to their new roles quickly and efficiently? Do you want to ensure that they have a good understanding of their job responsibilities.
Create a Doc in ClickUp to brainstorm ideas for your goal and collaborate with your team.
2. List out the onboarding activities
Once you've established a goal, you can start listing out the activities you want to include in your onboarding plan. This can include activities such as an initial onboarding meeting, a tour of the office, or a review of the company culture.
Create tasks in ClickUp to outline each step of the onboarding process.
3. Assign tasks and deadlines
Once you've identified the activities you want to include in the onboarding plan, it's time to assign tasks and deadlines to each activity. This will ensure that the onboarding process is organized and that everything is completed on time.
Create recurring tasks in ClickUp to ensure that all tasks are completed on time.
4. Create a timeline
Creating a timeline for the onboarding process can help you visualize when each task should be completed and what should be completed first. This will help you ensure that all of the onboarding activities are completed in a timely manner.
Use the Gantt Chart view in ClickUp to create a timeline of the onboarding process and set deadlines for each task.
5. Track progress
It's important to track progress throughout the onboarding process. This will help you identify any areas where progress is lagging and make sure that all tasks are completed in a timely manner.
Use Dashboards in ClickUp to track progress and ensure that all tasks are completed on time.
Get Started with ClickUp's Employee Onboarding Template
HR professionals can use this Employee Onboarding Template to help everyone stay on the same page when it comes to streamlining the onboarding process and setting expectations.
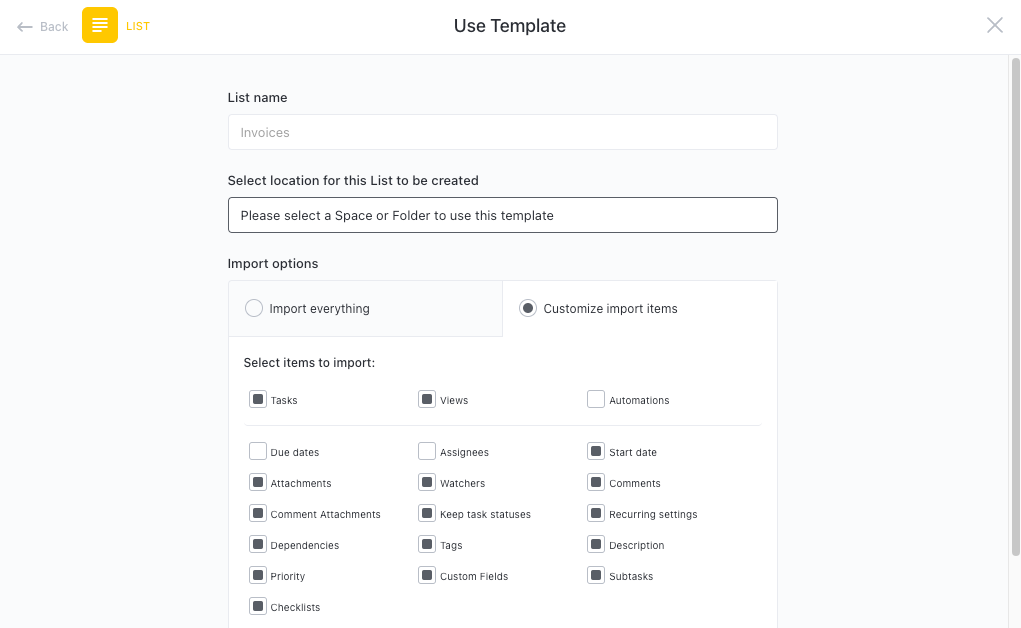
First, hit “Add Template” to sign up for ClickUp and add the template to your Workspace. Make sure you designate which Space or location in your Workspace you’d like this template applied.
Next, invite relevant members or guests to your Workspace to start collaborating.
Now you can take advantage of the full potential of this template to smoothly onboard new employees:
- Use the Full List View to see all of the onboarding tasks that need to be completed
- The Getting Started Guide View will help new hires get up to speed quickly and easily
- The Onboarding Calendar View will give you a timeline of tasks and deadlines to follow
- The Onboarding Process View will help you keep track of each step of the onboarding process
- The New Hires Table View will give you a quick overview of all new hires and their status
- Organize tasks into three different statuses: To Do, In Progress, Complete to keep track of progress
- Update statuses as you progress through tasks to keep team members informed of progress
- Monitor and analyze tasks to ensure maximum efficiency and productivity
Get Started with Our Employee Onboarding Template Today


