

As a Doctor of Nursing Practice (DNP) student, managing your capstone project is no easy feat. But with ClickUp's DNP Project Gantt Chart Template, you can streamline your planning, tracking, and monitoring process to ensure a successful project outcome.
With this template, you'll be able to:
- Visualize your project tasks and timelines in a clear and organized manner
- Set dependencies and milestones to keep your project on track
- Assign tasks to team members and collaborate seamlessly
- Track progress and make adjustments as needed to meet your project goals
Don't let the stress of project management hinder your success. Get started with ClickUp's DNP Project Gantt Chart Template today and take control of your capstone project like a pro!
Benefits of Dnp Project Gantt Chart Template
The DNP Project Gantt Chart Template is an essential tool for DNP students to stay organized and on track with their capstone projects. Here are the benefits of using this template:
- Visualize project tasks and timelines in a clear and easy-to-understand format
- Easily identify dependencies and critical path to ensure efficient project management
- Track progress and make necessary adjustments to meet project milestones
- Collaborate with team members and stakeholders by sharing the Gantt chart
- Improve time management and prioritize tasks for successful project implementation
Main Elements of Dnp Project Gantt Chart Template
ClickUp's DNP Project Gantt Chart template is perfect for managing your project timelines and dependencies in a visual way. Here are the main elements of this template:
- Custom Statuses: Keep track of your project tasks with statuses like Complete, In Progress, and To Do, ensuring that every task is accounted for and easily visible on the Gantt chart.
- Custom Fields: Utilize custom fields such as Project Phase, Project Progress, and Attachment to add additional details to your tasks and keep everything organized.
- Custom Views: Access three different views including Project Gantt, Project Plan, and Template Guide to visualize your project timeline, plan resources, and refer to a guide for using the template effectively.
With ClickUp's DNP Project Gantt Chart template, you can streamline your project management process and ensure efficient execution of your projects.
How to Use Gantt Chart for Dnp Project
Creating a project timeline can be a daunting task, but with the help of the Project Timeline Template in ClickUp, you can easily stay organized and keep track of important milestones. Follow the steps below to effectively use the template and ensure a successful project.
1. Define your project scope and objectives
Before diving into the project timeline, it's crucial to clearly define the scope and objectives of your project. What are you trying to achieve? What specific tasks and deliverables need to be completed? Take the time to outline all the necessary details to ensure that your project timeline accurately reflects your project goals.
Use the Goals feature in ClickUp to set clear objectives and track your progress.
2. Identify key milestones
Once you have a clear understanding of your project's scope, identify the key milestones that need to be achieved. These are significant events or deliverables that mark important progress points in your project. Break down your project into smaller tasks and determine the milestones that represent the completion of these tasks.
Utilize the Milestones feature in ClickUp to set and track your project milestones.
3. Determine task dependencies and durations
Next, identify the dependencies between different tasks. Some tasks may need to be completed before others can begin. Understanding these dependencies will help you create a realistic and efficient project timeline. Additionally, estimate the duration of each task to allocate appropriate time for its completion.
Use the Gantt chart view in ClickUp to visualize task dependencies and durations.
4. Assign resources and set deadlines
Allocate resources to each task and assign team members responsible for completing them. Ensure that each team member has a clear understanding of their roles and responsibilities. Set realistic deadlines for each task based on their dependencies and durations.
Utilize the Workload view in ClickUp to manage resource allocation and track team member workloads.
5. Track progress and make adjustments
As your project progresses, regularly track the completion of tasks and milestones. Update the project timeline accordingly and make adjustments as needed. If any changes or delays occur, communicate them to the team and adjust the timeline accordingly to ensure that the project stays on track.
Use the Calendar view in ClickUp to visualize project deadlines and track progress.
By following these steps and leveraging the features of ClickUp, you can effectively use the Project Timeline Template to stay organized, manage resources, and ensure the successful completion of your project.
Get Started with ClickUp’s Dnp Project Gantt Chart Template
DNP students can use the DNP Project Gantt Chart Template to effectively plan, manage, and monitor their capstone projects and ensure timely completion of their research findings.
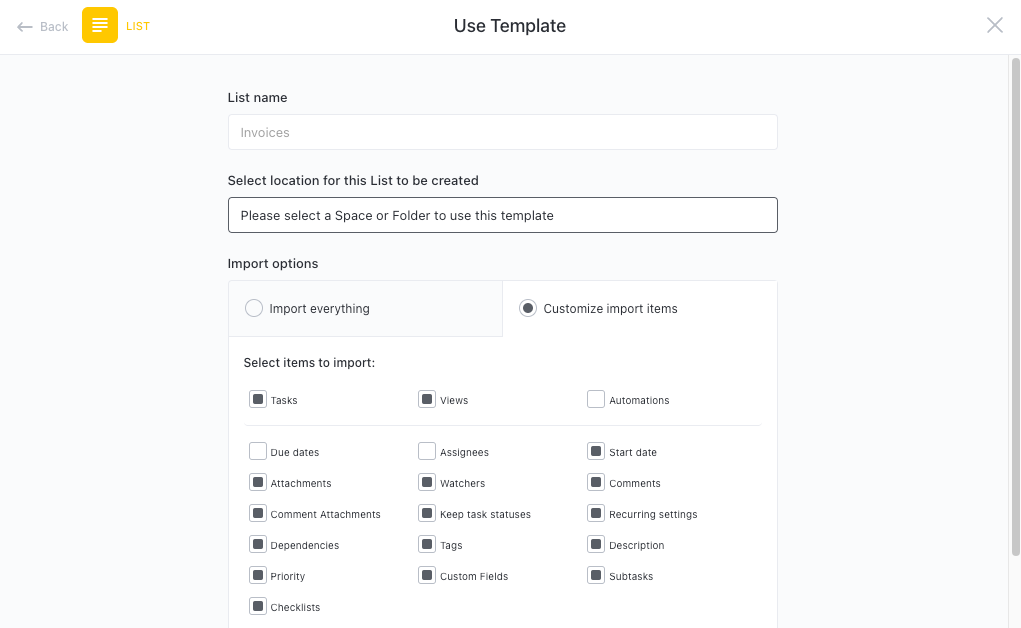
First, hit “Add Template“ to sign up for ClickUp and add the template to your Workspace. Make sure you designate which Space or location in your Workspace you’d like this template applied.
Next, invite relevant members or guests to your Workspace to start collaborating.
Now you can take advantage of the full potential of this template to create and manage your project timeline:
- Use the Project Gantt View to visualize your project tasks and their dependencies
- The Project Plan View will help you outline and schedule all the tasks required for your project
- Use the Template Guide View to refer to a step-by-step guide on how to use the template effectively
- Organize tasks into three different statuses: Complete, In Progress, To Do, to keep track of progress
- Update statuses as you complete tasks to track the overall progress of your project
- Monitor and analyze tasks to ensure timely completion and successful implementation of your research findings


