

Invoicing is a key part of getting paid in any business. A good template helps you create beautiful, accurate invoices and keep track of them easily.
ClickUp's Invoice Template is designed to save time and simplify the process, so that you can:
- Generate professional invoices fast with auto-fill fields
- Send out invoices quickly with just one click
- Track payments with ease and accuracy within the same platform
The ClickUp Invoice Template makes it easy to get paid on time and efficiently manage your finances. Plus, it's completely customizable to fit your unique needs!
Benefits of an Invoices Template
An invoice template makes it easy for you to send invoices to your customers or clients. This can improve your business' overall compliance with tax laws and regulations, as well as improve the overall look and feel of your invoicing process. Some of the benefits of using an invoice template include:
- Elimination of duplicate work
- Time-saving features that help you keep your invoices organized
- Preparedness for future changes in billing software or formats
- Improved customer service because customers can't say they didn't receive an invoice
Main Elements of an Invoices Template
ClickUp's Invoices Template is designed to help you quickly and easily manage your invoices. This List template includes:
- Custom Statuses: Mark task status such as Open and Complete to keep track of your invoices and monitor their progress
- Custom Fields: Use 8 different custom attributes such as Amount, Contact, Email, Payment Type, and Rate, to save vital information about invoices and easily visualize invoice data
- Custom Views: Open 6 different views in different ClickUp configurations, such as the Calendar, Paid Income, All Invoices, Invoice Due Date, Invoice by Client, and more so that all the information is easy to access and organized
- Project Management: Improve invoice tracking with time tracking capabilities, tags, dependency warning, emails, and more
How to Use an Invoices Template
Creating an invoice doesn't have to be a daunting process. Using ClickUp's invoices template, you can create invoices with ease and accuracy. Here are the steps to follow:
1. Gather the necessary information
Before you create an invoice, you'll need to collect the relevant information, such as the customer's name, address, contact information, and any goods or services that were provided..
Create custom fields in ClickUp to quickly gather customer info and details on the goods and services you're providing.
2. Calculate the total amount due
You'll need to calculate the total amount due, including taxes and any discounts or credits that may be applied..
Use the Table view in ClickUp to create an organized spreadsheet of your calculations.
3. Generate the invoice
Using the information collected and the calculations made, you can now generate the invoice. This can be done manually or by using invoicing software.
Create tasks in ClickUp to generate the invoice.
4. Send the invoice
Once the invoice is generated, it should be sent to the customer either electronically or by mail. Make sure to include a payment deadline and the customer's preferred payment methods.
Create recurring tasks in ClickUp to remind yourself when to send invoices.
5. Monitor payments
It's important to keep an eye on incoming payments and follow up if any are late. Use a calendar view in ClickUp to track payment due dates and any overdue payments.
6. Record payments
Once payments have been received, it is important to record them in the invoicing system. This ensures that all payments are properly tracked and accounted for.
Use Dashboards in ClickUp to easily record and track payments.
Get Started with ClickUp's Invoices Template
Business owners and entrepreneurs can use this Invoices Template to help everyone stay on the same page when it comes to generating and tracking invoices.
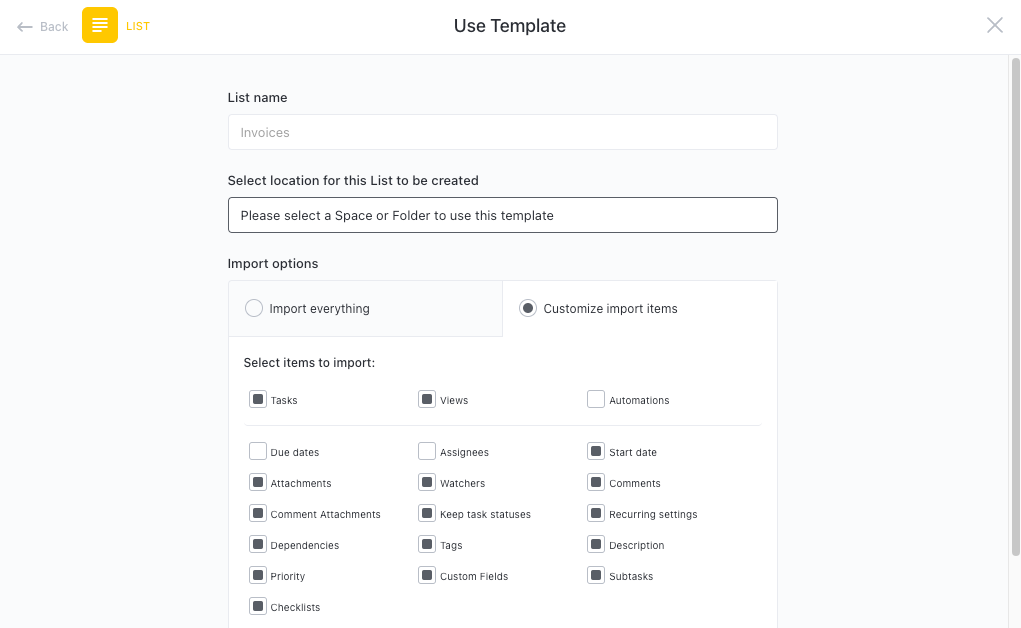
First, hit “Add Template” to sign up for ClickUp and add the template to your Workspace. Make sure you designate which Space or location in your Workspace you’d like this template applied.
Next, invite relevant members or guests to your Workspace to start collaborating.
Now you can take advantage of the full potential of this template to keep track of all of your invoices:
- Use the Calendar View to plan and manage when to send out invoices and when to expect payments
- The Paid Income View will help you track all payments that you have received
- The All Invoices View will give you an overview of all invoices that you have sent and their statuses
- The Invoice Due Date View will help you keep track of when invoices are due and when to follow up with clients
- The Invoice by Client View will help you track invoices for each individual client
- Organize tasks into two different statuses: Open, Complete, to keep track of progress
- Update statuses as you progress through tasks to keep clients informed of progress
- Monitor and analyze tasks to ensure maximum productivity
Get Started with Our Invoices Template Today


