

Creating forms doesn't have to be a laborious, time-consuming process. When you're ready to simplify and streamline your workflow, ClickUp's Form Template is here to help!
Our intuitive template enables teams of all sizes to create forms quickly and easily. With it, you can:
- Build forms with custom fields in no time
- Collect responses from users efficiently and securely
- Organize submissions for easy review and action
Whether it's for customer feedback or team surveys, our template will make sure the process is smooth and hassle-free. Get started today with ClickUp's Form Template!
Benefits of a Form Template
Forms are a critical part of getting the information you need from customers, employees, and other stakeholders. A well-designed form template can provide the following benefits:
- Improving data accuracy and consistency by providing a consistent format for all users
- Reducing the time spent filling out forms by providing a pre-defined set of fields and options
- Ensuring compliance with industry regulations and best practices by having a standard format
- Saving time and money by making it easier and faster to create forms
Main Elements of a Form Template
ClickUp's Form Template is designed to help you create, manage, and track forms in one place. This List template includes:
- Custom Statuses: Create tasks with custom statuses such as Complete, Denied, In Review, and New Registration to easily track the progress of each form
- Custom Fields: Categorize and add attributes to manage your forms, such as Birthday, ID Picture, Billing Address, Classification, Contact Number, and more
- Custom Views: Open 4 different views in different ClickUp configurations, such as the Getting Started Guide, Registration Form, Stages, and Summary
- Project Management: Improve form tracking with automations, email reminders, comments, and more
How to Use a Form Template
Creating forms can be a daunting task, but with the right tools, it doesn't have to be. Follow the steps below to use the Form Template in ClickUp and get your forms up and running quickly and easily.
1. Define your purpose
The first step in creating a form is to define the purpose of the form. What information do you need to collect and why? This will help you decide what questions to include and how to structure your form..
Create a Doc in ClickUp to brainstorm the main purpose of your form and the questions you want to ask.
2. Design your layout
The next step is to design the layout of your form. What kind of fields will you include? Will you need to include drop-down menus, text boxes, or a combination of both.
Use the Board view in ClickUp to create a virtual form and customize the layout of your fields.
3. Create the form
Once you have an idea of the layout, use a form builder to create the actual form. Make sure to include all of the necessary fields, as well as any additional information that might be helpful for the user.
Create a task in ClickUp to create the form using the form builder.
4. Publish and distribute
Once the form is complete, it's time to publish and distribute it. You can do this by sharing a link to the form on your website or social media accounts, or by sending out an automated email to your contacts.
Create an Automation in ClickUp to automate the process of publishing and distributing your form.
Get Started with ClickUp's Form Template
Business owners and employees can use this Form Template to help everyone stay on the same page when it comes to collecting and organizing data.
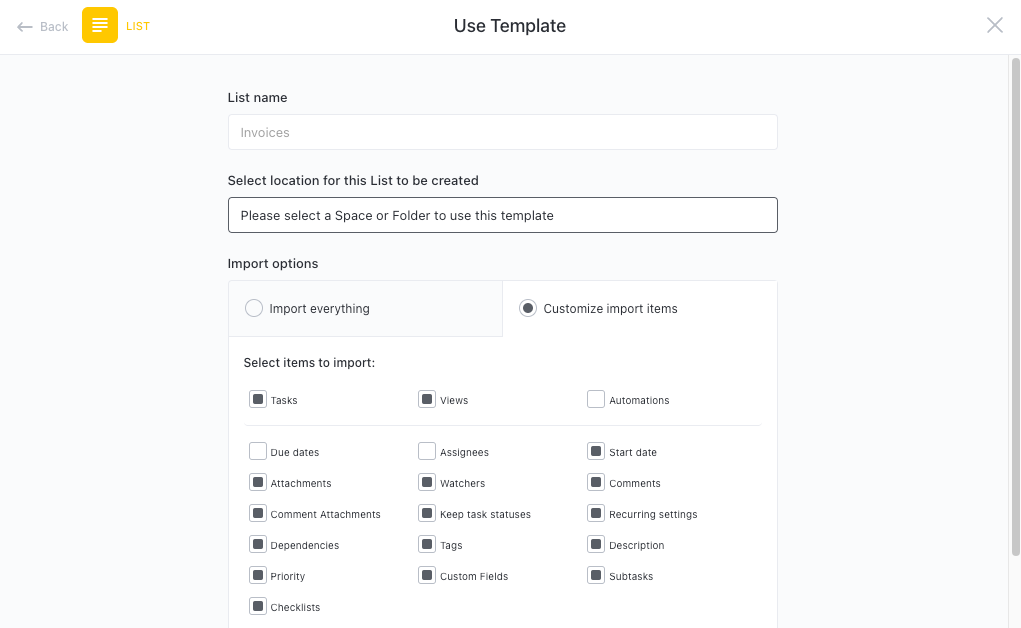
First, hit “Add Template” to sign up for ClickUp and add the template to your Workspace. Make sure you designate which Space or location in your Workspace you’d like this template applied.
Next, invite relevant members or guests to your Workspace to start collaborating.
Now you can take advantage of the full potential of this template to collect and manage forms:
- Use the Getting Started Guide to understand the process and how to best use the template
- The Registration Form View will allow you to collect data from users
- The Stages View will help you keep track of the progress of each form
- The Summary View will provide an overview of all forms and their status
- Organize forms into four different statuses: Complete, Denied, In Review, New Registration, to keep track of progress
- Update statuses as you review forms to keep team members informed of progress
- Monitor and analyze forms to ensure maximum productivity
Get Started with Our Form Template Today


