

Hardware design is a complex process that requires meticulous attention to detail, especially when it comes to managing changes. The Hardware Designers Change Management Template in ClickUp is the ultimate solution for hardware design teams looking to streamline their change management processes.
With this template, you can:
- Document and track all changes made to hardware designs, ensuring nothing falls through the cracks
- Communicate changes seamlessly with your team, eliminating confusion and promoting collaboration
- Implement changes efficiently, minimizing errors and maintaining design integrity
Whether you're working on a small project or a large-scale hardware design, ClickUp's Hardware Designers Change Management Template has got you covered. Say goodbye to the headaches of change management and hello to a smoother, more efficient design process. Get started with ClickUp today!
Benefits of Hardware Designers Change Management Template
Hardware Designers Change Management Template is a game-changer for hardware design teams. Here are the benefits it brings:
- Streamlines the change management process, making it easier to track and manage modifications to hardware designs
- Facilitates effective communication and collaboration among team members, ensuring everyone is on the same page
- Helps maintain design integrity by ensuring that changes are carefully documented and implemented
- Improves project efficiency by providing a clear and organized system for managing design changes
- Reduces the risk of errors and costly mistakes by implementing a structured change management process
Main Elements of Hardware Designers Change Management Template
ClickUp's Hardware Designers Change Management template is designed to help hardware designers effectively manage change requests throughout the design process.
Here are the main elements of this template:
- Custom Statuses: Easily track the progress of change requests with four predefined statuses - Complete, In Progress, In Review, and Not Started.
- Custom Fields: Capture and organize important information related to change requests using ten custom fields, including Completion Rate, Risk Factor, Phase, Stakeholders, Issues, Impact, Level of Effort, Output, RAG Status, and Campaign Link.
- Custom Views: Access seven different views to gain different perspectives on your change management process. These views include the Getting Started Guide, Timeline, Calendar, Gantt Chart, 3 Phase Plan, Team Progress, and Status Board.
- Collaboration and Planning: Utilize ClickUp's collaboration features such as task assignments, comments, and notifications to keep your team informed and ensure smooth execution of change requests. Additionally, leverage the Gantt chart view to visualize timelines and dependencies, and the 3 Phase Plan view to track progress across different phases of the design process.
How to Use Change Management for Hardware Designers
Managing changes in hardware design can be a complex process, but with the Hardware Designers Change Management Template in ClickUp, you can streamline the workflow and ensure smooth transitions. Follow these steps to effectively use the template:
1. Identify the change request
Start by clearly identifying the change request that needs to be implemented in the hardware design. This could be a modification to the circuit layout, a change in component specifications, or any other alteration. Make sure to gather all the necessary information related to the change request, including the reasons behind it and any associated deadlines or constraints.
Use custom fields in ClickUp to capture all the relevant details of the change request.
2. Assess the impact
Once the change request is identified, it's important to assess its impact on the hardware design. Determine how the proposed change will affect the overall functionality, performance, cost, and schedule of the design. Consider any dependencies or potential risks associated with the change.
Create tasks in ClickUp to analyze the impact of the change request and assign them to the appropriate team members.
3. Plan and implement the change
After assessing the impact, it's time to plan and implement the change in the hardware design. Develop a detailed plan that outlines the necessary steps, resources required, and timeline for implementing the change. Collaborate with the hardware design team to ensure everyone is aligned and understands their responsibilities.
Use Gantt chart view in ClickUp to create a visual timeline and track the progress of each task involved in implementing the change.
4. Test and validate the modified design
Once the change is implemented, it's crucial to thoroughly test and validate the modified hardware design. Conduct comprehensive testing to ensure that the change has been successfully integrated without any adverse effects on the functionality or performance of the design. Validate the design against the initial requirements and specifications to ensure that all objectives have been met.
Utilize the Docs feature in ClickUp to document the testing process and record any issues or observations that arise during the validation phase.
By following these steps and utilizing the Hardware Designers Change Management Template in ClickUp, you can effectively manage changes in hardware design, minimize risks, and ensure the successful implementation of modifications.
Get Started with ClickUp’s Hardware Designers Change Management Template
Hardware design teams can use this Change Management Template to streamline the process of managing and implementing changes in their hardware designs, ensuring efficient collaboration and effective communication.
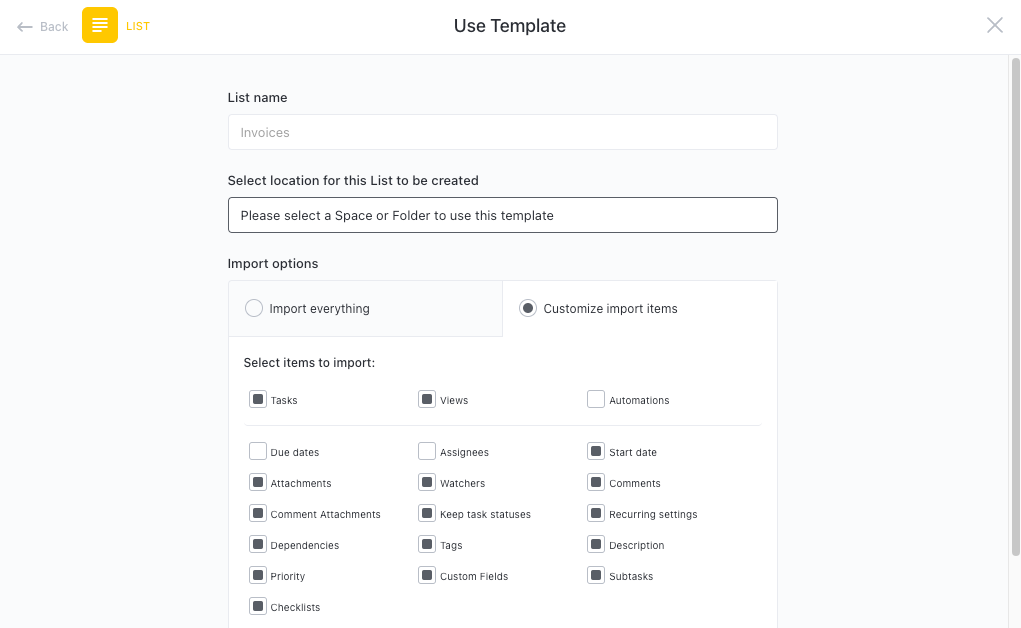
First, hit “Add Template” to sign up for ClickUp and add the template to your Workspace. Make sure you designate which Space or location in your Workspace you’d like this template applied.
Next, invite relevant members or guests to your Workspace to start collaborating.
Now you can take advantage of the full potential of this template to manage hardware design changes:
- Use the Getting Started Guide View to familiarize yourself with the template and understand how to use it effectively
- The Timeline View will help you visualize the overall timeline of the change management process and ensure timely completion of tasks
- Utilize the Calendar View to keep track of key milestones, deadlines, and meetings related to the change management process
- The Gantt Chart View provides a comprehensive overview of all tasks, dependencies, and timelines to ensure smooth project execution
- Use the 3 Phase Plan View to break down the change management process into distinct phases, each with its own set of tasks and objectives
- The Team Progress View allows you to monitor the progress of individual team members and ensure accountability
- The Status Board View provides a high-level overview of the status of each change, indicating whether it's complete, in progress, in review, or not started
- Organize tasks into four different statuses: Complete, In Progress, In Review, Not Started, to keep track of progress
- Update statuses as you advance through the change management process to keep team members informed of the latest developments
- Monitor and analyze tasks to ensure maximum productivity and efficiency throughout the hardware design change management process.


