

When it comes to interlocking paving projects, a well-defined scope of work is essential for success. From planning to execution, having a clear outline of tasks and responsibilities ensures a smooth and efficient process. That's where ClickUp's Interlocking Paving Scope of Work Template comes in handy!
With this template, you'll be able to:
- Define and outline the scope of your interlocking paving project
- Break down tasks and assign responsibilities to team members
- Track progress and ensure that every aspect of the project is on schedule
- Communicate effectively with clients and stakeholders about project deliverables
Whether you're a seasoned professional or new to interlocking paving, ClickUp's template has got you covered. Get started today and pave your way to project success!
Benefits of Interlocking Paving Scope of Work Template
The Interlocking Paving Scope of Work Template offers a range of benefits for your paving projects, including:
- Streamlining project planning and execution by providing a clear outline of the scope of work
- Ensuring consistency and accuracy in project documentation
- Enhancing communication and collaboration among project stakeholders
- Saving time and effort by eliminating the need to create a scope of work from scratch
- Improving project efficiency and reducing the risk of errors or misunderstandings
- Increasing client satisfaction by setting clear expectations and delivering high-quality results.
Main Elements of Interlocking Paving Scope of Work Template
ClickUp's Interlocking Paving Scope of Work template is designed to help you streamline your paving projects and ensure clear communication with your team. Here are the main elements of this Doc template:
- Custom Statuses: Use custom statuses to track the progress of your paving projects, such as “Planning,“ “In Progress,“ and “Completed.“
- Custom Fields: Utilize custom fields to capture important information about each paving project, including client name, project location, estimated completion date, and materials required.
- Different Views: Access different views to visualize and manage your paving projects effectively. Some of the available views include the “Project Overview“ view, “Task List“ view, and “Timeline“ view.
- Collaboration Tools: Collaborate seamlessly with your team by using features like comments, mentions, and real-time editing within the document.
- Version Control: Keep track of changes made to the document with version control, allowing you to revert to previous versions if needed.
- File Attachments: Attach relevant files, such as design plans or permits, directly to the document for easy access and reference.
With ClickUp's Interlocking Paving Scope of Work template, you can efficiently manage your paving projects from start to finish, ensuring smooth operations and successful outcomes.
How to Use Scope of Work for Interlock Paving
When it comes to using the Interlocking Paving Scope of Work Template, follow these 5 steps to ensure a smooth and successful project:
1. Define the project scope
First and foremost, clearly define the scope of your interlocking paving project. Determine the specific areas that need to be paved, the materials to be used, and any additional requirements or specifications. This will help set expectations and ensure that everyone involved is on the same page.
Use the Docs feature in ClickUp to create a detailed document outlining the project scope and specifications.
2. Break down the tasks
Once you have defined the project scope, break it down into smaller, manageable tasks. Identify the different stages of the project, such as site preparation, base installation, paver laying, and finishing touches. Assign responsibilities and timelines to each task to keep the project on track.
Create tasks in ClickUp to organize and assign responsibilities for each stage of the interlocking paving project.
3. Determine the required resources
Next, determine the resources needed to complete the project. This includes materials, tools, equipment, and labor. Make a comprehensive list of all the necessary resources and ensure they are readily available before starting the project.
Utilize custom fields in ClickUp to track and manage the required resources for each task.
4. Set a timeline
Establish a realistic timeline for the interlocking paving project. Consider factors such as weather conditions, availability of resources, and the complexity of the project. Break down the timeline into specific milestones or deadlines for each task to keep everyone accountable and ensure timely completion.
Use the Gantt chart feature in ClickUp to visualize and track the project timeline, making it easy to adjust and monitor progress.
5. Monitor progress and communicate
Throughout the project, regularly monitor the progress of each task and communicate with the team. Keep everyone informed about any changes, challenges, or updates. This will help address any issues promptly and ensure that the project stays on track.
Utilize the Dashboards and Automations features in ClickUp to track progress, communicate updates, and automate notifications for important milestones or deadlines.
By following these 5 steps and utilizing the features in ClickUp, you can effectively use the Interlocking Paving Scope of Work Template to successfully complete your interlocking paving project.
Get Started with ClickUp's Interlocking Paving Scope of Work Template
Contractors and construction teams can use this Interlocking Paving Scope of Work Template to help everyone stay on the same page when it comes to managing interlocking paving projects.
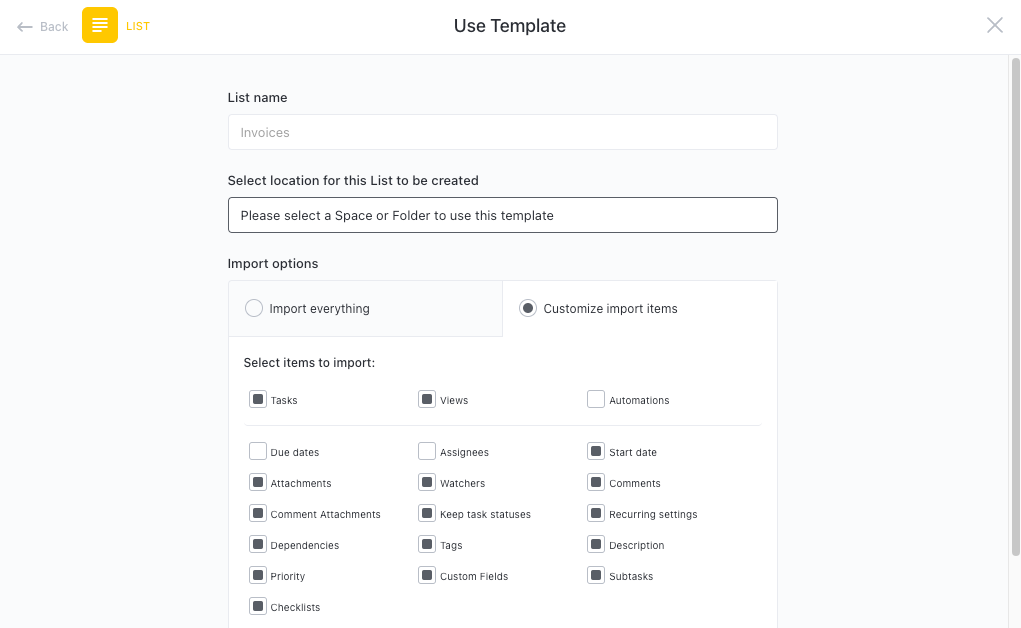
First, hit “Get Free Solution” to sign up for ClickUp and add the template to your Workspace. Make sure you designate which Space or location in your Workspace you’d like this template applied.
Next, invite relevant members or guests to your Workspace to start collaborating.
Now you can take advantage of the full potential of this template to ensure a successful paving project:
- Use the Project View to create a project dedicated to the interlocking paving scope of work
- The Timeline View will help you plan out the timeline and milestones of the project
- Utilize the Checklist View to keep track of all the necessary steps and requirements
- Use the Table View to organize materials, costs, and labor for each task
- Create different statuses like “Preparation,“ “Installation,“ and “Completion“ to keep track of project progress
- Customize the statuses as needed to match the specific stages of your paving project
- Communicate with team members using the Comments feature and mention @tags for seamless collaboration
- Regularly update and review the project to ensure all tasks are completed efficiently.


