

Planning and executing a network installation project can be a daunting task. From coordinating with multiple teams to ensuring seamless connectivity, there's a lot to consider. But fear not, because ClickUp's Network Installation Project Charter Template is here to save the day!
With this template, you can:
- Define project objectives, scope, and deliverables in a clear and concise manner
- Assign roles and responsibilities to team members, ensuring everyone knows what they need to do
- Create a timeline with milestones and deadlines, keeping everyone on track
- Track and manage project risks, so you can proactively address any potential issues
No matter the size or complexity of your network installation project, ClickUp's template has got you covered. Get started today and streamline your network installation process like a pro!
Benefits of Network Installation Project Charter Template
When it comes to network installation projects, having a clear plan is crucial for success. The Network Installation Project Charter Template offers a range of benefits, including:
- Streamlining the project initiation process and ensuring all stakeholders are aligned from the start
- Providing a comprehensive overview of project objectives, scope, and deliverables
- Outlining the roles and responsibilities of team members, ensuring everyone knows what is expected of them
- Identifying potential risks and mitigation strategies, minimizing the chances of project delays or failures
- Serving as a reference document throughout the project, keeping everyone on track and accountable.
Main Elements of Network Installation Project Charter Template
ClickUp's Network Installation Project Charter template is designed to help you effectively plan and manage your network installation projects. Here are the main elements of this template:
- Custom Statuses: Track the progress of your network installation project with custom statuses tailored to your workflow, such as Planning, In Progress, Testing, and Completed.
- Custom Fields: Capture important project details with custom fields like Project Owner, Start Date, End Date, Budget, and Resources Required. These fields allow you to easily track and manage project-specific information.
- Different Views: Access your project charter in various views, including Document view for a comprehensive overview, Table view for a structured and organized layout, and Calendar view to visualize project milestones and deadlines.
With ClickUp's Network Installation Project Charter template, you can streamline your project planning process and ensure successful network installations.
How to Use Project Charter for Network Installation
When it comes to network installation projects, having a well-defined plan is essential. Follow these five steps to effectively use the Network Installation Project Charter Template in ClickUp:
1. Define project objectives
Start by clearly defining the objectives of your network installation project. What are the specific goals you want to achieve? Are you upgrading an existing network or implementing a new one? Identifying your objectives will help you stay focused and ensure that all team members are aligned.
Use Goals in ClickUp to set clear objectives and track progress throughout the project.
2. Identify project stakeholders
Next, identify all the key stakeholders involved in the network installation project. This includes both internal team members and external parties, such as vendors or clients. Understanding who is involved and their roles will help you establish effective communication channels and ensure everyone is on the same page.
Create custom fields in ClickUp to track and categorize project stakeholders.
3. Develop a project timeline
Create a detailed project timeline that outlines the major milestones and deadlines for your network installation project. Break down the tasks and activities required to complete the project, and assign them to team members. This will help you stay organized and ensure that the project stays on track.
Use the Gantt chart in ClickUp to visualize your project timeline and easily adjust dependencies and deadlines.
4. Allocate project resources
Determine the resources required for your network installation project, such as equipment, software, and manpower. Assign specific resources to each task or activity in your project plan to ensure that you have everything you need to successfully complete the project.
Use custom fields in ClickUp to track and manage project resources, including assigning team members and tracking equipment usage.
5. Monitor progress and make adjustments
Regularly monitor the progress of your network installation project and make adjustments as needed. Use the Calendar view in ClickUp to schedule regular check-ins and milestones. If any issues or delays arise, address them promptly and adjust your project plan accordingly.
Create Automations in ClickUp to automatically send notifications or reminders when tasks are overdue or milestones are approaching.
By following these steps and utilizing the Network Installation Project Charter Template in ClickUp, you can effectively plan and execute your network installation project with ease.
Get Started with ClickUp's Network Installation Project Charter Template
IT teams can use this Network Installation Project Charter Template to help everyone stay organized and on track when it comes to implementing network installations.
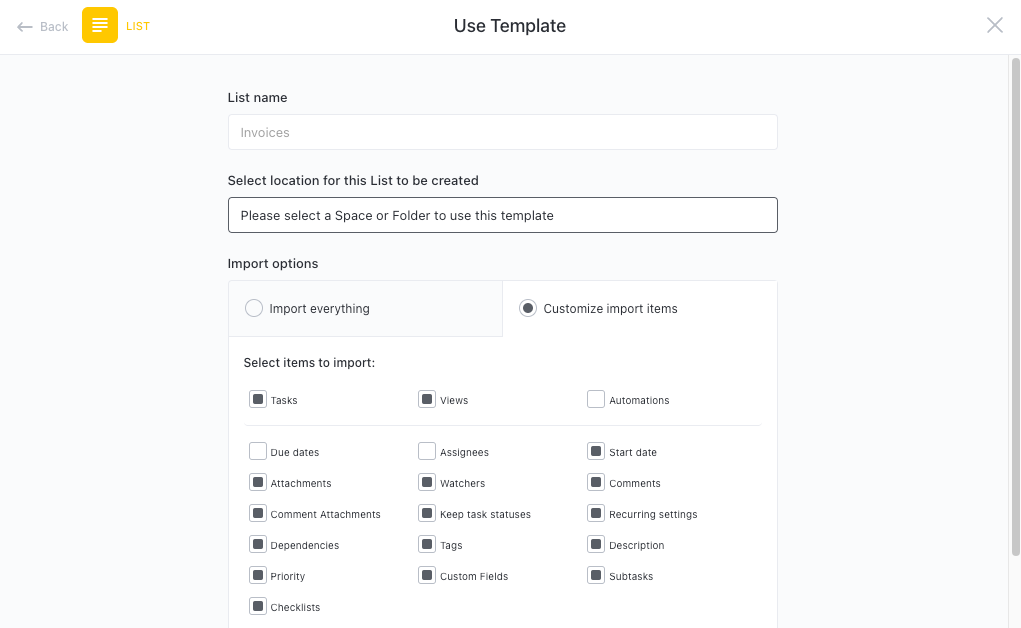
First, hit “Get Free Solution” to sign up for ClickUp and add the template to your Workspace. Make sure you designate which Space or location in your Workspace you’d like this template applied.
Next, invite relevant members or guests to your Workspace to start collaborating.
Now you can take advantage of the full potential of this template for your network installation project:
- Use the Gantt Chart View to plan and visualize the project timeline
- The Board View will help you manage and track tasks based on different stages of the installation process
- Utilize Recurring Tasks to set up regular maintenance and updates for network components
- Automations can be used to streamline processes and trigger actions automatically
- Use the Calendar View to schedule important milestones and deadlines for the project
- The Table View will help you track and analyze project progress and resource allocation
- Create customized Dashboards to get an overview of key project metrics and insights
- Utilize the Whiteboards feature to brainstorm and collaborate on project ideas
Organize tasks into different statuses based on progress and workflow stages, ensuring clarity and accountability throughout the project.
Update statuses as tasks are completed or move along the installation process to keep team members informed and aligned on progress.
Monitor and analyze tasks using ClickUp's AI-powered Insights to identify areas for improvement and optimize project efficiency.
Seamlessly integrate ClickUp with other tools and platforms using the available Integrations to streamline communication and data sharing with stakeholders.
Utilize the Workload View to balance and distribute the workload among team members effectively, ensuring no bottlenecks occur during the network installation project.


