Onboarding

Onboarding your team with ClickUp.

Quick tips for setting up your team and Workspace for long-term success.

Free forever.
No credit card.

4.6 stars25,000+ reviews from
Group 1618868233600w.png

Getting started

ClickUp is the centralized work hub built for the way today's teams want to work.

Successfully onboarding your team to ClickUp is crucial for bringing everyone together with clear context, priorities, and visibility—helping center your organization around the work that matters most.

In fact, teams that work together in ClickUp improve collaboration and productivity by 80%.

Here's the good news: onboarding your team to ClickUp is easy!

Read on helpful tips to effectively onboard your team and hit the ground running.

1. Set up your Workspace for success.

ClickUp was designed with flexibility in mind, so it's easy to structure your work in the way that works best for your team.

ClickUp Hierarchy Image

It all starts with ClickUp's Hierarchy, which allows you to create the perfect infrastructure for your needs. Here are the key levels of organization within ClickUp:

  • Workspace: Your Workspace represents your entire team and houses all the work you want to do in ClickUp.
  • Spaces: Spaces are where you can break things down into smaller units, such as working groups, and set permissions for members.
  • Folders: Within Spaces, you can use Folders to organize related projects, campaigns, or databases of work items.
  • Lists: Whether contained in Spaces or Folders, Lists are where you can manage tasks with their own views, statuses, custom fields, and more.
  • Tasks: The basic building block of all your work in ClickUp, tasks are where you track and collaborate on to-do's and can include their own descriptions, assignees, statuses, comments, and more.

There are more elements to the Hierarchy—which you can learn more about here—but these are the basics.

To effectively organize your Workspace, decide with your team what each level of the Hierarchy should be used for. That way, everyone knows what goes into Spaces, how to use Folders, and what you'll manage in Lists, just by way of example.

With your Workspace organized, you're now ready to determine User Roles and permissions across your team.

Key takeaway: Structure your Workspace with your team by determining how you'll manage Spaces, Folders, Lists, and tasks across different functions and initiatives.

2. Identify user roles and stakeholders.

While all or part of your team may be working in ClickUp, not everyone will use ClickUp in the same way. Identifying roles, permissions, and stakeholders will make it clear what everyone's responsibilities are within your Workspace.

user-roles

Here's a rundown of the different kinds of User Roles that can be assigned within ClickUp:

  • Guests: People outside your team who need to view or work on specific items.
  • Members: People in your team who actively work in ClickUp.
  • Admins: People who are responsible for managing the Workspace including billing, permissions, and integrations.
  • Owner: The person who originally created a Workspace (or has taken ownership). Each Workspace can only have one person in the owner role.
  • Custom Roles: Custom roles are created based on the guest, member, and admin roles.

Each User Role has different permissions, so it's important to clearly understand who will be doing what and assign roles accordingly. This expectation setting will go a long way toward clearing up any confusion about responsibilities.

For a deeper dive into User Roles and permissions, check out this resource.

Once User Roles have been assigned, it's time to determine how you'll best communicate with your team in ClickUp.

Key takeaway: Clearly assign User Roles with your team and stakeholders so everyone knows their permissions and responsibilities.

3. Create clear communication processes.

With everything you need in one place, ClickUp makes it easy to keep your team in sync.

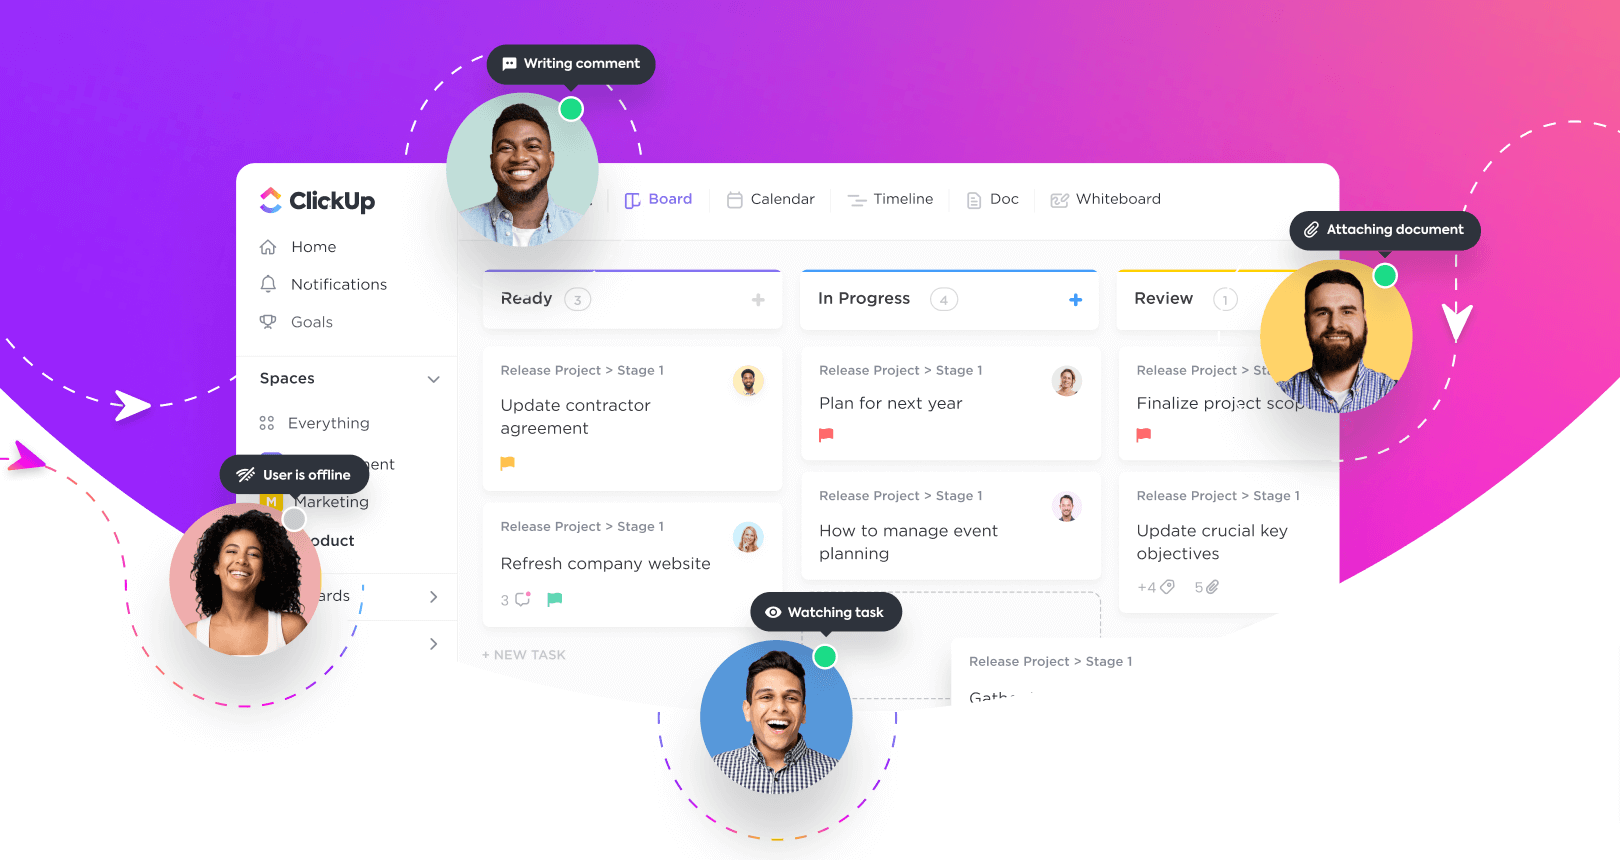
You can add comments to tasks and Docs and even reply directly in your notification feed. This way, discussions, requests, feedback, and approvals happen right alongside the work itself.

Need to chat in real time? No problem. Add a Chat view and your team can collaborate instantaneously on their work.

communication-processes

Here are some best practices to communicate effectively in ClickUp:

  • Notify teammates with updates by mentioning them with the @ symbol in a comment or assigning the comment to them, either in task comments or in ClickUp Docs
  • Take action on comments directly within your notification feed
  • Set teammates as Watchers for tasks to notify them with updates without having to mention them

And don't worry if your team loves using Slack or other chat tools too much to give them up. You can seamlessly integrate your preferred communication apps with ClickUp.

At this point, you should have your User Roles assigned, Workspace organized, and communication processes set. Now it's time to put ClickUp to work.

Key takeaway: Decide how you'll communicate in ClickUp using comments, tags, and notifications.

4. Start working together.

The best way for your team to learn how to use ClickUp is to dive right in. And there's no better place to get the basics down than the Quick Start template.

Once your team adds the template, have them play around with it. Here some simple exercises to begin with:

  • Create a List
  • Create a task with subtasks
  • Create a custom field
  • Assign a task to a team mate
  • Set a due date
  • Tag a teammate in a comment
  • Attach a Doc to a task
  • Explore Calendar view
  • Build an automation

And here are some key tools for collaborating as a team that will help keep everyone on the same page:

  • Docs: The place where you can write, brainstorm, collaborate, plan, and more.
  • Statuses: The workflows or stages that your tasks go through, such as "to do," "in progress," "in review", and "complete."
  • Templates: Reusable springboards you can create from Spaces, Folders, Lists, tasks, and checklists so you don't have to always start from scratch.

You and your team will quickly find a lot of other ways to practice your ClickUp skills. Keep it up, and you'll get the hang of it in no time.

Key takeaway: Start exploring ClickUp as a team by playing around with templates, Folders, Lists, tasks, views, statuses, custom fields, and Docs.

5. Additional resources for onboarding help.

By now, you and your team should be ready to take your productivity to the next level.

But you should never feel like you're on your own—we're always here for you! If you're looking for help, be sure to check out our:

  • Onboarding Hub for deep dives into ClickUp features including on-demand demos, live webinars, coaching, and more
  • Help Center for FAQs, technical details, comprehensive how-to's, and free live support
  • Professional Services for premium hands-on support, including paid options for onboarding and implementation